Advertisement
Quick Links
Advertisement

Subscribe to Our Youtube Channel
Related Manuals for Majacraft Aura


Summary of Contents for Majacraft Aura
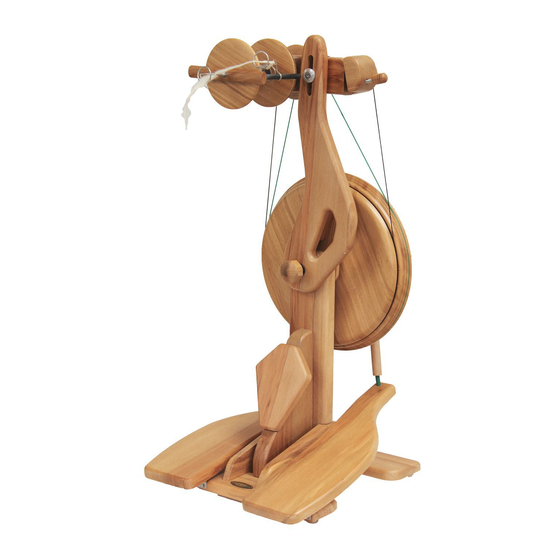
- Page 1 Your new Aura spinning wheel majacraft all you need to spin your dreams... majacraft...
- Page 2 Talk to your dealer, visit our web site or email us directly and we will do what we can to help. Thank you for choosing Majacraft, it is your belief in us that drive our innovation and creativity in building captivating tools for you.
- Page 3 Assembling a Majacraft Aura These instructions demonstrate how to assemble your Majacraft Aura spinning wheel 1. Prepare the components We recommend that you find a clear work area where you can lay out all the components for working on them.
- Page 4 The handle stop has a bumper that protects the stem from being dented when folding however there is no bumper when folding to the right. BUMPER 3. Fit the Pedals to the Base Required: 12 - Silver 25mm (1”) screws (in the hardware bag) Posidrive screwdriver majacraft...
-
Page 5: Drive Wheel
Fit the drive wheel to the base assembly. Slide the drive shaft through the black bushes in the Stem/Handle assembly from the back to the front. Screw the wooden nut on to the drive axle and tighten it firmly. majacraft... - Page 6 8mm (~5/16”) flyer shaft and turn the shaft until the flat is ‘upward’. There is a threaded hole on the flyer drive pulley too and you now need to locate this, checking the grub screw is removed. majacraft...
- Page 7 The recommended approximate position is the silver bolt positioned half way up the slot. The 6mm wooden adjuster screw can be screwed into the end of the hinged adjuster block now. majacraft...
-
Page 8: Crank Assembly
32mm silver screws. Make sure the drive belts are on. Align the holes on the drive wheel with the holes in the crank assembly and screw it into place using the silver 32mm screws. It is recommended that you insert the centre screw first. majacraft... - Page 9 When the rod end is aligned correctly, screw the 25mm screw back into place. The screw should only be tightened until the head just touches the side of the pedal. DO NOT OVERTIGHTEN! CORRECT INCORRECT majacraft...
- Page 10 These holes are to locate on the drive pins embedded in the Aura drive system on the head. This end of the bobbin must go on the flyer shaft first and the holes align with the pins in the drive system.
- Page 11 While not essential, it will help keep your Aura looking excellent into the future. Your Majacraft Aura is now assembled and you are ready to start on a new spinning adventure! From the team at Majacraft, we wish you great spinning in the future.
- Page 12 Adjusting the Amount of Twist The Aura has a number of grooves in the pulleys, these give you adjustment opti ons for controlling the amount of twist that is going into your yarn.
- Page 13 Speed=SLOW (Bobbin Drive groove 2, Flyer Drive groove 1) The yarn will draw in very slowly. The pull is strong and even so the bulky yarn will be drawn in easily and a very even twist will be put in the yarn. majacraft...
- Page 14 How to Adjust Aura Bobbin Drive band Remove the green Flyer Drive belt if it is on. It is assumed that the Bobbin Drive band is on Turn the tension adjust knob at the side of the spinning head Adjust Block unti l it is at the mid-point of its movement.
- Page 15 If you are spinning a very large yarn then bypass the delta and go straight through the halo. Now you can thread the yarn through the large halo ring. And now the Aura fl yer has been threaded. majacraft...
- Page 16 Notes majacraft aura_assembly_1.07_04-11-2015...
Need help?
Do you have a question about the Aura and is the answer not in the manual?
Questions and answers