Table of Contents
Advertisement
Advertisement
Table of Contents

Subscribe to Our Youtube Channel
Related Manuals for Portamatik ROSSO 60


Summary of Contents for Portamatik ROSSO 60
- Page 1 ROSSO v1.1 REV. 08/2020 USER’S AND INSTALLER’S MANUAL...
-
Page 2: Table Of Contents
• The Supplier is not responsible if safety standards cal wires, essentially on the power cable. SAFETY INSTRUCTIONS were not taken into account when installing the equip- • When programming the control unit, pay particular ment, or for any deformation that may occur. attention to touching only the location intended for that •... -
Page 3: Package
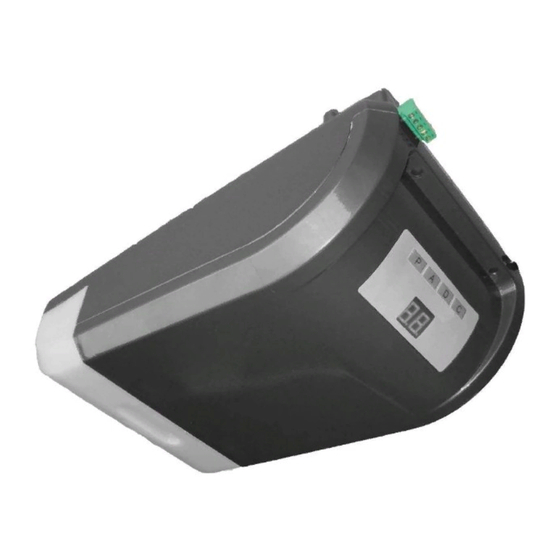
The specifications of the operator are as follows: OPERATOR PACKAGE ROSSO 60 ROSSO 100 ROSSO 120 • Power Supply AC 230V 50/60Hz AC 230V 50/60Hz AC 230V 50/60Hz • Motor’s Power DC24V - 60W DC24V - 100W DC24V - 120W •... -
Page 4: Removing Top Cover
REMOVING TOP COVER SWITCH LAMP 24V 5W REPLACE FUSE INSTALLATION FIXING THE MOTOR IN RAILS • To remove the top cover, first undo the white cover of • To change the lamp, remove the white light zone co- • To replace the fuse, you must first unscrew it. Then •... -
Page 5: Fixing Of The Support Plate
FIXING OF THE SUPPORT PLATE • Attach the rail’s support plate to the lintel CEILING • Observe the distance to be maintained between the gate rail and support plate’s upper part from 125-175 • If you are unable to fix the rail to the ceiling for not re- specting the measures above, there should be created a solid structure to be able to fix the motor in correct measurements. -
Page 6: Installation Map
INSTALLATION MAP 5 • After rising the rail and mark the holes, you should fix the plate with screws. After that, you should use bracket to reinforce the attachment, this time near the motor. SUBTITLE: 1 • ROSSO Motor 2 • Steel rail 3 •... -
Page 7: Programming
• Programming of the MENU FUNCTIONS PROGRAMMING automatism force level The central control unit has a main menu that allows 1 • Press P for 4sec to enter the programming menu. access to all the different settings of the automatism. 2 •... -
Page 8: Programming The Self-Closing Feature
• Programming remote controls • Programming the self-closing STANDARD CONFIGURATION USING THE using already configured control feature T KEY ON THE DISPLAY 1 • Press P for 4sec to enter the programming menu. 1 • Press P for 4sec to enter the programming menu. 1 •... -
Page 9: Post-Installation
STRETCH RAIL’S CHAIN POST-INSTALLATION STOPPER AT THE OPENING The automatism needs a stopper in the opening and closing to always control the courses. In closing maneuvers, the ground will be the stopper for the gate, but in the opening maneuvers it is necessary to create a stopper on the steel rail, to ensure that the trolley always stop in the correct place. -
Page 10: Diagnosis
DIAGNOSIS CONNECTING THE ENGINE TO 24V BATTERY In case of automatism failure or malfunction, you must detect the fail component (motor or central). To do that, you should test the motor directly connected to a 24V DC power source, in order to understand if this works. Just disconnect the two motor cables which connect to the central and connect them directly to a 24V DC battery. -
Page 11: Troubleshooting
TROUBLESHOOTING Error Erro Descrição do erro Error Description Causa Cause Resolução do problema Solving the problem ERRO DE ENCODER ENCODER ERROR • A central não recebe informação do encoder instalado no • The control board does not receive information encoder •... - Page 12 TROUBLESHOOTING Anomaly Procedure Actions Procedure II Discovering the origin of the problem 1 • Remove the top cover of the A) Has 24V: B) Doesn’t have 24V: 1 • Remove the top cover of the A) Has 24V: Motorline facilities for diagnosis on the input, the transformer is •...
-
Page 13: Central Connections
CENTRAL CONNECTIONS Pushbutton/Key Photocells Lightbulb External Receiver Option 1 - Pedestrian Door Selector 12/24v 5W max CH1-a Contact (NC) MR17 CH1-b MR13 MX13 Outdoor Antenna DISPLAY BOARD CONTROL BOARD CONETOR1* Encoder Courtesy Lamp 2 Batteries 12V 230V Power Supply Transformer IN:230V OUT:24V *CON1: 1 •...
Need help?
Do you have a question about the ROSSO 60 and is the answer not in the manual?
Questions and answers