Advertisement
Quick Links
Advertisement

Related Manuals for Neopost IN-360


Summary of Contents for Neopost IN-360
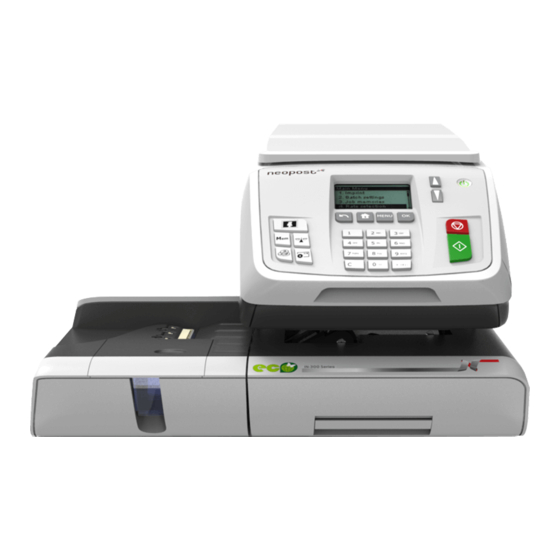
- Page 1 Self Installation Guide Mail'n Ship Station IN-360...
- Page 2 CONTENTS IN-360 Mail'n Ship Station Feed Deck with Moistener Postage Meter Ink Cartridge and Power Cord Postage Meter Tapes Optional External Scale Optional Catch Tray LAN Cable or Modem and Phone Cord Welcome Kit Integrated Scale...
- Page 3 STEP 1 INSTALL THE FEED DECK Feed Deck Remove the two pieces of shipping tape Place the Feed Deck to the left of the Mail'n Ship Station. on each side and remove the foam block. Lift up and lockdown the slots of the Mail'n Ship Station base over the tabs of the feed deck.
- Page 4 STEP 2 INSTALL THE POSTAGE METER Open the Mail'n Ship Station Remove the PSD (Postage Meter) from the packaging Cover Insert the Postage Meter into Open the top cover by lifting at the open the Mail'n Ship Station slot 1. Open the Postage Meter Cover in the left side 2.
- Page 5 STEP 3 INSTALL THE INK CARTRIDGE AND THE SCALE Remove the Ink Cartridge from the packaging. Place the scale on top of the Insert the Ink Cartridge into Remove the caps and film strips from machine and slide forward to the Mail'n Ship Station.
-
Page 6: Configuration And Activation
STEP 4 CONFIGURATION AND ACTIVATION Set-up the connection to the server, contact the server and activate the Mail'n Ship Station. In order to load funds, download rates and support your Mail'n Ship Station, you must set up a connection between the Mail'n Ship Station and the server . -
Page 7: Connecting The Lan Cable
STEP 4A CONNECTING THE LAN CABLE Connect the other end of the Connect the power. Connect to Internet / LAN jack or router. LAN cable into the Internet Using the Power Cord, plug the female jack or router on the left side connector into the right bottom back 1. - Page 8 STEP 4A CONNECTING THE LAN CABLE (CONTINUED) Installation process Installation process Installation process 1. LAN Welcome, please press Please plug in your USB modem "Ok" to begin the or cable and press next installation process Suite MENU MENU MENU Press the “OK” button. Press the “OK”...
-
Page 9: Connecting The Modem
STEP 4B CONNECTING THE MODEM (OPTIONAL ACCESSORY) Select a location for the Mail'n Connect the modem. Connect the power. Ship Station near an analog 1. Plug one end of the telephone Using the Power Cord, plug the female telephone jack. cable into the analog phone outlet. - Page 10 STEP 4B CONNECTING THE MODEM (CONTINUED) (OPTIONAL ACCESSORY) Installation process Installation process Installation process Press next to select your 1. Modem Welcome, please press Connection Type "Ok" to begin the installation process Back Next MENU MENU MENU Press the “OK” button. Select “Next”...
- Page 11 STEP 4B CONNECTING THE MODEM (OPTIONAL ACCESSORY) (CONTINUED) Installation process Do you need prefix for external calls? MENU Enter a prefix if needed. If your phone requires a number to reach an outside line (for example if you have to dial 9 first), select “Yes” by pressing the “OK”...
- Page 12 STEP 5 ACTIVATE THE POSTAGE METER (PSD) Installation process Installation process Do you want to add Please enter your funds? Registered PIN code MENU MENU Select “No” by pressing the Enter code from the meter box “BACK” button. label and press "OK" to continue.
- Page 13 STEP 5 ACTIVATE THE POSTAGE METER (PSD) (CONTINUED) Installation process Server MOD Press “Next” to start the E-Services Declaration Process. MENU MENU Select “Next” by pressing the Follow the screen prompts. “OK” button. DO NOT INTERRUPT THIS PROCESS. Transaction in progress will be displayed during this process.
- Page 14 STEP 5 ACTIVATE THE POSTAGE METER (PSD) (CONTINUED) Installation process Set headset alignment Do you want to align the Press OK to print test ink cartridge? imprint. MENU MENU Select “Yes” by pressing the Insert a blank envelope into the Press the “OK”...
- Page 15 STEP 5 ACTIVATE THE POSTAGE METER (PSD) (CONTINUED) Set headset alignment Installation process Select letter with arrows Installation process is complete. Press “Ok” to and press “Ok” access to the home screen. B B B B MENU MENU Choose which line on the Using the up and down arrow Press the “OK”...
- Page 16 STEP 6 LOADING FUNDS (POSTAGE) INTO THE POSTAGE METER Funds Funds 1. Funds used / available Funds Available 2. Add funds $28.72 3. Postal inspection Amount to Add 500.00 MENU MENU Use the down arrow to select Enter the amount to add using “Postal Inspection”.
- Page 17 STEP 7 PROCESS MAIL Can Letter Can Letter $00.00 No Options $00.00 No Options 2017.02.14 2017.02.14 Mem: Mem: MENU MENU The Home screen will be Verify that the weighing Place the envelope on method icon is displayed on the scale. displayed.
- Page 18 For more information about the features and functions of your IN-360 Mail’n Ship Station, please register or login to MYNEOPOST and visit the Operator Manual Library in the MYHELP DESK app to download the IN-360 Operator Manual.
- Page 19 A0087955/A Quick Start Guide EN – Canada - 12/01/2017...
Need help?
Do you have a question about the IN-360 and is the answer not in the manual?
Questions and answers