Table of Contents
Advertisement
Quick Links
Installation and mounting manual for EK-RAM Dominator water block
This product is intended for installation only by expert users. Please consult with a qualified technician for installation. Improper installation may result in damage to your equipment. EK Water Blocks assumes no liability
whatsoever, expressed or implied, for the use of these products, nor their installation. The following instructions are subject to change without notice. Please visit our web site at
Before installation of this product please read important notice, disclosure and warranty conditions printed on the back of the box.
The barb hose fittings require only a small amount of force to screw them in; otherwise the high flow fittings might break. These fittings do not need to be tightened with much force because the
liquid seal is made using o-rings.
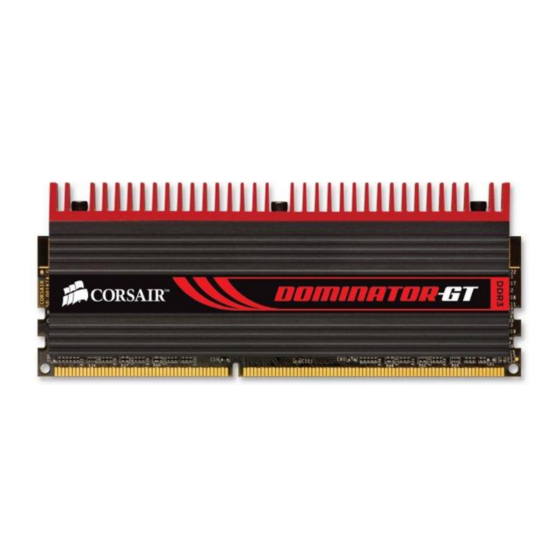
STEP 1: GENERAL INFORMATION. Sample picture of Corsair Dominator GT memory module
STEP 2: REMOVING THE STOCK COOLER.
Using the encased allen key please remove all three encircled screws in order to remove the red
aluminum heatsink. All heatsink assembly screws should be removed. Keep the two out of three
original 3-32 screws as you will need them later.
Allen key 2.38
STEP 4: INSTALLING THE MEMORY MODULES
Please install all of your Corsair Dominator GT memory modules
into the motherboard DIMM slots, one by one.
STEP 6: PLACING BLOCK ON DIMM MODULES
During this process please make sure you align holes on PCB with holes on
block.
All disclosures, notices and warranty conditions are being written on the back of the box.
(3-32 inch)
STEP 5: APPLYING THERMAL COMPOUND
Apply thermal compound: lightly coat the top of the DIMM modules with - for example Arctic Cooling MX2
™, MX3 ™ or MX4 ™ - thermal compound. Follow this link:
http://www.arctic-cooling.com/catalog/images/install_mx2_retail.pdf
recommends to apply thermal grease in line form due to the specific design of this water block (see sample
picture). Avoid applying the paste into the threaded openings!
STEP 3: CLEANING THE SURFACES
CLEANING THE MEMORY MODULES STOCK HEAT SINK ASSEMBLY.
Carefully detach the original heat sink after removing all fasteners securing
it to the aluminum cooler assembly. Wipe off the remains (by using non–
abrasive cloth or Q-tip, as shown on sample photo) of the original thermal
pads until the heatsink assembly is completely clean. EKWB does not
recommend using any liquids for removing paste.
STEP 7: ATTACHING BLOCK TO DIMM MODULES.
By using 3-32 inch allen key screw in the original 3-32 screws provided with every Corsair
Dominator memory module. EKWB recommends start screwing the other most screws and
continue inwards. Do not tighten the screw completely until you have aligned all memory modules
as straight as possible.
www.ekwaterblocks.com
for updates.
for detailed instructions. EKWB
Use the two original 3-32inch
screws on each module!
th
Released on 11
of January, 2011.
Advertisement
Table of Contents

Subscribe to Our Youtube Channel
Related Manuals for ekwb EK-RAM Dominator


Summary of Contents for ekwb EK-RAM Dominator
- Page 1 By using 3-32 inch allen key screw in the original 3-32 screws provided with every Corsair block. Dominator memory module. EKWB recommends start screwing the other most screws and continue inwards. Do not tighten the screw completely until you have aligned all memory modules as straight as possible.
- Page 2 IMPORTANT DISCLOSURES: While all efforts have been made to provide the most comprehensive tutorial possible, EKWB assumes no liability expressed or implied for any damage(s) occurring to your components as a result of using EKWB cooling products, either due to mistake or omission on our part in the above instructions, or due to failure or defect in the EKWB cooling products.
Need help?
Do you have a question about the EK-RAM Dominator and is the answer not in the manual?
Questions and answers