Table of Contents
Advertisement
Quick Links
imago wls
Outdoor siren
Installation guide
INTRODUCTION
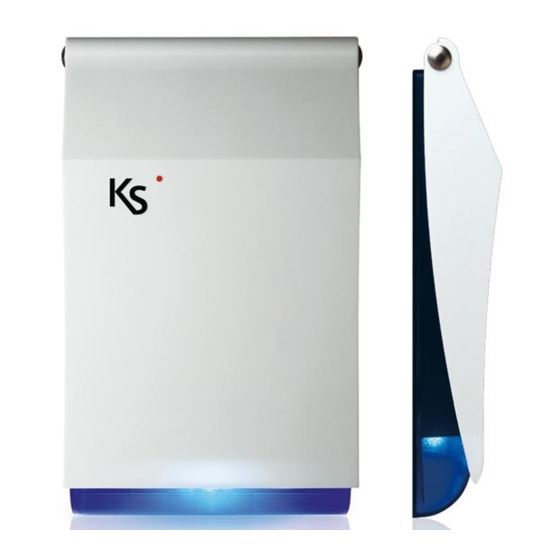
The imago wireless outdoor siren is an acoustic and optical professional alarm that combines an unique,
extremely compact and slim design (its maximum thickness is 6 cm.) with an advanced technology to obtain
the best possible performance with the highest energy saving: high sound pressure, 1W LED blinker and
auxiliary high-efficiency high efficiency warning LED.
The siren is handled by two microcontrollers:
•
Main process microcontroller
•
Communication microcontroller
imago wireless can use 2 different power supply systems:
•
1. A proprietary 7.5V 8Ah battery pack, not rechargeable (that will must be replaced once discharge)
separately sold as optional;
•
2. External power supply (12Vcc) with 6V 1.2Ah backup acid lead battery.
Warning! Battery may explode if the battery is replaced by an incorrect type or if mistreated. Do not
recharge, disassemble or dispose of in fire. Dispose of used batteries according to the instructions. The
status of the batteries charge and, if present, the level of external power supply are constantly monitored.
Every power supply or battery failure or disconnection is reported to the main system.
imago wireless is equipped with a temperature sensor and communicate to the panel:
•
the temperature value
•
the programmed thresholds.
imago wireless can measure the level of RF signal reception. During the maintenance, if the siren is placed in
a good wireless reception spot, imago beeps at each variation of the Tamper Switch.
imago wireless also presents protections:
•
keep alive periodic signal
•
Anti-opening and anti-removal tamper
Every communication from the imago wls to the main system will be repeated until acknowledged. Despite
of its extremely small size, imago hides a sturdy metal lid-Chamber; also, the plastic material involved (high
quality polycarbonate with UV protection) and the sophisticated design, guarantee durability in all weather
conditions.
code R30019.101en
ed.04/2020
www.kseniasecurity.com
Advertisement
Table of Contents

Subscribe to Our Youtube Channel
Related Manuals for Ksenia imago wls 96


Summary of Contents for Ksenia imago wls 96
- Page 1 imago wls Outdoor siren Installation guide INTRODUCTION The imago wireless outdoor siren is an acoustic and optical professional alarm that combines an unique, extremely compact and slim design (its maximum thickness is 6 cm.) with an advanced technology to obtain the best possible performance with the highest energy saving: high sound pressure, 1W LED blinker and auxiliary high-efficiency high efficiency warning LED.
- Page 2 TECHNICAL DATA • Modern Design with original and convenient rotating opening • Solid PC housing (minimum thickness 3 mm.) with anti-UV pigment • Front available in different colors • Transparent base available in different colors: orange, red and blue • Strong metallic zinc-plated under-cover (anti-smashing) •...
- Page 3 DESCRIPTION OF THE PRODUCT LEGEND 1 Cover 2 Stainless steel hinges (2) 3 Metallic zinc-plated undercover 4 Screws (2) for fixing the undercover 5 Eyelet for sabotage tamper activation 6 Transparent base 7 Base locking holes (5) 8 Undercover locking holes (2) 9 Removal tamper hole 10 Battery base 11 Chock (2)
- Page 4 INSTALLATION The imago wireless should be installed in a place hardly accessible to discourage any attempts of tampering; of course sooner or later having to be reached if non-rechargeable battery replacement (if it is powered with the latter), it must still be accessible for later intervention. The wall bracket must not show depressions and/ or bosses in order not to compromise the operation of tamper mechanism.
- Page 5 • Connect the power supply poles + and - (12Vcc) to their clamps (n.14) and the acid lead backup battery to the respective cables with faston (n.21) after been placed on its base (n.10) as shown in next figure If wiring is correct, imago will show a single flash by the power LED and a short BEEP by the buzzer. ENROLLING To enrol imago wireless on the system, please follow the procedure here below: 1.
- Page 6 Test procedures depends on the system configuration. Ask to the installer for the procedures to be followed. Ksenia Security srl shall not be responsible for damage arising from improper installation or maintenance by unauthorized personnel.
Need help?
Do you have a question about the imago wls 96 and is the answer not in the manual?
Questions and answers