Verkada AC41 Installation Manual
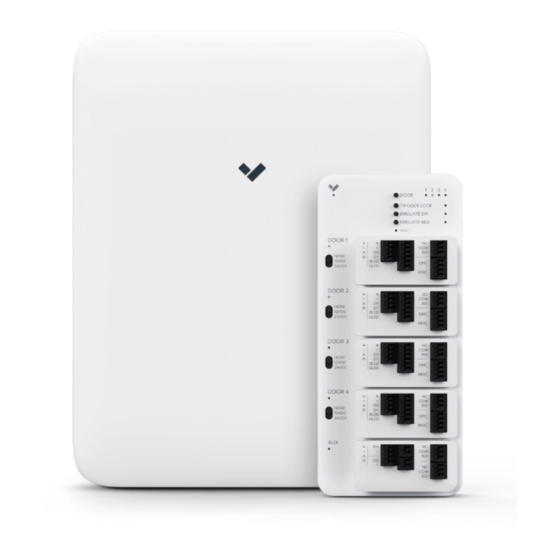
4-door controller
Hide thumbs
Also See for AC41:
- Manual (17 pages) ,
- Installation manual (11 pages) ,
- Install manual (14 pages)
Table of Contents

Subscribe to Our Youtube Channel
Related Manuals for Verkada AC41


Summary of Contents for Verkada AC41
- Page 1 VERKADA INC Installation Manual AC41 — 4-Door Controller Verkada Inc. 405 E 4th Ave, San Mateo, CA, 94401 All specifications are subject to change without notice. sales@verkada.com Copyright © Verkada Inc. All rights reserved.
- Page 2 5/32 inch (4mm) drill bit for pilot holes • A Cat5 or Cat6 Ethernet cable Verkada Inc. 405 E 4th Ave, San Mateo, CA, 94401 All specifications are subject to change without notice. sales@verkada.com Copyright © Verkada Inc . All rights reserved.
-
Page 3: Status Led
Dual USB 2.0 Power Power supply monitor Dual Ethernet AC41 Testing Interface Status LED To make installation easier, the AC41 has four buttons Solid orange to help test or emulate different events. Controller is on and booting up Flashing orange •... -
Page 4: Getting Started
Ensure the USB-C and other mating features are aligned for correct fitment. • Once the AC41 has been mounted, simply remove the cassette, install the necessary wires into the cassette, and plug the cassette back into the AC41. Verkada Inc. 405 E 4th Ave, San Mateo, CA, 94401 All specifications are subject to change without notice. -
Page 5: Recommended Wiring
• The other end of the drain wire shouldn’t be connected to anything. Required Network Settings An Ethernet connection with DHCP must be used to connect the AC41 to the Local Area Network (LAN). You also need to configure firewall settings to communicate with the AC41. -
Page 6: Install The Mount
VERKADA INC CONFIDENTIAL AC41 — INSTALLATION MANUAL INSTALLATION Mounting This section takes you through how to mount the AC41. Disconnect the Mount To remove the wall mount, unscrew the two security torx screws from the inside. Remove the Closet Once the security screws are fully removed, slide the wall mount down and away from the main enclosure. - Page 7 Fasten the two security torx screws to secure the enclosure to the mounting plate. Verkada Inc. 405 E 4th Ave, San Mateo, CA, 94401 All specifications are subject to change without notice. sales@verkada.com Copyright © Verkada Inc . All rights reserved.
- Page 8 Failure to do so can damage the AC41. The AC41 comes equipped with a Form C relay that can be driven dry or wet. AC41 is rated to power 12V locks up to 700mA and 24V locks up to 350mA.
- Page 9 COM port as shown in • Set it to “24VDC” for 24 Volt locking hardware the diagrams below. The AC41 is rated to power 12V locks up to 700mA and 24V locks up to 350mA. Fail Safe Fail Secure •...
-
Page 10: Connecting The Reader
Connecting the Reader The AC41 is rated to power readers at 12V up to 250mA via the + (VIN) and – (GND) connection. Verkada readers use the far left 4-port inputs while Standard Wiegand readers use the middle 6-port inputs. - Page 11 For safety-related applications, wire the REX directly to the mag lock. You can wire additional REX switches and sensors to the door cassette if needed. DRY Configuration WET Configuration Verkada Inc. 405 E 4th Ave, San Mateo, CA, 94401 All specifications are subject to change without notice. sales@verkada.com Copyright © Verkada Inc . All rights reserved.
Need help?
Do you have a question about the AC41 and is the answer not in the manual?
Questions and answers