
Related Manuals for Bosch PPS9A6B90A


Summary of Contents for Bosch PPS9A6B90A
- Page 1 Gas hob PPS9A6B90A This cooktop is approved for use with Natural Gas and Universal LPG. Leave these instructions with the owner. USER INSTRUCTIONS INSTALLATION INSTRUCTIONS MAINTENANCE INSTRUCTIONS...
-
Page 2: Table Of Contents
Additional information on products, accessories, maximum height of 2000 metres above sea replacement parts and services can be found at level. www.bosch-home.com and in the online shop www.bosch-eshop.com Do not use lids or hob guards for children which are not recommended by the hob manufacturer. -
Page 3: Important Safety Information
Important safety information This appliance is not intended for use by (Important safety persons (including children) with reduced information physical, sensory or mental capabilities, or lack of experience and knowledge, unless they have been given supervision or D O NOT MODIFY THIS APPLIANCE. I m p o r t a n t s a f e t y i n f o r m a t i o n instruction concerning use of the appliance by DO NOT USE OR STORE FLAMMABLE... -
Page 4: What To Do If You Smell Gas
Important safety information The burners get very hot. Do not rest What to do if you smell gas Risk of fire! ■ inflammable objects on the hob. Do not Do not try to light the appliance. store objects on the hob. ■... -
Page 5: Installation And Connection
Installation and connection Preparing to install 5Installation and connection Refer to AS/NZS 5601.1 for piping size details. These built-in cooktops are intended to be inserted in a S tatutory requirements benchtop cutout. I n s t a l l a t i o n a n d c o n n e c t i o n This installation must conform with the following: Do not stick the cooktop onto the worktop with silicone. -
Page 6: Clearances
Installation and connection Clearances Installation of cooktop into the kitchen bench A range hood fitted above the top must be installed according to the installation instructions for the range Side clearances: If the distance measured from the hood. A minimum distance of 650 mm is required for a periphery of the nearest burner to any vertical surface is range hood and 750 mm for an exhaust fan. -
Page 7: Electrical Connection
Installation and connection Electrical connection B) Flush installation Complete a normal installation of the appliance An electrical 10 amp socket needs to be within 1 m of making sure that it is surrounded by a uniform slot. the hotplate to allow electrical connection. The socket The hob surface should be slightly below the work must remain accessible after installation of the appliance. -
Page 8: Gas Connection
Installation and connection Gas connection deformation and should be able to be inspected along its entire length with the cooktop in the During the planning stage, consider the position of installed position. Unions compatible with the hose supply connections. fittings must be used and all connections tested for gas leaks. - Page 9 Installation and connection Remove all pan supports, burner caps and If necessary, use a Torx screwdriver to adjust the distributors. bypass screws: To replace the injectors, use the key that is available A: For ULPG the bypass screws must be tightened from our technical service with code 340847 (for properly.
-
Page 10: Getting To Know Your Appliance
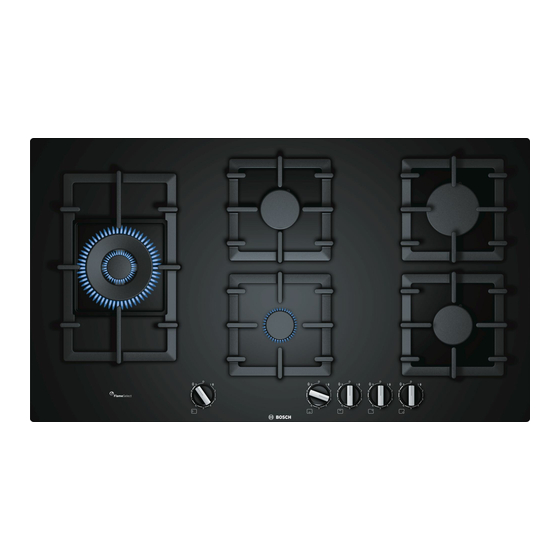
Getting to know your appliance It is essential to ensure that all the burner parts and pan *Getting to know your supports are correctly installed for the appliance to appliance work correctly. Do not swap the burner caps around. Always remove the pan supports carefully. When moving a pan support, the pan supports next to it may B urner locations also move. -
Page 11: Gas Burners
Gas burners Safety system Simmer cap Only use the cap for cooking Your hob is equipped with a safety system with minimal power. Place the (thermocouple) that cuts off the gas when the burners simmer cap on the cover of the are accidentally switched off. -
Page 12: Settings Table And Tips
Settings table and tips Never use two burners or JSettings table and tips heat sources to heat one single pan. Do not use grill pans, S uitable pans earthenware casserole S e t t i n g s t a b l e a n d t i p s dishes, etc. - Page 13 Settings table and tips Information on how to cook food on the different Meal Total Step 1 Step 2 burners is displayed. We recommend using the first time in Burner ˜ § v ˜ § v burner that was mentioned. The model overview min.
- Page 14 Settings table and tips Meal Total Step 1 Step 2 Meal Total Step 1 Step 2 time in time in Burner Burner ˜ § v ˜ § v ˜ § v ˜ § v min. min. Chips Economy 10-15 ™ ™...
- Page 15 Settings table and tips Meal Total Step 1 Step 2 Meal Total Step 1 Step 2 time in time in Burner Burner ˜ § v ˜ § v ˜ § v ˜ § v min. min. Crêpes (x 4) Convenience products High-output 17-22 16-19...
-
Page 16: Cleaning And Maintenance
Cleaning and maintenance Caution! 2Cleaning and maintenance Do not remove the control knobs when cleaning the ■ appliance. The appliance may be damaged if moisture finds its way inside. C leaning C l e a n i n g a n d m a i n t e n a n c e Do not use steam cleaners. -
Page 17: Customer Service
Customer service Fault Possible cause Solution The kitchen smells of gas. A gas tap has been left on. Turn off the taps. Incorrect coupling of gas cylinder. Check that the coupling is sound. Possible gas leak. Shut off the gas supply, ventilate the premises and imme- diately notify an authorised installation technician to check and certify the installation. - Page 20 *9001250972* 9001250972 001214(C)
Need help?
Do you have a question about the PPS9A6B90A and is the answer not in the manual?
Questions and answers