Table of Contents
Advertisement
Quick Links
Slicer & Shredder
for 177MX20 & Other Mixers with #12 Hub
Models: 177MX20SHRDR, 177MX20SLICR, 177MX20SHSL
ITEM #
DESCRIPTION
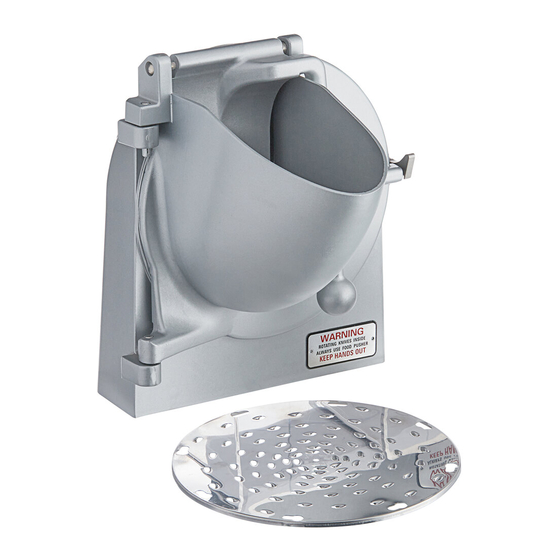
177MX20SHRDR Shredder Attachment with 3/16" Shredder Plate
177MX20SLICR
Slicer Attachment
177MX20SHSL
Slicer & Shredder Attachment with 3/16" Shredder Plate
Please read and keep these instructions. Indoor use only.
User Manual
User Manual
Attachment
09/2020
BLADE SIZE
FITS HUB
9"
#12
9"
#12
9"
#12
1
Advertisement
Table of Contents

Subscribe to Our Youtube Channel
Related Manuals for Avantco 177MX20SHRDR


Summary of Contents for Avantco 177MX20SHRDR
- Page 1 177MX20 & Other Mixers with #12 Hub Models: 177MX20SHRDR, 177MX20SLICR, 177MX20SHSL 09/2020 ITEM # DESCRIPTION BLADE SIZE FITS HUB 177MX20SHRDR Shredder Attachment with 3/16" Shredder Plate 9" 177MX20SLICR Slicer Attachment 9" 177MX20SHSL Slicer & Shredder Attachment with 3/16" Shredder Plate 9"...
- Page 2 User Manual...
-
Page 3: Table Of Contents
User Manual Table of Contents Safety . . . . . . . . . . . . . . . . . . . . . . . . . . . . . . . . . . . . . . . . . . . . . . . . 3 Exploded Parts Diagram . -
Page 4: Exploded Parts Diagram
User Manual Exploded Parts Diagram DESCRIPTION DESCRIPTION DESCRIPTION DESCRIPTION PS Pin (S) SK Screw DH Pin HO Lock PS Pin (L) SK Support DH Pin HO Screw PS Screw Plate for UVS-S DH Support HO Seal DO Screw (L) Plastic Knob DH Ring DL Pin DO Screw (S) -
Page 5: Installation
User Manual Installation Installing Slicer Knife Attachment onto Housing 1. Lift the knife assembly (Fig. 1) and insert it into the rear housing. (Fig. 2) 2. Lift the lock pin and seat the plate unit with a gentle twist. (Fig. 3) 3. -
Page 6: Loading Attachment Onto #12 Hub
User Manual Loading Attachment onto #12 Hub 1. Before mounting the unit, make sure that the power source is turned off. 2. Carefully lift the assembled unit (Fig. 11) and insert the square milled shaft end into the hub while turning the unit to engage the square end on the shaft with the square hole in the adapter. -
Page 7: Dismounting And Disassembly For Cleaning/Maintenance
User Manual Dismounting and Disassembly for Cleaning/Maintenance Dismounting 1. Make sure the power source is turned off or disconnected. 2. Loosen the thumbscrew (Fig. 16) and slide the unit from the hub. (Fig. 17) 3. Set the unit on a stable working surface. Fig. -
Page 8: Troubleshooting
User Manual Troubleshooting CAUTION: Review all safety notes and disconnect the electrical power supply to the equipment before attempting corrective measures . TROUBLE POSSIBLE CAUSE SOLUTION Attachment cannot be Rotate mixer's shaft slowly until Hub shaft is in let-in position installed onto the mixer hub it can be inserted Thrust bearing loose...
Need help?
Do you have a question about the 177MX20SHRDR and is the answer not in the manual?
Questions and answers