Advertisement
Quick Links
En
Confi guring the WT-4 for Upload to a
Computer (Ad-hoc Mode)
This document provides basic instructions on confi guring the WT-4 wireless transmitter and a Windows
XP Professional SP2 computer for transmission over an ad-hoc (peer-to-peer) network consisting solely
of the computer and WT-4.
Introduction
This section describes a simple wireless network consisting solely of the WT-4 and an computer, with
no connections to other networks or devices. Follow the steps below to use the WT-4 in this type of
network.
1: Get Ready ............................................................................... pg. 2
2: Assign the Computer an IP Address ........................................ pg. 3
3: Confi gure the Network ........................................................... pg. 5
4: Copy the Network Profi le to the Camera ................................. pg. 8
5: Connect to the Computer ...................................................... pg. 13
Confi guring the WT-4 for Upload to a Computer (Ad-hoc Mode)
Windows XP Professional (SP2)
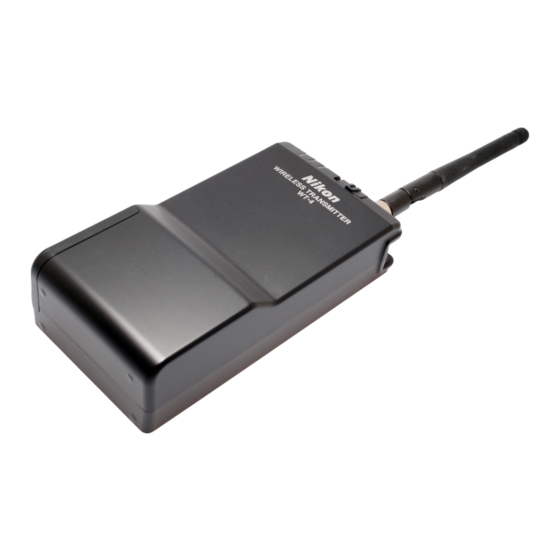
WT-4
Wireless
Introduction
Windows XP
Computer
1
Advertisement

Related Manuals for Nikon WT-4


Summary of Contents for Nikon WT-4
-
Page 1: Table Of Contents
Introduction This section describes a simple wireless network consisting solely of the WT-4 and an computer, with no connections to other networks or devices. Follow the steps below to use the WT-4 in this type of network. 1: Get Ready ................pg. 2 2: Assign the Computer an IP Address ........ -
Page 2: 1: Get Ready
• A Nikon D3 or D300 digital SLR camera • A fully-charged battery for the camera (an EN-EL4a for the D3, a EN-EL3e for the D300) • A computer with Windows XP Professional SP2, the WT-4 Setup Utility installed • A memory card •... -
Page 3: 2: Assign The Computer An Ip Address
Click Start and select All Programs > Accessories > Communications > Network Connections. 2 - 2 Right-click the Wireless Network Connection icon and select Properties from the menu that appears. Confi guring the WT-4 for Upload to a Computer (Ad-hoc Mode) Windows XP Professional (SP2) - Page 4 Click OK to exit and then click OK to close the properties dialog. This completes the process of assigning an IP address to the computer. Confi guring the WT-4 for Upload to a Computer (Ad-hoc Mode) Windows XP Professional (SP2)
-
Page 5: 3: Confi Gure The Network
Wireless Network Connection is disabled, or if Wireless Zero Confi guration is active in the Performance and Maintenance > Administrative Tools > Services Control Panel. Confi guring the WT-4 for Upload to a Computer (Ad-hoc Mode) Windows XP Professional (SP2) - Page 6 3: Confi gure the Network 3 - 4 Select Use Windows to confi gure my wireless network settings. 3 - 5 Click Add. Confi guring the WT-4 for Upload to a Computer (Ad-hoc Mode) Windows XP Professional (SP2)
- Page 7 • Key index (advanced): If WEP is selected for Data encryption, choose a key index. 3 - 7 Click OK. Network setup is now complete. Confi guring the WT-4 for Upload to a Computer (Ad-hoc Mode) Windows XP Professional (SP2)
-
Page 8: 4: Copy The Network Profi Le To The Camera
4: Copy the Network Profi le to the Camera Use the WT-4 setup utility to copy the network profi le to the camera. Before proceeding, make sure that MTP/PTP is selected for the USB option in the camera setup menu. - Page 9 (in this example, PC1). • Profi le type: Choose Computer. • Interface type: Choose Wireless & Ethernet for networks that include wireless, or Ethernet only for Ethernet-only networks. Confi guring the WT-4 for Upload to a Computer (Ad-hoc Mode) Windows XP Professional (SP2)
- Page 10 • Communication mode: Ad hoc • Channel: 1 • Authentication: None (open networks only) • Encryption: WEP64 • Encryption key: abc12 • Key Index: 1 Confi guring the WT-4 for Upload to a Computer (Ad-hoc Mode) Windows XP Professional (SP2)
- Page 11 Choosing an IP Address Be sure that the address for the WT-4 is diff erent from the address used for the computer. The addresses for computer and WT-4 must however belong to the same class. In this example, we will use 192.168.1.3 for the computer and 192.168.1.4 for the WT-4.
- Page 12 Select Finish wizard and click Next. 4 - 12 Turn the camera off and disconnect the USB cable. The network profi le has now been copied to the camera. Confi guring the WT-4 for Upload to a Computer (Ad-hoc Mode) Windows XP Professional (SP2)
-
Page 13: 5: Connect To The Computer
In this step, you will establish a wireless connection between the WT-4 and the computer. Before connecting the WT-4, select MTP/PTP for the USB option in the camera setup menu and confi rm that the host computer is running and the user is logged in. - Page 14 This can be avoided by setting the software to allow protocols send and receive access to TCP ports 15740 and UDP ports 5353. For more information, see the documentation for the software or fi rewall. Confi guring the WT-4 for Upload to a Computer (Ad-hoc Mode) Windows XP Professional (SP2)
Need help?
Do you have a question about the WT-4 and is the answer not in the manual?
Questions and answers