Advertisement
Table of Contents
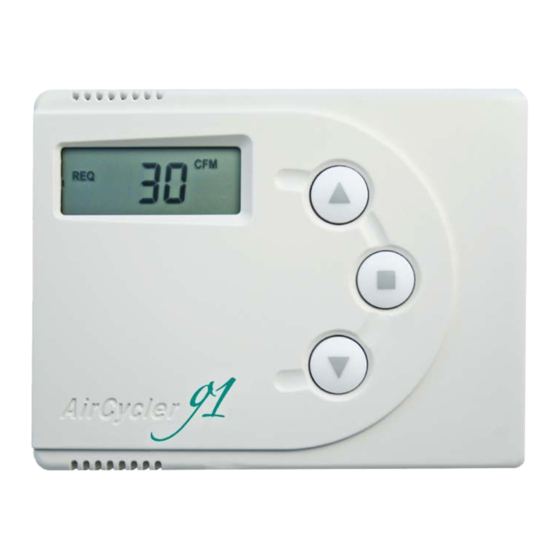
Testing the AirCycler® g1 completed installation is a
simple process that includes testing the controller's
connection to the thermostat, fresh air damper and
furnace.
PLEASE FOLLOW THE STEPS BELOW
1. Turn thermostat FAN setting to ON.
®
2. Confirm AirCycler
3. Confirm furnace fan is running.
4. Remove AirCycler
5. Place the AirCycler® g1 back on the base.
6. Turn thermostat FAN setting back to AUTO to return to normal operation.
7. Confirm that AirCycler® g1 display shows number/percentage complete.
Testing is complete
See reverse for troubleshooting tips and frequently asked questions
®
g1 display shows FAN and OA (damper open).
®
g1 from its base. Confirm furnace fan has shut off.
OA - FRESH AIR DAMPER
FAN ON FROM
THERMOSTAT
AirCycler® g1 Installation Testing Guide
IS OPEN
PERCENTAGE OF VENTILATION
COMPLETE
LCD DISPLAY
Advertisement
Table of Contents

Related Manuals for AirCycler g1


Summary of Contents for AirCycler g1
- Page 1 3. Confirm furnace fan is running. ® 4. Remove AirCycler g1 from its base. Confirm furnace fan has shut off. 5. Place the AirCycler® g1 back on the base. 6. Turn thermostat FAN setting back to AUTO to return to normal operation.
- Page 2 No, all settings are saved in non-volatile memory. No battery is needed. The AirCycler® g1 has a small lithium battery to keep the clock running if you are not ventilating 24hrs a day and are using that feature. It will maintain the time without power for at least 14 days.
Need help?
Do you have a question about the g1 and is the answer not in the manual?
Questions and answers