Advertisement
Quick Links
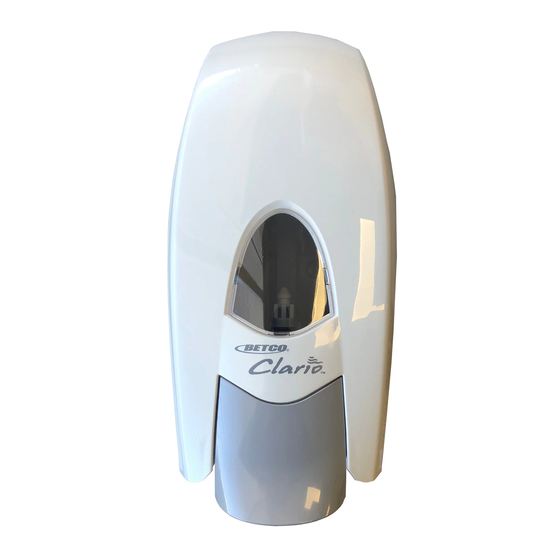
What's included:
Removable key
Permanent key
Liquid or foam pumps, alcohol towelette, wall
anchors and screws, foam adhesive strips and
dispenser keys.
To Change the Pump Assembly:
Before replacing pump assembly, remove bag
of product from dispenser/pump.
1. Depress tabs in the back plate of the dispenser
and push pump assembly up to remove the
pump assembly.
2. To insert a new pump assembly, ensure that the
new pump assembly is flush to the back plate
and is aligned with pump assembly brackets.
3. Gently push down until the back plate tabs snap
into place to secure new pump assembly.
HAND CARE PROGRAM
©2011 Betco Corporation
All Rights Reserved.
1001 Brown Avenue
Toledo, Ohio 43607-0127
888-GO BETCO • www.betco.com
Rev. 3 05/2011
Item #91831-92
DISPENSER INSTRUCTIONS
Advertisement

Subscribe to Our Youtube Channel
Related Manuals for BETCO Clario


Summary of Contents for BETCO Clario
- Page 1 ©2011 Betco Corporation All Rights Reserved. 3. Gently push down until the back plate tabs snap 1001 Brown Avenue into place to secure new pump assembly. Toledo, Ohio 43607-0127 888-GO BETCO • www.betco.com Rev. 3 05/2011 Item #91831-92...
- Page 2 CAUTION: Mounting the Clario ™ Dispenser Mounting the Clario ® Dispenser with Anchors and Screws: with Double-Sided Tape: Correct Installation of this unit to ensure proper function and safety is the responsibility (Recommended mounting method, anchors and (Double-sided tape should only be used to of the installer.
Need help?
Do you have a question about the Clario and is the answer not in the manual?
Questions and answers
Caan the clario soap dispenser be mounted directly to a mirror using just the double stick tape?