
Subscribe to Our Youtube Channel
Related Manuals for Signet QC3632


Summary of Contents for Signet QC3632
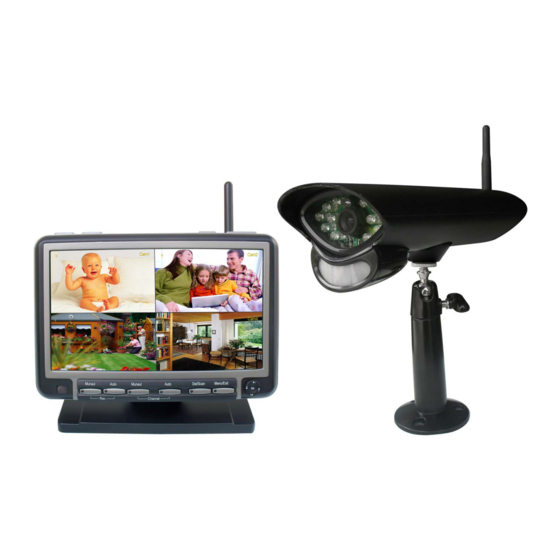
- Page 1 DIGITAL WIRELESS 7” LCD MONITORING SYSTEM WITH SD CARD RECORDING MODEL QC3632 INSTRUCTION MANUAL...
-
Page 2: Getting Started
Features • Digital wireless technology provides excellent image quality and clarity • Interference free, secure and private signal • Up to 300ft wireless transmission range • Two-way audio communication • SD card recording • Safety warning feature notifies you when out of range •... -
Page 3: Wireless Receiver
Wireless Receiver Front Controls 1. LCD Screen – Displays video from the camera(s) or displays system operations. 2. IR Window – Receives signals from remote control. It is recommended to point to this IR window when using remote control for receiver operation. - Page 4 Top Controls 8. Power Button – Press to turn the receiver ON or OFF. 9. TV/AV – When connecting the receiver to TV or VCR/DVR, press the button to output audio/video. When outputting audio and video, the LCD screen will be switched to blank. 10.
-
Page 5: Wireless Receiver Installation
Wireless Receiver Installation 1. Before receiver installation, choose one installation method from below 2 methods: 1). Desktop or table stand. For this method, you only need to place the receiver on a desktop. 2). Wall mounting Decide where to mount the receiver first. Make sure the range between the position and the nearest power output port is no more than 5 feet. -
Page 6: Wireless Camera
Wireless Camera Front & Side Controls 1. Camera Antenna – Sends & receives signals to or from the receiver. 2. AC Adaptor Jack – Plug the AC adaptor to the jack for camera’s power supply. 3. Wall Mounting Bracket – Use the bracket to mount the camera on a wall or other flat surfaces. - Page 7 Installation Warnings Aim the camera(s) to best optimize the viewing area: Select a location for the camera that provides a clear view of the area you want to receive, which is free from dust, and is not in line-of-sight to a strong light source or direct sunlight.
-
Page 8: Remote Control
Remote Control The remote control is supplied to operate the receiver. It includes all the operations on the receiver except talking back to camera. Note: When using remote control, it is recommended to have it point at the IR reception port. Quad –... -
Page 9: Viewing Mode
Viewing Mode 1. Signal Indicator – The signal indicator shows the strength of the signal being received from the camera. Signal Indicators: 2. Recording Indicator – When the receiver is recording, the red indicator ●REC will be shown on the LCD screen. -
Page 10: Sd Card Recording
SD Card Recording The system is designed for SD card recording. You can manually record the video at your desire or the receiver records when there is motion detected by the cameras. Before recording, you need to insert a SD card to the SD card slot. The system can support the size of up to 16GB SD card. Recording Mode Auto Recording Press (Record) Motion button on the remote control to set the system to automatic recording mode. - Page 11 Accessing Menu System The functions of the Menu button and navigation buttons/Enter button on the remote control are the same as the joystick and Menu button on the receiver. In this section we take the remote control as example to show the menu operation. Press the Menu button on the remote control to enter menu system.
- Page 12 - Schedule Record: Set the schedule recording time for each day. Time can be set from 00:00 to 23:59. Then select the menu ON to enable schedule recording. - Overwrite: Decide whether to cover the initial recorded files when SD card is full of memory. Pairing Menu The system comes with camera(s) that have already been paired.
- Page 13 - AV Out: Select the TV system when outputting the video/audio to TV, DVR/VCR or other viewing/recording devices. - Screen Saver: 5 pictures are stored in the system. You can select one picture to make it be shown on the LCD screen in scan mode.
-
Page 14: Camera Pairing
Camera Pairing The system comes with camera(s) that have already been paired. These cameras will communicate with the receiver once powered on. The pairing function assigns each camera to a different channel on the wireless receiver (up to 4 cameras), and is necessary for configuring additional cameras. NOTE: It is highly recommended to pair the cameras to the receiver before permanently mounting the cameras. -
Page 15: Troubleshooting
Troubleshooting If you have problems with the system, there is often a quick and simple solution. Please try the following: Problem Solution 1. Check all connections to the camera. Make sure the adaptor is plugged in. No picture from a camera 2. -
Page 16: Appendix #2 - Receiver Specifications
Appendix #2 - Receiver Specifications Display Size/Type 7” TFT LCD Resolution H: 480 RGB, V: 234 Viewing Angle H: 145 degree, V: 115 degree A/V Output Resolution/ Frame Rate VGA/ QVGA Selectable Power Requirement 5.0Vdc +/-10% Power Consumption 850mA Max Operating Temp Range -10~50 degree C Operating Humidity Range...
Need help?
Do you have a question about the QC3632 and is the answer not in the manual?
Questions and answers