CYMEDICA Orthopedics QB1 User Manual
Knee brace
Hide thumbs
Also See for QB1:
- User manual (40 pages) ,
- Quick reference manual (2 pages) ,
- Quick reference manual (2 pages)
Table of Contents

Subscribe to Our Youtube Channel
Related Manuals for CYMEDICA Orthopedics QB1


Summary of Contents for CYMEDICA Orthopedics QB1
- Page 1 CyMedica Orthopedics QB1 KNEE BRACE USER’S MANUAL with Trimmable Straps Read this manual carefully before operating the QB1 knee brace Customer Service 1-844-CYM-2014 QB-0090-020 Rev. A 07/2019 QB-0090-020 Rev. A, Page 1 of 10...
-
Page 2: Table Of Contents
WARNINGS & CAUTIONS ......... 4 QB1 Knee Brace ............4 Instructions for Applying the Knee Brace ....5 Instructions for Operating the QB1 Knee Brace ..7 Instructions for Detaching the QB1 Knee Brace ... 10 07/2019 QB-0090-020 Rev. A, Page 2 of 10... -
Page 3: Introduction
EXPLANATION OF SYMBOLS The following symbols are used in this user manual, on the device packaging, or on the device or accessory labeling. Refer to the QB1 User’s Manual (QB-0090-016 and QB-0090-017) for a glossary of the symbols. -
Page 4: Safety Information
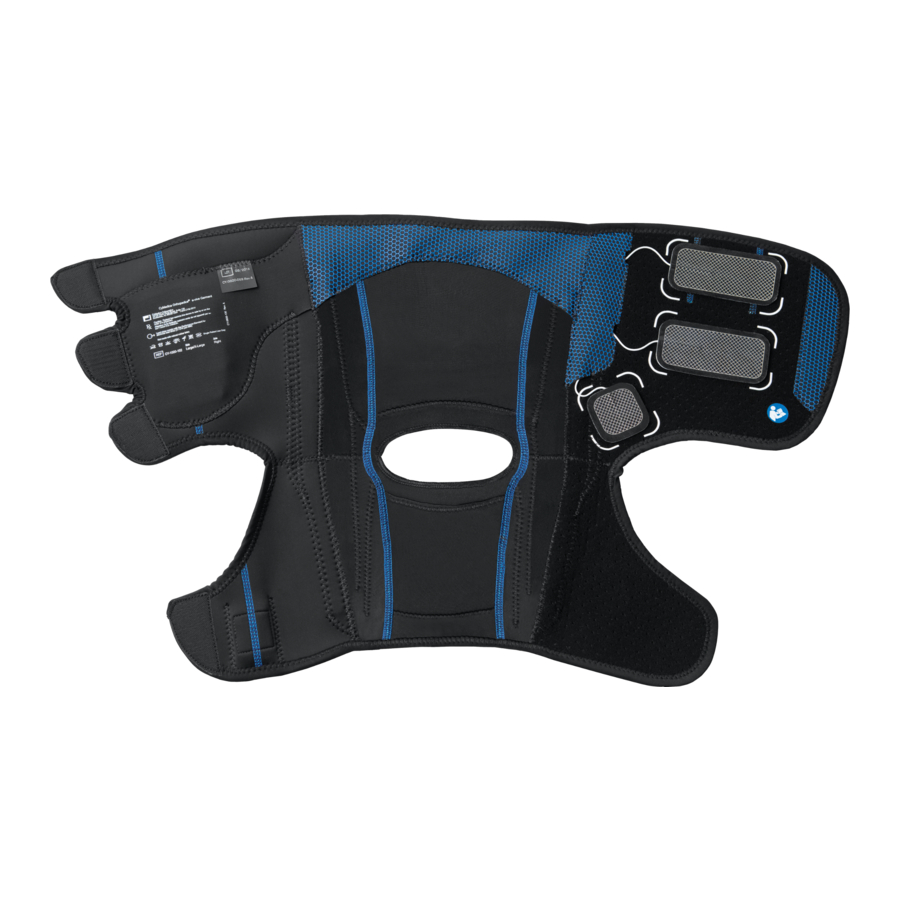
QB1 Knee Brace The QB1 knee brace is used with the QB1 knee conductive garment, refer to QB1 NMES System User’s Manual for information related to the conductive garment. -
Page 5: Instructions For Applying The Knee Brace
Flexion Stop Settings Hinge Dial Slide Lock Brace Bar Hinge Dial Lock Extension Stop Settings Instructions for Applying the Knee Brace INITIAL APPLICATION BY A MEDICAL PROFESSIONAL ONLY Position the Brace: Sit on the edge of a stable chair With the straps undone, place the brace behind the knee Position the hinge brace bars to the midline of the knee Center the hinges with the knee cap Secure the Brace:... - Page 6 Verify that the brace bars are aligned along with the midline of the leg. Brace strap D Brace strap B Brace strap C Brace strap A The brace should fit snug to the leg. Clinician may trim excess material as needed. The Alligator strap tabs enable easy strap trimming.
-
Page 7: Instructions For Operating The Qb1 Knee Brace
Using the lock out feature of the QB1 knee brace: The QB1 knee brace can be locked out at 0° (extension) via the slide lock to prevent knee motion. Locking the knee brace in extension: To lock out the brace in extension, fully extend your leg and align the slide lock between the two white lines on the hinge. - Page 8 3.4 Instructions for Operating the QB1 Knee Brace The QB1 knee brace can be used to limit or lock out the flexion and extension range of motion of the knee. Each brace has an independent hinge on both sides of the knee joint.
- Page 9 Extension Locking Disc Flexion Locking Disc Hinge Dial Slide Lock Using the Locking Disc to set Using the Locking Disc to set Extension Limit at 90° Extension Limit at 30° Locking the Hinge Dial Once the desired EXTENSION and FLEXION Limits have been set, the hinge dial should be rotated to the LOCK position to prevent unintentional rotation of the hinge dial.
-
Page 10: Instructions For Detaching The Qb1 Knee Brace
Brace Your doctor may request to use the knee brace for a period of weeks. The knee brace may be removed from the QB1 conductive garment. To do this, detach the straps and remove from the associated loops. Then, peel the brace bars, straps, and pockets away from the sides of the conductive garment.
Need help?
Do you have a question about the QB1 and is the answer not in the manual?
Questions and answers