Table of Contents
Advertisement
Quick Links
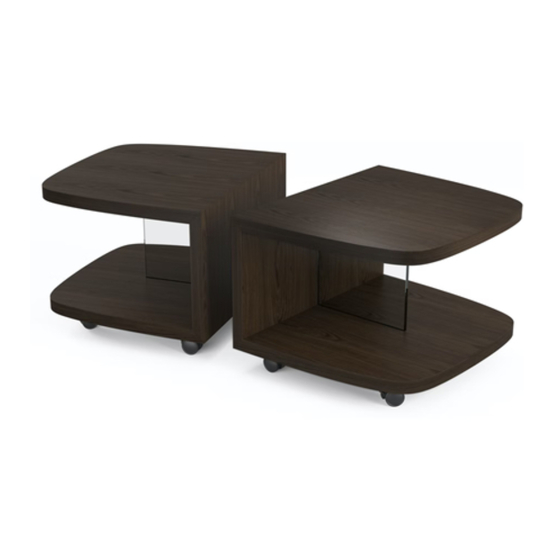
MÜV
Tables
Product Registration
Registering your new BDI product allows us to send you important
product updates, service information and helpful hints related to your BDI
products. Register today, and you will be entered to win free a
BINK table from BDI: www.bdiusa.com/register
Placement and Maintenance
Your Müv Table is designed for indoor use on level floors.
Clean glass with glass cleaner and wood veneer with a moist cloth.
Müv is engineered for easy assembly. Carefully follow this procedure to
prevent any damage. Do not use power tools for assembly of this product.
Step 1
Unpack and identify the parts listed below. The assembly workspace
should be a non-marring surface such as carpet. For missing hardware
pieces, contact BDI Customer Service at: customerservice@bdiusa.com.
For all other concerns, please contact your BDI retailer.
Designed by Matthew Weatherly
These distinctive product configurations are protected by US and international patents, trade dress, and/or
copyright laws. Muv & BDI are trademarks of Becker Designed, Inc. All rights reserved. ©2018, BDI
Made in China. 5.17.2019 V5
1252
™
bdiusa.com
customerservice@bdiusa.com
Component List
T1 Hex Driver x 1
H1 M4 x 12mm
Pan Head Screw x 32
C1 Top Panel x 2
A1 Glass Panel x 2
C2 Middle Panel x 2
C3 Bottom Panel x 2
H2 Swivel Locking
Casters x 8
Tool Required:
Phillips Screwdriver
Advertisement
Table of Contents

Subscribe to Our Youtube Channel
Related Manuals for BDI MÜV 1252


Summary of Contents for BDI MÜV 1252
- Page 1 Phillips Screwdriver Designed by Matthew Weatherly These distinctive product configurations are protected by US and international patents, trade dress, and/or copyright laws. Muv & BDI are trademarks of Becker Designed, Inc. All rights reserved. ©2018, BDI Made in China. 5.17.2019 V5...
- Page 2 Step 2 - Place the top panel C1 (which has a finger groove around the bottom edge as shown). Remove the protective film from glass panel A1. Slide one edge of glass panel A1 (with aluminum rail) into the matching slot on bottom side of top panel C1.
- Page 3 Step 4 - Place hex driver T1 into the access holes at a 45 degree angle and tighten the connectors by turning clockwise about 1/4 turn until tight. You may need to wiggle the hex driver until the end of the driver engag- es with the connecting hardware.
- Page 4 Step 6 - Tighten the 4 miter joint connectors by inserting hex driver T1 into the slanted holes and turning clockwise until tight. T1 Hex Driver (45˚ angle) Step 7 - Attach each swivel locking caster H2 with pan-head screws H1 and a Phillips screwdriver. Repeat for all 4 casters.
- Page 5 Step 8 - Repeat steps 2-7 and assemble the other half of the table. Step 9- With help from another person, carefully position the tables onto their wheels. Step 10 - Your Müv Coffee Table comes with lockable casters. Raise the tab to lock, lower the tab to unlock. Caution! •...
Need help?
Do you have a question about the MÜV 1252 and is the answer not in the manual?
Questions and answers