Table of Contents
Advertisement
Quick Links
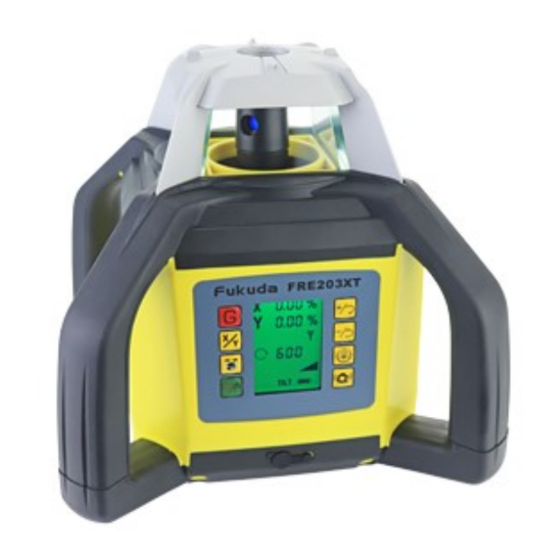
FRE-203XT
INSTRUCTIONS
from Laser Levels Online
www.laser-level.co.uk
Tel: 08000 869 769
Thank you for purchasing the FRE-203XT TRUE GRADE Rotary laser level kit.
These Instructions are intended to explain the quick basics to operating this
equipment. We also include with this kit a useful data sheet: "Gradient
Conversion Chart" to convert gradients to percentage grade.
If you need any more help/advice or the instrument requires calibration or
repair, then please contact our Service Dept on tel. 01246 260 007.
We would be pleased to help.
Power source:
This laser level has a special battery pack located in the base. Removal &
refitting is via a central screw - its finger tight, so no tools are required.
The battery contains 4pc x "sealed for life" Ni-MH type C, 4000mAh, 1.2V
cells. Please note that this battery pack can be charged either in or outside of
the laser.
The UK mains Charger (supplied) will charge most batteries in around 7 hours
to give around 20hrs of continuous use. It takes 4 to 5 charge/discharge
cycles for the battery pack to reach its maximum capacity.
Mains Charger:
The general procedure to adopt is use the laser during the day & charge-up
overnight. You cannot damage the laser by "over-charging" the batteries.
Plug the charger into a UK mains supply & the red LED flashes every 1 sec.
Connect to the front mounted socket on the laser (or direct to the battery
pack) & this LED should be ON continuously:
ie. Red LED = charging; Green LED = sufficient charge to operate the laser.
Even though the Green LED is ON, we recommend a full 6-8 hour charge.
1
Advertisement
Table of Contents

Subscribe to Our Youtube Channel
Related Manuals for Fukuda FRE-203XT


Summary of Contents for Fukuda FRE-203XT
- Page 1 Tel: 08000 869 769 Thank you for purchasing the FRE-203XT TRUE GRADE Rotary laser level kit. These Instructions are intended to explain the quick basics to operating this equipment. We also include with this kit a useful data sheet: “Gradient Conversion Chart”...
- Page 2 For Interior work we suggest using slower speeds, where the laser beam is easier to see by eye; but for Exterior Groundworks – run the FRE-203XT @ its maximum speed of 600rpm, which gives the best working range when used with the supplied FRD400R Laser Detector.
- Page 3 Setting a single axis slope - This sets a grade in the X axis. Procedure – switch ON; the FRE-203XT then auto levels. Press the red "G" button on the Remote Control or laser's keypad & the "X" axis flashes on the screen.
- Page 4 Operated via the bottom, right-hand button, showing a "picture of a tilted instrument". nb. its not an option found on the Remote Control. Once the FRE-203XT is ON and rotating in the auto (self) levelled mode, the automatic drift system can be activated. Press the button & TILT will be displayed on the screen.
- Page 5 If the sun is low in the sky & shining into the red window, shield it with a cupped hand to prevent false readings. Positioning the FRE-203XT itself in full sun is no problem, but the detector window can in some instances, be affected by direct bright sunlight or reflections.
- Page 6 attached User Data sheets....How to set 90 degree SQUARING with a Rotary Laser Level The following description in this guide, explains the general principles of setting-out 90 degree squaring when using a rotary laser level. It speeds up the classic 3x4x5 triangle method, giving better accuracy and alignment over much longer distances.
- Page 7 *mark*. So simply mark two positions say 100mm & 1m away from the laser level & strike a line back under the laser’s cover to the datum *mark* to give the intersection of both axis. Fukuda FRE-203X laser level models with Squaring facility: Applicable models are: FRE-203XR...
Need help?
Do you have a question about the FRE-203XT and is the answer not in the manual?
Questions and answers