Advertisement
Description :
The OBD Saver disables effectively every access to ECUs via OBD – Interface (e.g. electronic
immobilizer). The OBD – interface is locked with the OBD Saver. Thus connecting any device
to the OBD interface is impossible and the connection to the car their fore denied.
When locked by the OBD Saver your car is protected very effectively. The control unit which
controls the ignition of your car cannot be deactivated via OBD. From this time on your car
will only start with the original ignition keys!
Scope of delivery :
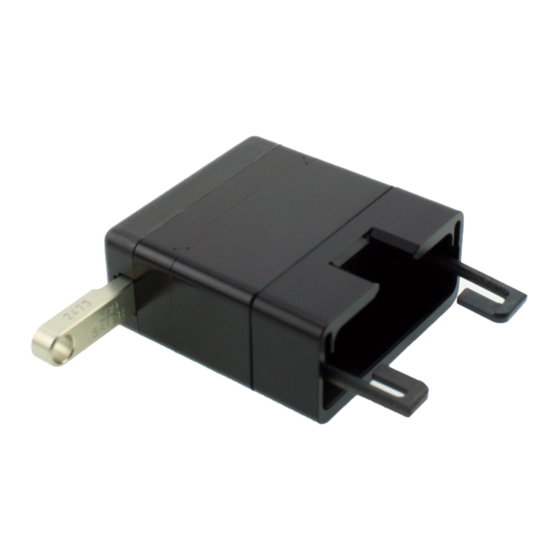
1x OBD-Saver enclosure including the lock
2x keys
1x allen wrench 2,5
2x allen srew M3 + 1x spare screw
2x window sticker
Mounting :
Mounting Instruction
OBD-Saver
VAG
pictured mounting
instruction under
www.obd-saver.de
• put the lower lock part onto the OBD
socket jack (mounting is possible only in
one specific position!)
Advertisement
Table of Contents

Summary of Contents for OK-Computers OBD-Saver VAG
- Page 1 Mounting Instruction OBD-Saver Description : The OBD Saver disables effectively every access to ECUs via OBD – Interface (e.g. electronic immobilizer). The OBD – interface is locked with the OBD Saver. Thus connecting any device to the OBD interface is impossible and the connection to the car their fore denied. When locked by the OBD Saver your car is protected very effectively.
- Page 2 1. push both hooks entirely into the OBD socket jack 2. turn the hooks towards the OBD socket jack and make shure that they are centrical*. Pull the hooks into the holes of the OBD socket jack 3. push the brackets under the hooks •...
- Page 3 Mounting tip If you mount the lower part of the OBD Saver VAG as in the picture, you will no longer fall out the sliding pieces and the hooks. If you have trouble turning or pulling the hooks have, then try the problematic hook (usually the right) around 270 °...
- Page 4 Assembly sequence...
Need help?
Do you have a question about the OBD-Saver VAG and is the answer not in the manual?
Questions and answers