Advertisement
Quick Links
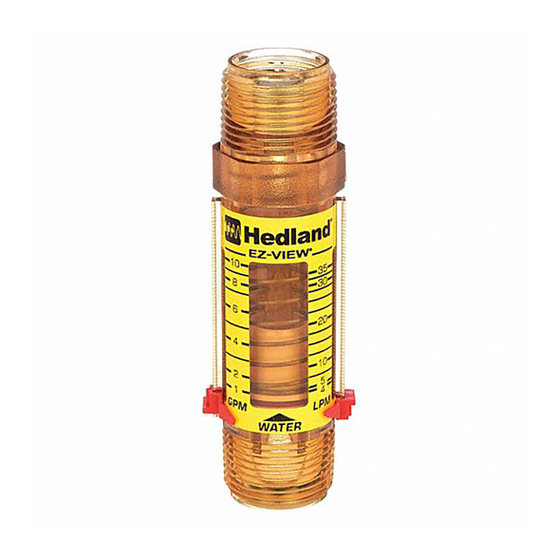
Variable Area Flow Meter
EZ-View® Fittings Assembly
VAM-QG-03804-EN-01 (February 2019)
Control. Manage. Optimize.
Hedland is a registered trademark of Badger Meter, Inc. Other trademarks appearing in this document are the
property of their respective entities. Due to continuous research, product improvements and enhancements,
Badger Meter reserves the right to change product or system specifications without notice, except to the extent an
outstanding contractual obligation exists. © 2019 Badger Meter, Inc. All rights reserved.
www.badgermeter.com
The Americas | Badger Meter | 4545 West Brown Deer Rd | PO Box 245036 | Milwaukee, WI 53224-9536 | 800-876-3837 | 414-355-0400
México | Badger Meter de las Americas, S.A. de C.V. | Pedro Luis Ogazón N°32 | Esq. Angelina N°24 | Colonia Guadalupe Inn | CP 01050 | México,
DF | México | +52-55-5662-0882
Europe, Eastern Europe Branch Office (for Poland, Latvia, Lithuania, Estonia, Ukraine, Belarus) | Badger Meter Europe | ul. Korfantego 6 |
44-193 Knurów | Poland | +48-32-236-8787
Europe, Middle East and Africa | Badger Meter Europa GmbH | Nurtinger Str 76 | 72639 Neuffen | Germany | +49-7025-9208-0
Europe, Middle East Branch Office | Badger Meter Europe | PO Box 341442 | Dubai Silicon Oasis, Head Quarter Building, Wing C, Office #C209 |
Dubai / UAE | +971-4-371 2503
Slovakia | Badger Meter Slovakia s.r.o. | Racianska 109/B | 831 02 Bratislava, Slovakia | +421-2-44 63 83 01
Asia Pacific | Badger Meter | 80 Marine Parade Rd | 1907 Parkway Parade | Singapore 449269 | +65-63464836
Switzerland | Badger Meter Swiss AG | Mittelholzerstrasse 8 | 3006 Bern | Switzerland | +41-31-932 01 11
INTRODUCTION
Follow the instructions in this guide to assemble an EZ-View
Variable Area Flow Meter.
PRELIMINARY INSPECTION
When the meter arrives, it should have red caps in both ends, as
shown in
Figure
If the cone, piston and spring are not inside the meter, follow
Quick Guide
all the instructions in this guide to install them and the
fittings. If the cone, piston and spring are already inside the
meter, simply install the fittings according to instructions in
"First Fitting"
and
CONE INSTALLATION
1. Stand the body on a table with the pointer guide rails toward
the top
N
The deeper, inside ledge should be facing up.
NOTE:
1.
Figure 1: Red Caps
"Spring
Installation".
Figure 2: Cone Installation
2. Insert the cone into the body, making sure it rests flush on
the ledge.
FIRST FITTING
1. Place the o-rings in the o-ring grooves on both end caps.
N
Each end connection/fitting uses two o-rings. The
NOTE:
o-rings will sit on the lip above the point where the
threads start.
Figure 3: Lubricate o-rings
2. Lubricate the o-rings with DTE-24 oil or equivalent.
3. By hand or with a wrench, screw one fitting flush onto the
end of the body to secure the cone.
N
If at any time during the installation the fitting needs to
NOTE:
be unscrewed (even partially), unscrew the end cap all
the way and make sure that the o-ring is seated properly
on the end cap before putting the end cap back on.
4. Turn the body over so that the end with the assembled end
fitting is on the table.
PISTON INSTALLATION
1. Locate the piston.
Figure 4: Piston
Advertisement

Subscribe to Our Youtube Channel
Related Manuals for Badger Meter Hedland EZ-View


Summary of Contents for Badger Meter Hedland EZ-View
- Page 1 The Americas | Badger Meter | 4545 West Brown Deer Rd | PO Box 245036 | Milwaukee, WI 53224-9536 | 800-876-3837 | 414-355-0400 México | Badger Meter de las Americas, S.A. de C.V. | Pedro Luis Ogazón N°32 | Esq. Angelina N°24 | Colonia Guadalupe Inn | CP 01050 | México, DF | México | +52-55-5662-0882...
- Page 2 2. Place the piston inside the meter, over the cone as shown in 2. Secure the already fastened fitting of the meter in a vice or 5. Using appropriate torque wrench with locknut socket, dedicated fixture. tighten the fitting to 85…90 ft·lb. Figure Figure 9: Torque wrench 6.
Need help?
Do you have a question about the Hedland EZ-View and is the answer not in the manual?
Questions and answers