Advertisement
Quick Assembly Guide
Parts List:
Item
Part Name/Description
1
Left Side Support
2
Right Side Support
3
Top header
4
Bottom header
5
Door, curved
6
Left side door, end cap
7
Right side Door, end cap
8
Gasket seal
9
Metal Guard
10
Rubber seal
11
L-screw hook
1
Insert top and bottom
headers into the right-side
lateral support.
5
Properly secure the MWI
lateral supports using a
rubber mallet.
Use caution!
NOTE:
The following guidelines should be used and closely followed when assembling and installing MWI.
In order to assure proper performance and correct functioning of the inlets, the installer must understand the importance of quality construction-work and use
quality materials. Attention to details relating the assembly work, proper sealing or prevention of air leaks is a must and must be undertaken by the installer.
WARNINGS: Do not overtighten the screws! Tighten until flush. Do not dent the housing! Overtightening the screws will result in damage to MWI.
Ag/MIT/IGB-2414-12/18 Rev 6.0
QTY/
QTY/
Inlet
Box
1
6
1
6
1
6
1
6
1
6
1
6
1
6
2
12
1
6
1
6
2
12
2
Slide the curved louver in
the bottom header slot.
6
Insert the rubber seal in
the top header slot and
along door sides.
3
10
6
1
4
11
Slide the metal grid in the
headers slot.
!
WARNING:
DO NOT use metal hammer to secure the MWI. The use
of a metal hammer can result in damage to MWI.
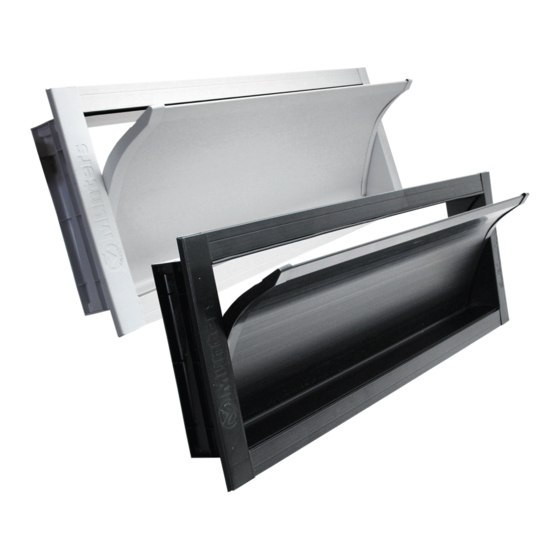
MWI
Side Wall Inlet
5
7
9
3
Slide insert the left side
lateral support.
2
8
4
1
Advertisement
Table of Contents

Subscribe to Our Youtube Channel
Related Manuals for Munters MWI Series


Summary of Contents for Munters MWI Series
- Page 1 Quick Assembly Guide Side Wall Inlet Parts List: QTY/ QTY/ Item Part Name/Description Inlet Left Side Support Right Side Support Top header Bottom header Door, curved Left side door, end cap Right side Door, end cap Gasket seal Metal Guard Rubber seal L-screw hook Insert top and bottom...
- Page 2 NOTES: Avoid interference with the pulling cable or rod. Caulk all sides four internal edges of the MWI after Australia Phone 61 2 8843 1594, agh.info@munters.com.au, Brazil Phone +55 41 3317 5050, contato@munters.com, Canada Phone +1 517 676 7070, aghort.info@munters.com,...
Need help?
Do you have a question about the MWI Series and is the answer not in the manual?
Questions and answers