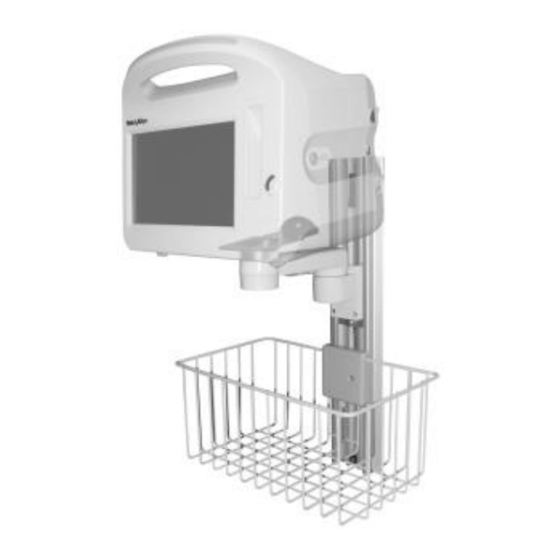
GCX M Series Installation Manual
Arm and extension for mounting philips fms on left side of dräger apollo anesthesia machine
Hide thumbs
Also See for M Series:
- Assembly installation manual (20 pages) ,
- Installation manual (4 pages) ,
- Mounting assembly installation manual (3 pages)
Advertisement
The purpose of this guide is to describe installation of mounting assembly on the anesthesia machine.
WARNING: USE OF MOUNTING HARDWARE AND MONITORING COMPONENTS OTHER THAN
THOSE DESCRIBED IN THIS DOCUMENT MAY RESULT IN SERIOUS INJURY DUE TO TIPPING OF
THE ANESTHESIA MACHINE.
WARNING: ALL DEVICES AND MOUNTING EQUIPMENT SHOULD BE POSITIONED INWARD, CLOSE
TO THE ANESTHESIA MACHINE, DURING TRANSPORT.
Installer: When installation is completed, provide these instructions and all related documentation to the end
user for future reference.
Parts Reference
The following parts and hardware are included in this installation kit (hardware not shown):
Item #
Description
1
M-Series Arm, 12''
2
Down Post, 6''
3
#10-32 x 3/8'' Socket Head Cap Screw (SHCS)
4
6'' Channel Extension
5
Nut Plate
6
M6 x 25mm Flat Head Socket Cap Screw (FHSCS)
7
1/8'' Hex Wrench
8
5/32'' Hex Wrench
Tools Required
• 5/32'' hex wrench (provided)
• 1/8'' hex wrench (provided)
Installation Guide
M-Series Arm and Extension for Mounting Philips FMS
on Left Side of Dräger Apollo Anesthesia Machine
Qty
1
1
1
3
1
2
2
4
1
1
DU-DR-0036-28 Rev A 5/03/08 GCX Corp. Page 1 of 4
2
Advertisement
Table of Contents

Summary of Contents for GCX M Series
- Page 1 6'' Channel Extension Nut Plate M6 x 25mm Flat Head Socket Cap Screw (FHSCS) 1/8'' Hex Wrench 5/32'' Hex Wrench Tools Required • 5/32'' hex wrench (provided) • 1/8'' hex wrench (provided) DU-DR-0036-28 Rev A 5/03/08 GCX Corp. Page 1 of 4...
- Page 2 4. Using the 5/32'' hex wrench provided, tighten bottom screw first, then top screw (below right). Left Side Accessory Track Guide Nut Plates into Accessory Track Tighten Bottom Screw First DU-DR-0036-28 Rev A 5/03/08 GCX Corp. Page 2 of 4...
- Page 3 Follow Philips instructions for mounting FMS on Down Post. A Philips-supplied clamp is required for this installation. Installation Note: The clamp on the rear of the FMS may be rotated 90º to allow vertical mounting of the FMS as shown below right. DU-DR-0036-28 Rev A 5/03/08 GCX Corp. Page 3 of 4...
- Page 4 Cleaning the Mounting Assembly CAUTION: GCX makes no claims regarding the efficacy of the listed chemicals or processes as a means for controlling infection. Consult your hospital’s infection control officer or epidemiologist. To clean or sterilize mounted devices or accessory equipment, refer to the specific instructions delivered with those products.


Need help?
Do you have a question about the M Series and is the answer not in the manual?
Questions and answers