Drucker Diagnostics HORIZON 12 Flex Operator's Manual
Hide thumbs
Also See for HORIZON 12 Flex:
- Service manual (12 pages) ,
- Operator's manual (92 pages) ,
- Operator's manual (91 pages)
Table of Contents
Advertisement
Advertisement
Table of Contents

Related Manuals for Drucker Diagnostics HORIZON 12 Flex


Summary of Contents for Drucker Diagnostics HORIZON 12 Flex
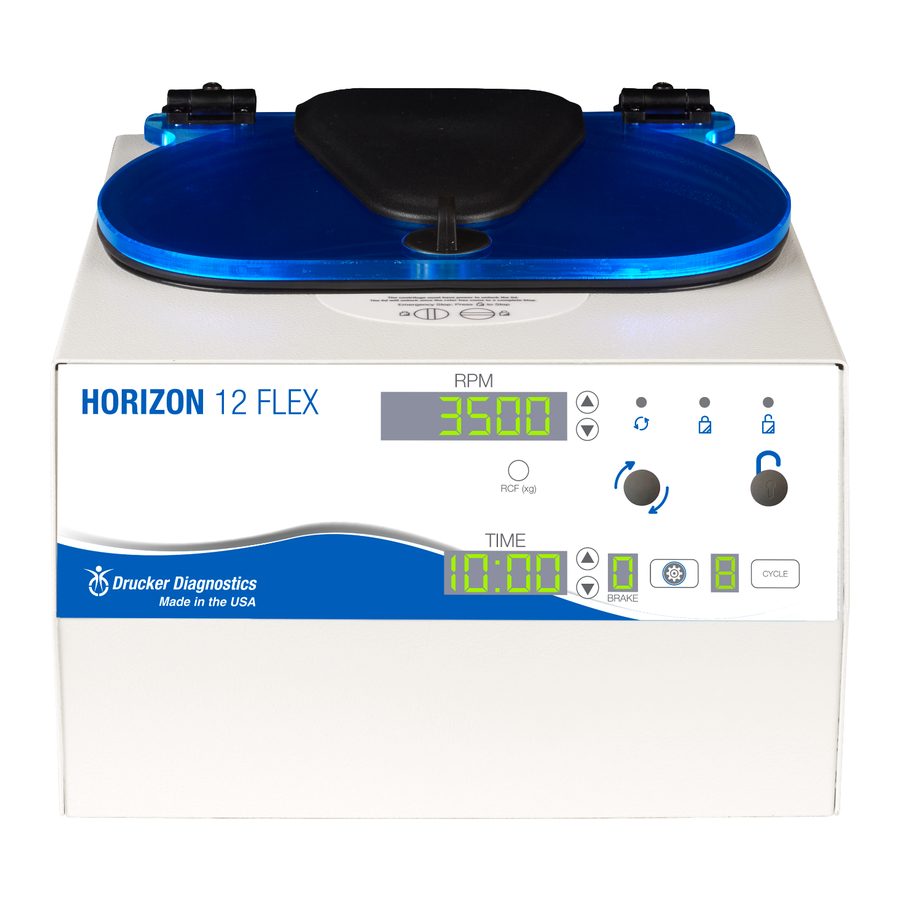
- Page 1 HORIZON 12 Flex, 24 Flex Operator’s Manual...
-
Page 3: Table Of Contents
ABLE OF ONTENTS Model Description .............................. 1 Features ..................................1 Intended Use ................................1 Warranty ..................................2 Initial Setup ................................. 2 Quick Start ................................3 Settings ................................4 Access the Menu................................ 4 Exit the Menu ................................4 Free Mode ................................. 5 Create New Cycle ............................... -
Page 5: Model Description
[Refer to the clinical laboratory method specified by the specimen receptacle manufacturer or established by the medical technology for the products applications.] Drucker Diagnostics – Customer Service: +1-814-692-7661 – CustomerService@DruckerDiagnostics.com | Page 1... -
Page 6: Warranty
ARRANTY Drucker Diagnostics warrants that this centrifuge is free from defects in workmanship and parts for 2 years. WARNING: For the safety of both the operator and service personnel, care should be taken when using this centrifuge if handling substances that are known to be toxic, radioactive or contaminated with pathogenic microorganisms. -
Page 7: Quick Start
Pressing the UNLOCK button during operation will terminate the Stop run and unlock the lid after the rotor has come to a stop. Cycle Selection Press the CYCLE button to select the desired saved cycle. Drucker Diagnostics – Customer Service: +1-814-692-7661 – CustomerService@DruckerDiagnostics.com | Page 3... -
Page 8: Settings
Access the Menu Press the GEAR button. XIT THE RESET Exit the Menu Press the GEAR button, followed by the CYCLE button. Exit the Menu Press the GEAR button. Drucker Diagnostics – Customer Service: +1-814-692-7661 – CustomerService@DruckerDiagnostics.com | Page 4... -
Page 9: Free Mode
With the lid open and the unit powered, press and hold the START Display Cycle Count button. The cycle count will be displayed until the START button is released. Drucker Diagnostics – Customer Service: +1-814-692-7661 – CustomerService@DruckerDiagnostics.com | Page 5... -
Page 10: Modifying A Preset
>. Press the GEAR button to return to the main programming menu. Save and Exit Press the GEAR button, followed by the CYCLE button to exit Settings Mode menu. Drucker Diagnostics – Customer Service: +1-814-692-7661 – CustomerService@DruckerDiagnostics.com | Page 6... -
Page 11: Deleting A Cycle
(3) Urine 3,500 3,200 1,800 HORIZON 12 Time Flex 1,800 xg 1,500 xg 500 xg G-Force 3,300 3,000 1,700 HORIZON 24 Time Flex 1,800 xg 1,500 xg 500 xg G-Force Drucker Diagnostics – Customer Service: +1-814-692-7661 – CustomerService@DruckerDiagnostics.com | Page 7... -
Page 12: Operation
Opposing tube holders must be equally loaded or empty or loaded with equally weighted samples. When loading only 3 tubes, they must be of equal weight. 12-T ENTRIFUGES Drucker Diagnostics – Customer Service: +1-814-692-7661 – CustomerService@DruckerDiagnostics.com | Page 8... -
Page 13: 24-Tube Centrifuges
When all six buckets are being used, the rotor must be loaded in the following configuration only. Opposing buckets do not need to be filled but must be loaded in exactly the same way. Drucker Diagnostics – Customer Service: +1-814-692-7661 – CustomerService@DruckerDiagnostics.com | Page 9... -
Page 14: Care And Preventative Maintenance
Drucker Diagnostics – Customer Service: +1-814-692-7661 – CustomerService@DruckerDiagnostics.com | Page 10... -
Page 15: Troubleshooting
Setting or Modifying a Saved Cycle. If the preset is not the desired length, follow the procedure on the same page to change the preset time. Drucker Diagnostics – Customer Service: +1-814-692-7661 – CustomerService@DruckerDiagnostics.com | Page 11... - Page 16 Make sure that the screw in the center of the rotor is tight. Clicking noise during braking gets loud o Tighten the center screw on the lid hinge. Lid does not stay up Drucker Diagnostics – Customer Service: +1-814-692-7661 – CustomerService@DruckerDiagnostics.com | Page 12...
-
Page 17: General Specifications
RCF or G-force = 0.0000284 x Rotor Radius (cm) x (RPM) Rotor Radius (in) x (RPM) HORIZON 12 Flex HORIZON 24 Flex Radius 5.25 in (13.3 cm) 6 in (15.3 cm) Drucker Diagnostics – Customer Service: +1-814-692-7661 – CustomerService@DruckerDiagnostics.com | Page 13... - Page 18 Product Family: HORIZON Series (HORIZON 12 Flex, 24 Flex) Complies with UL61010-1/CSA C22.2 No. 61010-1 and IEC61010-2-020 Protected by U.S. Patents #6,811,531, # 7,422,554, #D718,463, & #D734,489. Other Patents Pending FDA LISTED RoHS Compliant INSTRUCTIONS FOR DISPOSAL OF WEEE BY USERS IN THE EUROPEAN UNION This product must not be disposed of with other waste.
Need help?
Do you have a question about the HORIZON 12 Flex and is the answer not in the manual?
Questions and answers