Advertisement
Quick Links
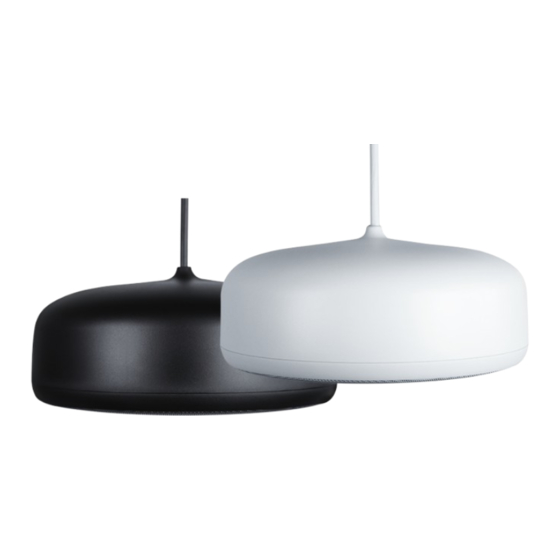
Desono P6 / P6-SM
Installation & Operation Guide
PRODUCT DESCRIPTION
Desono™ P6 and P6-SM are two-way passive coaxial
loudspeakers intended for full range music reproduction
in distributed audio applications. They deliver high
intelligibility coupled with a wide coverage area, allowing
system designers to use fewer speakers while maintaining
acceptable levels of speech intelligibility.
There are two different styles (models) of Desono pendants.
Designed with the installer in mind, the pendants come pre-
terminated with Magic Cable, a composite cable comprised
of two aircraft cables, two conductors jacketed separately,
and integrated ripcords that allow the installer to easily slice
through the cable jackets.
P6
A:
9300 S.W. Gemini Drive Beaverton, OR 97008 USA
FEATURES
• Two stylish designs
• 90° conical coverage
• Magic Cable is pre-terminated inside the pendant to
ensure no exposed connections
• 6-position tap for 70V/100V systems (60W, 30W, 15W,
7.5W, 3.75W, 1.875W) with low impedance bypass
• ETL listed to comply with UL 1480A, CE marked, and
RoHS compliant
• Covered by Biamp's seven-year warranty
P6-SM
W:
www.biamp.com
Advertisement

Subscribe to Our Youtube Channel
Related Manuals for Biamp Desono P6


Summary of Contents for Biamp Desono P6
- Page 1 There are two different styles (models) of Desono pendants. RoHS compliant Designed with the installer in mind, the pendants come pre- • Covered by Biamp’s seven-year warranty terminated with Magic Cable, a composite cable comprised of two aircraft cables, two conductors jacketed separately, and integrated ripcords that allow the installer to easily slice through the cable jackets.
-
Page 2: Standard Installation
Installation of loudspeakers should only be performed CAUTION: Installation of Biamp loudspeakers should only by trained and qualified personnel. All electrical connections be performed by trained and qualified personnel. It is... - Page 3 A minimum of 1" (25mm) IMPORTANT: of cable must protrude from side holes of the Griplock to ensure full locking function Figure 3. Path of the cable, looping back through the Griplock Desono P6, P6-SM Installation and Operation Guide page 3...
- Page 4 Scotchlok connector Figure 5a. Depress the scotchlok plunger to fully secure the conductors Figure 5b. Plunger depressed; Figure 6. Typical connection including a conductors secured pass through pair of conductors. page 4 Installation and Operation Guide Desono P6, P6-SM...
- Page 5 Figure 9a. LIft cap up and move out of Figure 9b. Rotate knob to select tap setting the way to access tap. - align desired value with arrows Desono P6, P6-SM Installation and Operation Guide page 5...
- Page 6 However, due to ongoing technical advances, changes or modifications may have occurred that are not covered in this manual. The latest version is available at support.biamp.com. Biamp Compliance: REG-00013, REG-00014 Desono P6 /P6SM Install Guide v. 10FEB2020 9300 S.W. Gemini Drive Beaverton, OR 97008 USA www.biamp.com...
Need help?
Do you have a question about the Desono P6 and is the answer not in the manual?
Questions and answers