Advertisement
Available languages
Available languages
Quick Links
S1FB06M2B
S1FB10M2B
(Bronze/Bronze/Bronce)
ENGLISH
ITEMS REQUIRED
(Purchase separately)
• Phillips screwdriver
• 3, 1.5V D-Cell Alkaline Batteries
IMPORTANT SAFETY INSTRUCTIONS
When using product, basic precautions should always be followed, including the following:
• Heed all warnings, including below warnings AND those included on product.
• Save these instructions and warnings.
• For outdoor use only.
• Disassembling your fixture will void the warranty.
• Fixture is suitable for wall mount only. NOT suitable for ground mount installation.
• Use only Alkaline Battery chemistry with fixture.
• Use only 1.5V, D-Cell Batteries with fixture.
FCC DECLARATION OF CONFORMITY
This device complies with part 15 of the FCC Rules. Operation is subject to the following 2
conditions: (1) This device may not cause harmful interference, and (2) this device must accept
any interference received, including interference that may cause undesired operation.
NOTE: This equipment has been tested and found to comply with the limits for a Class B
digital device, pursuant to part 15 of the FCC Rules. These limits are designed to provide
reasonable protection against harmful interference in a residential installation. This equipment
generates, uses and can radiate radio frequency energy and, if not installed and used in
accordance with the instructions, may cause harmful interference to radio communications.
However, there is no guarantee that interference will not occur in a particular installation. If
this equipment does cause harmful interference to radio or television reception, which can be
determined by turning the equipment off and on, the user is encouraged to try to correct the
interference by one or more of the following measures:
• Reorient or relocate the receiving antenna.
• Increase the separation between the equipment and receiver.
• Consult the dealer or an experienced radio/TV technician for help.
WARNING: FCC Regulations state that any unauthorized changes or modifications
to this equipment not expressly approved by the manufacturer could void the user's
authorization to operate this equipment.
SAVE THESE INSTRUCTIONS.
Questions?/Des questions? /¿Preguntas? 1-800-334-6871 ConsumerProducts@eaton.com
PACKAGING CONTENTS/ CONTENU DE L'EMBALLAGE/CONTENIDO DEL PAQUETE
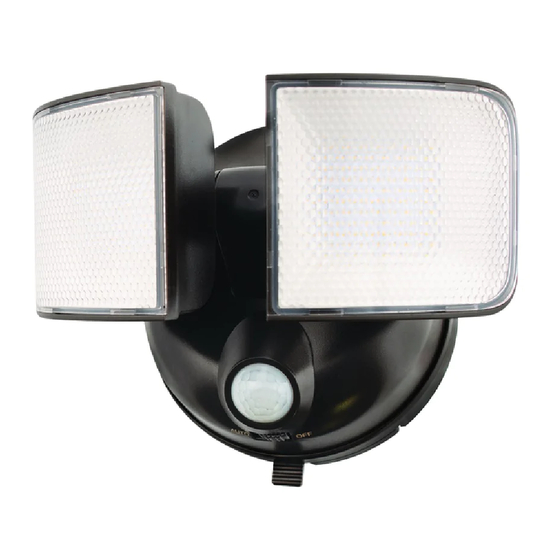
A. Light fixture
Appareil d'éclairage
Accesorio
C. (2) Fixture Mounting Screws and Screw Anchors
(2) Vis de montage et vis d'ancrage pour le luminaire
(2) Tornillos de montaje del accesorio y anclajes de tornillo
Instruction Manual / Manuel d'instructions/ Instrucciones
B. Snap-in Mounting bracket
Support de montage encliquetable
Soporte de montaje a presión
FOR BEST RESULTS
• Install fixture 6-12 feet above ground.
• Place batteries in unit and test fixture before
installing.
• Locate fixture so motion moves across the
detection zone (Fig. 1).
• Do not mount fixture close to reflective surfaces
such as windows, white walls, white surfaces
and water.
• Locate fixture away from heat producing sources
to prevent false triggering. Also, be very careful
not to include objects such as windows, white
walls and water in the detection zone.
• Locate fixture away from moving objects such as
trees, large shrubs and street traffic
MOUNTING YOUR FIXTURE
Note: Do not mount within 1 foot of a highly refletive
exterior inside corner (Fig. 2).
1. Locate area in which you would like to install your
light fixture.
2. Using the fixture mounting screws (C) provided,
mount the snap-in mounting bracket (B) to a solid
surface 6-12 feet above ground by placing the
screws through the center holes of the bracket.
Make sure the arrow on the bracket is pointing up
(Fig. 3). The provided screw anchors may be neces-
sary depending on the material the fixture is being
mounted to.
3. Remove the battery cover by unscrewing the thumb
screw (Fig. 4).
4. Insert 3 D-Cell, 1.5V Alkaline Batteries. Be sure to
match up the polarity markings on the batteries with
the polarity markings in the fixture (Fig. 5).
5. Reinstall the battery cover by sliding in the two lock-
ing tabs on the battery cover with the luminaire (Fig.
4). Then use your hand to completely screw in the
thumb screw to fasten the battery cover to the fixture.
6. Slide fixture down over the snap-in mounting
bracket, making sure that the fixture engages the
guide ribs. Continue sliding down until the fixture
snaps into the locking tab (Fig. 6).
7. Slide power switch to AUTO (Fig. 7).
1
1
2
1 ft.
1 ft.
1 ft.
3
4
5
®
Advertisement

Related Manuals for Eaton HALO S1FB06M2B


Summary of Contents for Eaton HALO S1FB06M2B
- Page 1 Instruction Manual / Manuel d’instructions/ Instrucciones Questions?/Des questions? /¿Preguntas? 1-800-334-6871 ConsumerProducts@eaton.com PACKAGING CONTENTS/ CONTENU DE L’EMBALLAGE/CONTENIDO DEL PAQUETE A. Light fixture B. Snap-in Mounting bracket Appareil d’éclairage Support de montage encliquetable Accesorio Soporte de montaje a presión S1FB06M2B S1FB10M2B C. (2) Fixture Mounting Screws and Screw Anchors (Bronze/Bronze/Bronce) (2) Vis de montage et vis d’ancrage pour le luminaire...
-
Page 2: Troubleshooting
POUR DES RÉSULTATS OPTIMAUX WARRANTY OF MERCHANTABILITY OR FITNESS FOR ANY PARTICULAR PURPOSE. Eaton warrants to customers that, for a period of one year from the date of purchase, Eaton • Installez le luminaire à une distance de 6 à 12 pi products will be free from defects in materials and workmanship. -
Page 3: Dépannage
PARTICULIER. Utilisez ensuite votre main pour bien visser la vis de Eaton garantit à ses clients, pendant une période de un ans à compter de la date d’achat, serrage de manière à fixer le couvercle du compartiment que ses produits Eaton sont exempts de tout défaut de matériaux et de fabrication. En à... - Page 4 (Fig. 4). Eaton garantiza a sus clientes que los productos de Eaton no presentarán defectos en los materiales y en la fabricación durante un período de uno años desde la fecha de compra.
- Page 5 Un recibo del comprador u otra prueba de la fecha de compra original aceptable para Eaton. Esto es necesario para la ejecución de la garantía. Esta garantía no se aplica a los productos de Eaton que hayan sido alterados o reparadoso que estuvieron sujetos a negligencia, abuso, mal uso o accidente (incluso los daños durante el envío).
Need help?
Do you have a question about the HALO S1FB06M2B and is the answer not in the manual?
Questions and answers