Advertisement
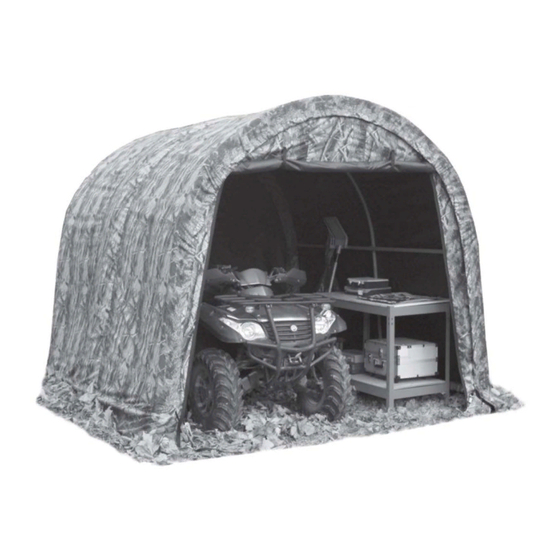
Camouflage Shed
Ideal for all purpose outdoor storage
10' x 10' x 8' (3 x 3 x 2.4 m)
ASSEMBLY MANUAL
Model NO.: 037-0020-6
Version: 02
Last updated: June 2016
CAUTION!
Please read and understand this manual before any assembly or use of this product.
Before beginning assembly of the product, make sure all parts are present. Compare parts with
packaging contents list. If any part is missing, or if you have any questions, contact the vendor's
customer service department at:
1-866-567-4089
(Monday-Friday 7:00am-9:00pm EST)
(Saturday 9:00am - 5:00pm EST)
DO NOT RETURN TO STORE!
TM
Advertisement
Table of Contents

Subscribe to Our Youtube Channel
Related Manuals for Weather Fast 037-0020-6


Summary of Contents for Weather Fast 037-0020-6
- Page 1 Ideal for all purpose outdoor storage 10' x 10' x 8' (3 x 3 x 2.4 m) ASSEMBLY MANUAL Model NO.: 037-0020-6 CAUTION! Please read and understand this manual before any assembly or use of this product. Before beginning assembly of the product, make sure all parts are present. Compare parts with packaging contents list.
-
Page 2: Table Of Contents
TABLE OF CONTENTS Important safety instructions ........................................... 2 Intended use ..............................................2 Parts list ................................................3 Assembly preparation ............................................4 Assembly ..............................................4 - 7 Maintenance and care ............................................8 Limited warranty ............................................8 IMPORTANT SAFETY INSTRUCTIONS WARNING! ● To reduce the risk of serious injury, read the following safety instructions before assembling and using the product. ●... -
Page 3: Parts List
PARTS LIST Description Illustration Top Roof Tube Rafter Roof Tube Corner Bent Leg Center Leg Tube (top part) Corner Leg Tube Center Leg Tube (bottom part) Bottom Cross Rail Tube (with male end) Bottom Cross Rail Tube Top Cross Rail Tube One (with male end) Top Cross Rail Tube Two (with male end) Top Cross Rail Tube Tube Connector... -
Page 4: Assembly Preparation
ASSEMBLY PREPARATION ● Place all parts from the packaging box in a cleared area and arrange them on the ground in front of you. ● Place all packaging materials back in the box and remove the box. Do not dispose of the packaging materials until assembly is complete. ●... -
Page 5: Assembly
ASSEMBLY ● Repeat to assemble the other side cross rail. Step 1: Assembly the two end ribs ● Insert the male end of tube #9 into tube #11. Connect the other end of ● Connect the 7 tubes together (1pc tube #1, 2pcs tube #2, 2pcs tube #5 tube #9 to the other end rib with tube connector #12 by fittings #16, and 2pcs bent legs #3) to form 1 End Rib (fig.1). - Page 6 ASSEMBLY ● To make sure the strap will stay in the sleeve when assembly, Step 4: Square up frame thread the strap through the spindle of the clamp hook #23. ● Be sure the frame is standing at the desired location. Caution! Thread the straps following the direction of arrow as ●...
- Page 7 ASSEMBLY ● ● Repeat the same procedure to install the back panel #22 to its proper Loosen the bottom cross rails #7,#8 from the frame. Slide the cross bottom position. rails #7,#8 through the tube sleeves on one side of the camo roof #20. Step 7: Install roof cover Re-assemble the clamps #13,#14and fitting #15,#18,#17 and tighten ●...
-
Page 8: Maintenance And Care
CLEANING AND MAINTENANCE ● DO NOT apply any polishing or protective products to the roof tarp and panels, or use harsh abrasives, bleach or cleansers. The roof tarp and panels can be easily cleaned with mild soap and water. Handle mildew and mould stains with mild soap. ●...
Need help?
Do you have a question about the 037-0020-6 and is the answer not in the manual?
Questions and answers