
Subscribe to Our Youtube Channel
Related Manuals for Manhattan Comfort CABRINI 1.2


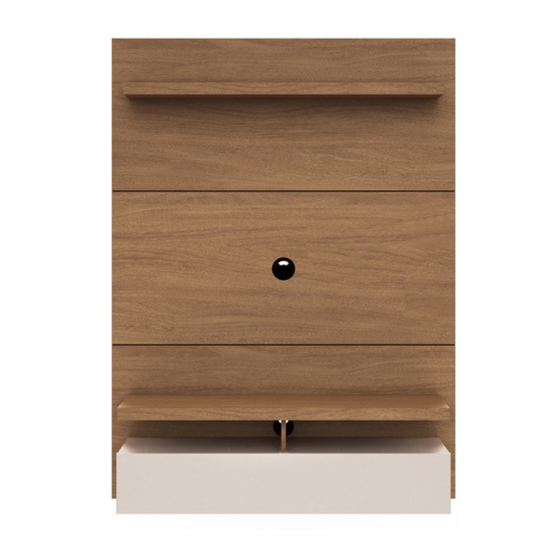
Summary of Contents for Manhattan Comfort CABRINI 1.2
- Page 1 MANUAL DE MONTAGEM ASSEMBLY INSTRUCTIONS INSTRUCCIONES DE MONTAJE COD BR: 27000 COD US: 24900 V : 00...
- Page 2 V : 00...
- Page 3 Antes de começar Before starting Antes de comenzar Antes de começar a montagem prepare o ambiente, deixando-o completamente limpo e com bom espaço para iniciar o trabalho. Prepare the room before starting the assembly, leaving it completely clean and the area in good condition to start the work.
- Page 4 PART DESCRIPTION QTY. PIEZA DESCRIPCIÓN CANTIDAD. CAIXA PEÇA DESCRIÇÃO QUANT. CAIXA TOP PANEL PANEL SUPERIOR PAINEL SUPERIOR CENTRAL PANEL PANEL CENTRAL PAINEL CENTRAL PANEL WIRE CHANNEL PANEL PASAJE ALAMBRE PAINEL PASSA FIO BACK PANEL PANEL INFERIOR PAINEL INFERIOR TOP SHELF ESTANTE PRATELEIRA SIDE BATTEN...
- Page 5 LATERAL ESQUERDA / LEFT SIDE / LATERAL IZQUIERDA DIVISÓRIA INFERIOR / SIDE BOTTON / LATERAL INFERIOR PASSO 1 PASSO 4 Encaixar cavilhas 4x1668, parafusar Encaixar cavilhas 4x1668, parafusar 2x1533 fixando as corrediças 1x2661 na 2x1533 fixando as corrediças 1x2661 na Lateral Esquerda 27.
- Page 6 DIVISÓRIA INFERIOR / SIDE BOTTON / LATERAL INFERIOR DIVISÓRIA SUPERIOR / SIDE TOP / LATERAL SUPERIOR PASSO 7 PASSO 10 Parafusar 4x3527 fixando a Divisória Encaixar cavilhas 4x1668 na Divisória Inferior 26 na Base 24. Superior 25. STEP 7 STEP 10 Screw 4x3527 to fix the Side Botton 26 Insert dowels 4x1668 to Side Top 25.
- Page 7 TAMPO SUPERIOR / TOP BOARD / CUBIERTA SUPERIOR PAINEL TRASEIRO / BACK PANEL / PANEL TRASERO PASSO 13 Encaixar Tampo Superior 22 e parafusar 2x0494. Colar 2x adesivos. ADHESIVO STICKER STEP 13 Insert Top Board 22 and screw 2x0494. Paste 2x stickers. PASO 13 Ajuste Cubierta Superior 22 y atornillar 2x0494.
- Page 8 PAREDE / WALL / PARED PAREDE / WALL/ PARED PASSO 19 PASSO 18 Encaixar buchas 16x2088 nos furos. Furar parede com Ø8mm, conforme medidas indicadas abaixo. STEP 19 STEP 18 Fit wal plugs 16x9088 in the holes. Drill wall with Ø5/16, according measure below.
- Page 9 CONTRA FUNDO / DRAWER BACK PANEL / CAJÓN INFERIOR FUNDO GAVETA / DRAWER BOTTON / FONDO DEL CAJÓN Furar apenas uma peça por gaveta. Drill one piece per drawer. PASSO 22 PASSO 25 Com a parafusadeira, termine de furar a Perforar apenas una pieza por cajón.
- Page 10 PAINEL / PANEL / PANEL PASSO 28 Parafusar 4x1533 fixando as corrediças PASSO 30 1x2661 nas Laterais 30. Encaixar 10x4157 e parafusar 20x0160. STEP 28 Screw 4x1533 to fix the slide 1x2661 on STEP 30 Drawer Side 30. Attach 10x4157 and screw 20x0160. PASO 28 Atornillar 4x1533 fijando las corrediza PASO 30...
- Page 11 PRATELEIRA / TOP SHELF / ESTANTE PAINEL / PANEL / PANEL PASSO 33 PASSO 35 Encaixar 1x4654 na Prateleira 16. Pregar 4x6024 para fixar fio no Painel. 4654 STEP 33 STEP 35 Attach 1x4654 in Top Shelf 16. Attach 4x6024 to fix wire Panel. PASO 33 PASO 35 Montar 1x4654 en la Estante 16.
- Page 12 ATENÇÃO / ATTENTION / ATENCIÓN Passar cabos antes de aparafusar. Apply cables before screwing. Lleve el cables antes atornillar. PASSO 38 Encaixe Painel na Parede. STEP 38 Attach Panel on the wall. CLICK PASO 38 Engachar el Panel en la Pared. PASSO 39 Encaixe 1x8717.
- Page 13 V : 00...
Need help?
Do you have a question about the CABRINI 1.2 and is the answer not in the manual?
Questions and answers