Advertisement
Quick Links
Advertisement

Subscribe to Our Youtube Channel
Related Manuals for AIS RWFS-TS-ET3


Summary of Contents for AIS RWFS-TS-ET3
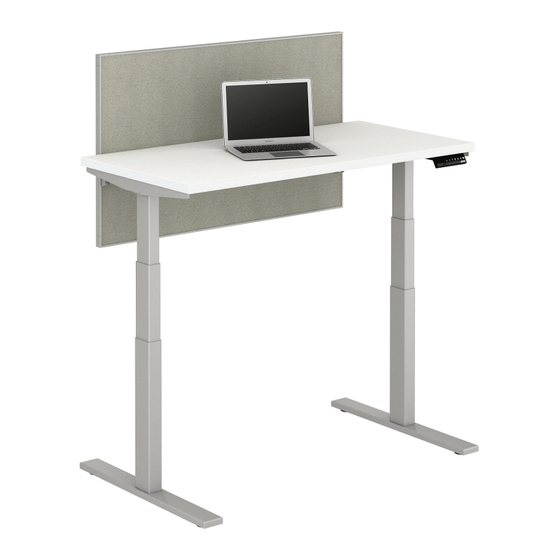
- Page 1 Height Adjustable Tables RWFS-TS-ET3 90.014.01.0255v.E...
-
Page 2: Caution / Information
CAUTION / INFORMATION Make sure no obstacles are in the desk’s path. Make sure the desktop WARNING: PINCH POINT is not touching any walls. Make sure all cords are appropriate length to Keep hands and fingers clear. accommodate the change in height. Keep children away from electric height-adjustable desks, control units and handsets. - Page 3 ASSEMBLY Tools Required: 4mm Allen Wrench (Included) Phillips Head Screwdriver Tape Measure and/or Power Drill Parts List: Part Quantity Part Quantity Part Quantity 1. Leg 5. Side Bracket 10. M6x10 Machine Screw 2. Foot 6. Control Box 11. M6x14 Machine Screw 3a.
- Page 4 ASSEMBLY 1. Lay out all components and hardware to ensure that you have all the components and hardware listed on the parts page. Slide the Control Box (part 6) off the Frame End-CB (part 3a) and set aside. Fully separate Frame End (part 3b) from Frame End-CB (part 3a). You will find the Center Rails (part 4) inside.
- Page 5 ASSEMBLY 5. For each leg assembly, attach a Foot (part 2) with four (4) M6x14 Machine Screws (part 11) and tighten in a cross-pattern. 6. Your desktop may or may not be pre-drilled. Check both sides of the desktop before placing the desk base on the underside of the desktop.
- Page 6 ASSEMBLY 9. Slide the Control Box (part 6) onto the Frame End-CB (part 3a). Connect the cable exiting the leg (part 1) that is attached to the Frame End-CB (part 3a) directly into the Control Box (part 6). Connect the Cable (part 9) to the other Leg (part 1) and to the Control Box (part 6). Connect the Handset (part 7) cable to the Control Box (part 6).
-
Page 7: Troubleshooting
TROUBLE SHOOTING If your desk is not functioning properly it may need to be reset. Follow the RESET procedure outlined in the USE section. If your desk has a handset with an LED readout and it displays “RST” (reset), perform the reset procedure outlined in the USE section. If the LED readout displays an error message (“Er1”... - Page 8 SETTING THE LED RETRACTED HEIGHT Press the DOWN button on the Handset (part 7) until the base reaches its lowest position. Measure the distance from the floor to the top surface of the desktop. If the number on the LED display does NOT match your measurements, follow these steps: Press and hold the DOWN button until the LED display reads “RST”: Press and hold the “M”...
-
Page 9: Handset Lock
HANDSET LOCK To lock the handset: Press and hold the “M” button (about 8 seconds) until the LED display switches to “S-” and then to “LOC”. Release the button. To unlock the handset: Press and hold the “M” button (about 8 seconds) until the LED switches from “LOC” to the height display. Release the button. *Option only available on select models. - Page 10 TROUBLESHOOTING (2-LEG BASE) Before performing any troubleshooting steps, be sure the outlet is working and the following connections are secure: Handset cable to control box Cables to control box Lifting columns to cables Power cord to control box Note: Once you begin the troubleshooting process, do no make any undirected changes to cable positions. Troubleshooting Steps: (Please mark the boxes as appropriate;...
- Page 11 TROUBLESHOOTING (2-LEG BASE) 9. (A) Rewrite the 8D error message here: (B) Make a full swap of the cables, switching both the ports (M1 and M2) and the lifting columns (C) Do a system reset Yes - Go to Result 3 (D) Write the new error message here: No - Go to Result 4 (E) Did the error message change between Steps 9A and 9D?
- Page 12 TROUBLESHOOTING (2-LEG BASE) Troubleshooting Results: Result 1: You have exceeded the 10% duty cycle and the desk is overheated. Wait 20 minutes and the desk should resume normal operation. Result 2: Replace the control box. Fill in the M.D. # from the control box here: Result 3: Replace the cable.
- Page 13 TROUBLESHOOTING (3-LEG BASE) Before performing any troubleshooting steps, be sure the outlet is working and the following connections are secure: Handset cable to control box Cables to control box Lifting columns to cables Power cord to control box Note: Once you begin the troubleshooting process, do no make any undirected changes to cable positions. Troubleshooting Steps: (Please mark the boxes as appropriate;...
- Page 14 TROUBLESHOOTING (3-LEG BASE) 9. (A) Rewrite the 8D error message here: (B) Make a full swap of the cables, switching both the ports (M1 and M2) and the lifting columns (C) Do a system reset Yes - Go to Result 3 (D) Write the new error message here: No - Go to Result 4 (E) Did the error message change between Steps 9A and 9D?
- Page 15 TROUBLESHOOTING (3-LEG BASE) 17. (A) Make a full swap of the cables, switching both at the ports (M1 and M2) and the lifting columns Yes - Go to Result 3 (B) Do a system reset No - Go to Result 4 (C) Is the lagging leg now plugged into M1? 18.
- Page 16 TROUBLESHOOTING (3-LEG BASE) Troubleshooting Results: Result 1: You have exceeded the 10% duty cycle and the desk is overheated. Wait 20 minutes and the desk should resume normal operation. Result 2: Replace the control box. Fill in the M.D. # from the control box here: Result 3: Replace the cable.
- Page 17 800.434.7400 | 978.562.7500 | www.ais-inc.com | info@ais-inc.com | 01/2020...
Need help?
Do you have a question about the RWFS-TS-ET3 and is the answer not in the manual?
Questions and answers