Advertisement
Advertisement

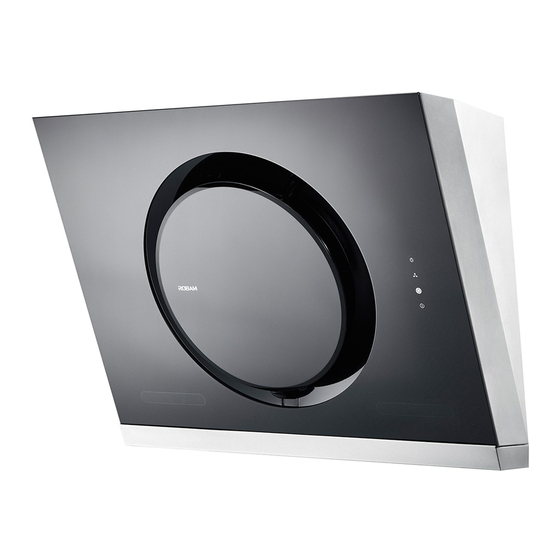
Related Manuals for Robam CXW-200-A606


Summary of Contents for Robam CXW-200-A606
- Page 1 Operation Manual CXW-200-A606 Range Hood...
-
Page 2: Table Of Contents
CONTENTS ...1 Important information ....1 Product profile ... 2 Installation instructions .....5 Operation instructions ....7 Maintenance ....9 Circuit diagram... -
Page 3: Important Information
Range Hood Dear user Thank you for buying ROBAM range hood and we'd like to take this opportunity to extend our deep gratitude. Please read this Operation Manual carefully before using this product. Important information Packaging of New Hood Please dispose the packaging materials in an environmentally-friendly way to maintain a good environment. -
Page 4: Installation Instructions
Range Hood Dimensions of machine body Figure 2 Labeled dimensions are only for reference (Unit: mm) Installation Instructions Warning The gas exhausted from range hood shall not be exhausted to heating flue used for smog exhausted by burning gas or other fuels. Pay attention that the matching of pipe diameter and pore diameter must be tight when assembling metal expansion pipe. - Page 5 Range Hood Precautions during assembly Figure 3 Figure 4 Warning:Stove fire shall be extinguished timely when it is not used; stove fire is prohibited to bake Range hood shall not be assembled too high, nor the range hood directly and it's prohibited to bake shall it be disturbed by external air flow so that food under range hood directly to prevent range hood the fume suction effect will not be influenced.
- Page 6 Range Hood 安装 Assembly Figure 9-2 Air duct drill sizeφ200mm Wall Figure 9-1 Movable decoration panel (made by yourself) Mounting hole for 302mm hitching legs Projected 530mm dimension at top of range hood 10mm 350mm 795mm 500mm Hung ceiling drill size drawing (Unit: mm) Figure 10 40-45mm 10mm...
-
Page 7: Operation Instructions
Range Hood : Install ALUM-Nod 1)Hole position of ALUM-NOD Installation of air duct and coil base directly facing window: disassemble a glass and assemble plywood with exhaust holes, or drill holes on the glass directly. When coil base is not close to window: Select the nearest coil base, install the air duct on the window accessible to outdoor to penetrate the window;... - Page 8 Range Hood Figure 15 Figure 16 开 关 Power Stir frying/High speed Press the “Stir frying/ High speed ” key, working on “Stir frying” function, press it again, it turns to Press the “ Power”key, the outer ring tunrs red, “...
-
Page 9: Maintenance
Range Hood Maintenance If the range hood is not cleaned with the specified method in Operation Manual, it may have the danger of fire. Precautions Figure 23 Figure 22 It's prohibited to wash with water so as to It' s appropriate to clean by wet cloth with prevent accidents.。... - Page 10 Range Hood Disassembly and assembly of light Figure 27 Figure 26 Push the lampshade up as the direction of arrow, take down the lampshade, and then you can do the Take down the back plate, then unscrew the two screws on the lampshade by screwdriver. maintenance and replacement.
-
Page 11: Circuit Diagram
Range Hood Circuit Diagram Terminal box Blue LED light Control circuit Blue Motor Blue 500VAC Yellow Ground terminal Brown Power plug Orange Strong suction switch Yellow/ Green Gray Black Weak suction switch Blue Stir frying switch Brown Blue Lighting switch 220-240V~ Yellow/ Green General Troubleshooting... - Page 12 Edition: A/0...
Need help?
Do you have a question about the CXW-200-A606 and is the answer not in the manual?
Questions and answers