Advertisement
TiVo UPGRADE INSTRUCTIONS (#7)
(c) 2001-2010, weaKnees. All rights reserved.
Instructions for ONE DRIVE REPLACEMENT for TiVo Premiere/Premiere XL
These instructions are available in COLOR at http://www.weaknees.com/upgrade-instructions.php
A FEW WORDS OF CAUTION:
Upgrading a TiVo DVR presents a few physical hazards. As with most consumer electronics devices, components in the TiVo may still carry
a lethal charge, even after disconnecting from your power supply. Be aware of this while working inside your TiVo. Allow sufficient time for
discharging of components and avoid contact as much as possible with potential hazards. While we have done everything we can to provide
accurate, easy-to-follow instructions, we cannot be responsible for any damage done to your TiVo or to yourself as a result of your upgrade.
By opening your TiVo, you agree that neither weaKnees nor any of its members or affiliates is responsible in any way for any harm done.
Please be VERY careful when upgrading. NEVER open the TiVo while the unit is plugged in and NEVER operate the TiVo if the lid is not
securely fastened. PLEASE NOTE: Opening the TiVo voids the warranty.
THIS KIT INCLUDES:
1 T10 Torx L-Key (see Figure 1)
1 T15 Torx L-Key (see Figure 1)
1 Upgrade hard drive (not shown)
1 Set of upgrade instructions (not shown)
Figure 1
1.
OPEN THE TIVO
Unplug the power cord from your TiVo and wait five minutes for the TiVo
to discharge. Do not plug the TiVo back in until you are completely
finished. Be very careful of static electricity, which can destroy your
TiVo's internal parts. You should not perform this upgrade on carpet.
Using the Torx T10 (smaller of the two) L-key included with your kit,
unscrew the four (4) Torx screws on the back of your TiVo. Set these
Figure 2 (above) Back View
screws aside.
Once the four screws are removed, remove the lid. Face the front of the
unit and place your palms on the top side edges of the TiVo, toward the
back. Push toward the back of the TiVo (this occasionally requires a bit of
force). The cover should slide back and you can then pull it up and off.
Remove the cover from the TiVo.
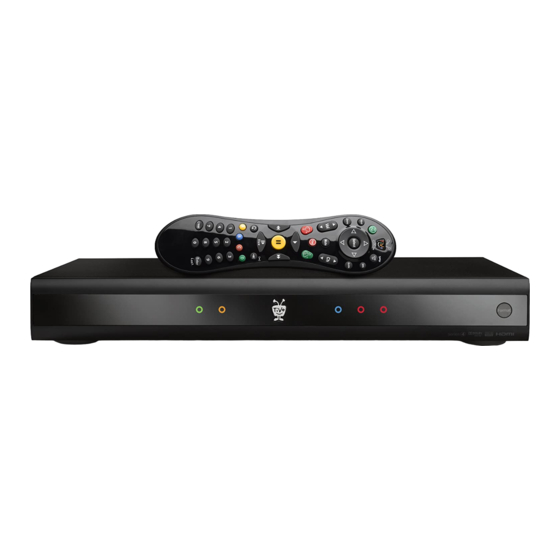
Figure 3 (above) Front View
Page 1 of 3
Advertisement
Table of Contents

Subscribe to Our Youtube Channel
Related Manuals for TiVo Premier


Summary of Contents for TiVo Premier
- Page 1 By opening your TiVo, you agree that neither weaKnees nor any of its members or affiliates is responsible in any way for any harm done. Please be VERY careful when upgrading. NEVER open the TiVo while the unit is plugged in and NEVER operate the TiVo if the lid is not securely fastened.
- Page 2 REMOVE THE DRIVE FROM THE BRACKET Set the TiVo’s hard drive (and attached bracket) next to your new hard drive, as shown in Figure 6(a). The drive marked “OLD” is the TiVo’s current hard drive. The drive marked “NEW” is the drive that came in your upgrade kit.
- Page 3 Figure 9 (above) Front view You can verify your new capacity by looking in the System Information screen of your TiVo. The System Information screen is located in the “Messages and Setup” menu. Once in the System Information screen, you will see “Variable up to XX HD or YY SD hours” (you may have to scroll down the page using the “channel down”...
Need help?
Do you have a question about the Premier and is the answer not in the manual?
Questions and answers