
Subscribe to Our Youtube Channel
Related Manuals for Digital Equipment PCXBV-Px


Summary of Contents for Digital Equipment PCXBV-Px
- Page 1 PCXBV-Px Multi-Scanning 14-inch Color Monitor Installation and Operating Information Order Number: EK–PCXBV–PX. B01...
- Page 2 Radio Interference Regulations of the Canadian Department of Communications. DEC and the DIGITAL logo are trademarks of Digital Equipment Corporation. IBM is a registered trademark of International Business Machines Corporation. VESA is a registered trademark of the Video Electronic Standards Association.
-
Page 3: Table Of Contents
Contents ......About This Guide 1 Installation Install the tilt/swivel stand....1–1 Monitor Installation . - Page 4 Figures PCXBV-Px Monitor (Rear View) ..1–1 1–2 PCXBV-Px Monitor (Control Panel) ..1–2 1–3 Tables Recommendations for Proper Setup and Use .......
-
Page 5: About This Guide
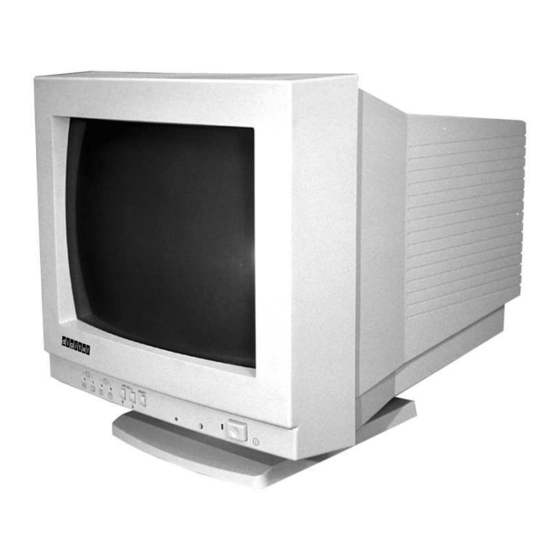
About This Guide Overview The PCXBV-Px Monitor is a 14-inch multi-scanning color monitor with high resolution, compatible with VGA, SVGA 72 Hz and 75 Hz modes. The PCXBV-Px offers the following features: • 1024 horizontal 768 vertical non-interlaced resolution •... - Page 6 • Complies with Swedish MPR2 standards for low magnetic emissions • Anti-glare screen with anti-static coating • Tilt-swivel base This product has been designed and manufactured to minimize the impact to the environment. The monitor also has a power management feature, which a personal computer can control to reduce the monitor’s output power levels while not in use, thus saving energy.
-
Page 7: Recommendations For Proper Setup And Use
Table 1 Recommendations for Proper Setup and Use Adjust So that your . . . Chair Feet are flat on the floor or footrest, if needed. Legs are vertical forming a right angle to the floor. Weight is off your thighs and are in a horizontal position. - Page 8 Table 1 (Cont.) Recommendations for Proper Setup and Use Adjust To . . . Keep your upper arms straight down at your sides, elbows close to your sides to support your arm weight. Forearms should be at a 70° to 90° angle. Head Avoid neck strain.
- Page 9 Installation/Operating Guidelines Observe the following basic rules for installation and use. Do . . . • Use the power cord supplied with the monitor, which is UL-, CSA-, and VDE-approved. • Turn the monitor off when not being used for an extended period of time.
-
Page 11: Installation
Installation 1.1 Install the tilt/swivel stand. 1. Insert the hooks on the stand into the slots in the bottom of the monitor. 2. Apply pressure near the latch so it is secure. (To remove the stand, pull on the latch.) Installation 1–1... -
Page 12: Monitor Installation
3. Plug in the ac power cord to the monitor, then to a properly-grounded ac electrical outlet. Figure 1–1 PCXBV-Px Monitor (Rear View) Turn On Power to Monitor Push the power switch button to turn on the monitor. The power indicator LED to the left of this switch should light green. -
Page 13: Pcxbv-Px Monitor (Control Panel)
Installation 1.2 Monitor Installation Figure 1–2 PCXBV-Px Monitor (Control Panel) Table 1–1 User Controls and Functions Item Function Decreases the value of the selected adjustment. ¡ Increases the value of the selected adjustment. ¢ £ ¡ £ Pressing both the ¡... -
Page 15: Servicing
Servicing 2.1 Cleaning the Monitor To clean the monitor: 1. Unplug the monitor. 2. Clean the monitor with a soft, slightly damp cloth. Do not use an aerosol cleaner directly on the screen. Caution Do not use benzene, thinner, or any volatile substance to clean the monitor, as these product may discolor the monitor’s cabinet. -
Page 16: Troubleshooting Table
Servicing 2.2 Maintenance and Troubleshooting 2.2.2 Troubleshooting Table Use Table 2–1 to identify and correct any problem areas. Table 2–1 Identifying and Correcting Problems Symptom Possible Cause Suggested Solution Display does not Brightness or Contrast Increase the brightness appear. control is set too low. and contrast control setting. -
Page 17: Monitor Adjustments
Servicing 2.3 Monitor Adjustments 2.3 Monitor Adjustments Use the following procedure: 1. Press the select button to choose the function that needs adjustment. When the LED above the function lights up, the control is active and can be adjusted. 2. Press the buttons to decrease or increase the adjustment. - Page 18 Servicing 2.3 Monitor Adjustments Screen Adjustment Vertical Shift— Moves the image down ¡ £ Pin/Barrel (H Size + H Shift)— Corrects a bowed image by narrowing or widening ¡ £ the left and right edges. Trapezoid (V Size + V Shift)—Corrects a trapezoid image by expanding the bottom or ¡...
-
Page 19: Servicing The Monitor
Digital provides a wide range of maintenance programs for monitors. It is recommended that you use either DECmailer or Carry-In Service when servicing the PCXBV-Px monitor. If needed, use the original box and packing material to send the unit to the service location. Contact your local Digital Services office. -
Page 21: Specifications
Specifications 3.1 Monitor Specifications Monitor 35.5 cm (14 in) non-glare, non-static Active area 24.7 18.5 cm Height 35.9 cm (14.1 in) Width 35.4 cm (13.9 in) Depth 38.0 cm (15.0 in) Swivel 45° Tilt -5° to +15° Weight 13 Kg Video Signal 0.7V p-p R, G, B color;... -
Page 22: Scanning Modes
Specifications 3.2 Scanning Modes 3.2 Scanning Modes To minimize adjustment needs, the monitor has 11 factory pre-set display standards, shown in Table 3–1. When the monitor detects any of these display standards, it automatically adjusts the picture size and centering. All the vertical refresh rates are non-interlaced. Table 3–1 Factory Pre-set Resolution and Frequencies Pre-set Addressability Vertical... -
Page 23: Power Management System
Preliminary declared values per ISO 9296 and ISO 7779: Sound Power Level Sound Pressure Level , dBA ¢ ¡ ¢ £ ¤ ¥ ¡ § ¦ Product Idle Operate Idle Operate PCXBV-Px <4.0 <4.0 <35 <35 1 B = 10 dBA. Operator position. Specifications 3–3... - Page 24 Ozone Depleting Substances (ODS) The PCXBV-Px is in full compliance with the labeling requirements in the U.S. Clean Air Act Amendments of 1990. It does not contain, nor is it manufactured with, a Class 1 ODS, as defined in Title VI Section 611 of this act.
Need help?
Do you have a question about the PCXBV-Px and is the answer not in the manual?
Questions and answers