Table of Contents
Advertisement
Quick Links
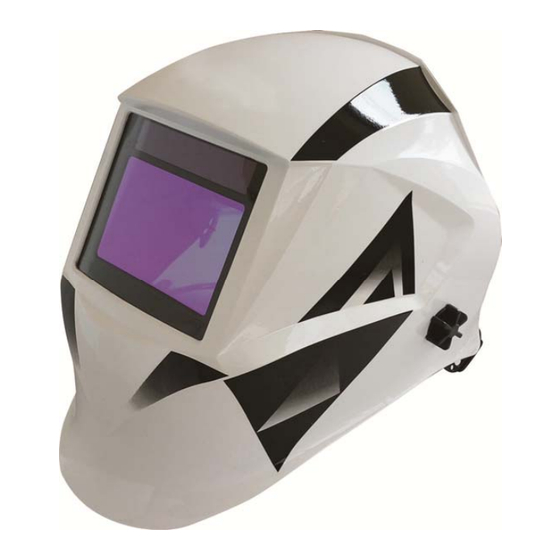
Auto Darkening Filter Welding Helmet
User's Manual SUN9B
The new features of SUN9B helmet, it uses unique optical technology, so as to make
the filter has the best vision color meeting physiological needs and high definition.
Warning: Read and understand all instructions before using! Severe personal injury
could occur if the user fails to follow the aforementioned warnings, and/or fails to
follow the operating instructions.
Advertisement
Table of Contents

Summary of Contents for Artotic SUN9B
- Page 1 Auto Darkening Filter Welding Helmet User’s Manual SUN9B The new features of SUN9B helmet, it uses unique optical technology, so as to make the filter has the best vision color meeting physiological needs and high definition. Warning: Read and understand all instructions before using! Severe personal injury could occur if the user fails to follow the aforementioned warnings, and/or fails to follow the operating instructions.
-
Page 2: Before Welding
1. BEFORE WELDING --Auto-Darkening Filter Welding Helmet comes ready for use. The only thing you need to do before your welding is to adjust the position of the headband and select the correct shade number for your application. --Check the front cover lens to make sure that they are clean, and that no dirt is covering the four sensors on the front of filter cartridge. -
Page 3: Specifications
3. SPECIFICATIONS Viewing Field: 100*65mm ( 3.94" × 2.56") UV/IR Protection : Up To Shade 16 at all time ꞏ Function: “WELDING”/ “GRINDING” can be selective Light State: Shade 3 (& 3.5) Variable Shade: From “Shade 4 to shade 8” “shade 9 to shade 13” can be internal selective. - Page 4 4. Grinding Control/Variable Shade Control / Sensitivity Control /Delay Control/Test Button 1)Welding/Grinding Switch: when grinding, please choose Grinding switch. For other body parts helmet can not protect, please wear other safety products for protection. When welding,the MODE switch has two position. When the switch is turned into the position of 9-13, the shade knob adjustment area is during shade 9- shade 13.
- Page 5 Please kindly note that it will damage the eyes if using welding helmet under incorrect shade no.(too darkening or too light) for a long time. 3) Sensitivity Knob: Before welding, please adjust the sensitivity to high position, if encountering the interference of Lighting lamp(the filter is darkening while not welding), please adjust the sensitivity towards low position slightly until the filter returns to light state (please don’t make the helmet towards to light lamp source during this process, should towards to welding workpiece).
-
Page 6: Adjusting Headgear
5) Test button It can test if the lithium battery is with power and if the filter is under normal work. If the battery indicator is lightening (red) and the filter can be darkening when pressing down test button, it means the filter is under normal work. If the battery indicator is not lightening or the light is very weak, please replace the lithium batteries, the type of battery is CR2450, QTY of battery is 1pc. -
Page 7: Spare Parts List
4) Incline angle adjustment To adjust the incline angle of helmet relative to the welder’s face, and adjust the height of welder’s eyes relative to filter lens. . This model is designed & equipped with a special turnover (up & down) headband mechanism. - Page 8 7) Sweatband (cloth), 8) headband top pad, 9) front headband, 10) headband back pad 11) Headband regulator assembly (release –tighten) 12) Left band& Right band 13)Angle adjusting shim (left) &Angle adjusting shim (right) 14)Headband fixing screw x2 15) Headband rack (left) & Headband rack (right)
Need help?
Do you have a question about the SUN9B and is the answer not in the manual?
Questions and answers