Pima Hunter-Pro 832 Programming Steps
Working in conjunction to rdc transmitters
Hide thumbs
Also See for Hunter-Pro 832:
- Installation manual (92 pages) ,
- User manual (40 pages) ,
- Installation manual (99 pages)
Table of Contents
Advertisement
Quick Links
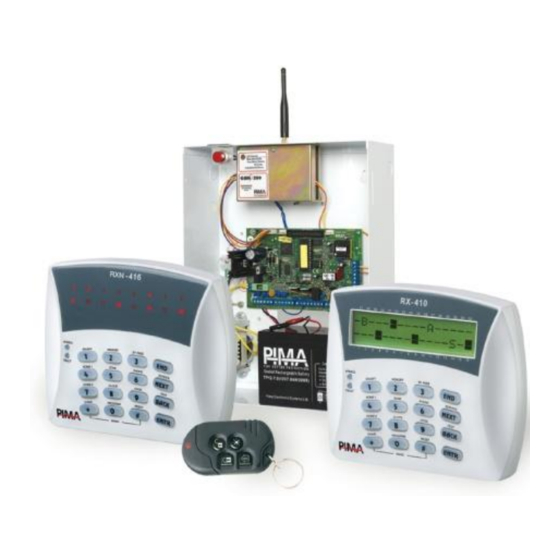
Programming steps to the PIMA Hunter-Pro 832, 896, 8144 control
panel working in conjunction to RDC transmitters.
Wiring.
When facing the alarm panel, on the right hand side of the PC board will be a vertical connection
block indicating – LINE, SET and AUDIO connections. Two wires should be connected to the LINE
connections, which should then be connected onto the transmitter RING and TIP connections.
Ensure that the transmitter power is connected using 0.5mm wire directly to the battery using a RDC
BTE7 connector.
Programming (Have your installer manual at hand)
Enter Programming by pressing the installer code 1 2 3 4
Press 1 and press 3 for communications options and press ENTER
Press ENTER to access MS 1 OPTIONS
Ensure that the MS 1 Protocol options display "0" zero and "230" and T=1. This is for contact ID
reporting. Press ENTER when the changes have been made.
The programming will automatically move to the next section where the MS 1 reporting options can
be modified. Press ENTER when done.
Test time and interval time to be programmed as the panel will send its periodic test signal
according to this. Press ENTER when done.
Set the radio test interval as in the previous section and press ENTER
The next section will need an ID Account, Leave it as 000000 and press ENTER
Press NEXT and press ENTER to configure the Account No. and press ENTER
Add the PHONE no. as 1 2 3 4 and the RADIO no. as 1 2 3 4 and press ENTER and then press END to
go back.
Press NEXT to go to PHONE NUMBERS and press ENTER
Add the MS Phone 1 nr as 1 2 3 4 and press ENTER and press END.
(If MS2 andMS3 are also used,
type in their PHONE numbers as well)
Press NEXT to go to COMMUNICATIONS OPTIONS and press ENTER
The communications options can be modified by pressing the # button to change it from "-
"to "+".
CONNECT T-LINE should be a +
NO DIAL TONE CHECK should be a +
Advertisement
Table of Contents

Related Manuals for Pima Hunter-Pro 832


Summary of Contents for Pima Hunter-Pro 832
- Page 1 Programming steps to the PIMA Hunter-Pro 832, 896, 8144 control panel working in conjunction to RDC transmitters. Wiring. When facing the alarm panel, on the right hand side of the PC board will be a vertical connection block indicating – LINE, SET and AUDIO connections. Two wires should be connected to the LINE connections, which should then be connected onto the transmitter RING and TIP connections.
- Page 2 TONE DIAL should be a + Check for other options that need to be activated as per your installation requirements. When done press ENTER. Next option is the NO. of RINGS and DIALS Rings to be set as 1 Dials to be set as 3. When done press ENTER Next option is the Ack Wait time and should be left as is.
Need help?
Do you have a question about the Hunter-Pro 832 and is the answer not in the manual?
Questions and answers