Subscribe to Our Youtube Channel
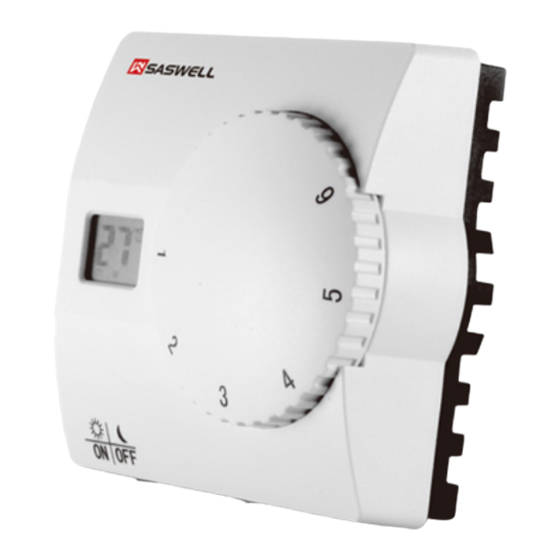
Summary of Contents for Saswell SAS816WHB-0-DF
- Page 1 Brezžični termostat / Wireless thermostat SASWELL SAS816WHB-0-DF Uporabniški priročnik User manual...
- Page 2 SI | Uporabniški priročnik Termostat Saswell SAS816WHB-0-DF je preprost brezžični RF termostat z analogno nastavitvijo in digitalnim prikazom temperature. Uporablja se lahko v kombinaciji s sprejemnikom Saswell SCU209DE, SCU210DE ter 2010DE. Navodila za uporabo in vzdrževanje so del splošnih prodajnih pogojev. Pridržujemo si pravico do sprememb detajlov, tehnologije in izvedbe.
- Page 3 Za izdelek je bila izdana izjava o skladnosti. Ta in ostala dokumentacija je dostopna na spletni strani www.sen-controls.eu. Proizvajalec izdelka je SASWELL CONTROLS (HONGKONG) LTD. Uvoznik in distributer za Saswell je Sen Controls d.o.o., Belokranjska cesta 29, 8340 Črnomelj, Slovenija...
- Page 4 Lastnosti Specifikacije • • Preprosta uporaba Napajanje: bateriji 2xAA LR6 1.5V Neodvisnost od žične povezave • • Nastavitev temperature: od 5°C do 30°C • • Povezljivost RF dosega do 100 metrov Prikaz temperature: od 5°C do 30°C • • Natančnost: ± 1°C LCD ekran za prikaz temperature Možnost vklopa dnevne, nočne ali ročne •...
- Page 5 Opis ter montaža termostata 2x AA bateriji Namestitev in potek montaže Odstranite vijak s podnožja termostata. Previdno privzdignite sprednji pokrov iz ohišja. Na silo ne poskušajte dvigniti pokrova, saj lahko povzroči poškodbe na ohišju ali termostatu samem. Bodite previdni, da se ne izgubi notranja matica ohišja, saj ni fiksna, če vijak popolnoma odvijačite.
- Page 6 Uporaba termostata Prikaz na ekranu: Ekran (glej sliko na desni za razlago) Na ekranu je vedno prikazana trenutna temperatura prostora (1). Ko je prikazana temperatura prostora, je takrat tudi prikazan simbol 2 . Ko obračate gumb za nastavitev temperature, se pa na ekranu izpiše in utripa trenutno izbrana temperatura (simbol 1). Na ekranu je tudi možen prikaz dnevnega / nočnega načina*, opozorilo za slabo baterijo (simbol 3), simbol za ogrevanje (simbol 4), simbol za hlajenje (simbol 5)* ter enota temperature (simbol 6).
- Page 7 Možne napake na termostatu Če se zgodi, da pride do okvare s termostatom, vam le ta tudi to izpiše na LCD ekranu. Če se izpiše E1 – Senzor v termostatu je v kratkem stiku. Termostat bo prenehal z delovanjem. Če se izpiše E2 – Senzor v termostatu je v okvari. Termostat bo prenehal z delovanjem. Če se izpiše Er2 –...
- Page 8 Ko ste opravili postopek parjenja, vrnite gumb za nastavitev temperature na svojo mesto in sicer, bodite previdni, da ga nastavite pravilno. Za pomoč si sliko spodaj. Glejte, da se usmerite oz. puščice ujemajo.
- Page 9 EN | Instruction manual Thermostat Saswell SAS816WHB-0-DF is a simple wireless thermostat with analogue temperature setting and a digital display. It can be used with the combination of Saswell SCU209DE, SCU210DE or 2010DE The instructions for use and maintenance are part of the general terms and conditions of sale. We reserve the right to change the details, technology and performance.
- Page 10 Declaration of conformity has been issued for the product. This and other documentation is available on the website www.sen-controls.eu. The manufacturer of this product is SASWELL CONTROLS (HONGKONG) LTD. Importer and distributor for Saswell is Sen Controls d.o.o., Belokranjska cesta 29, 8340 Črnomelj, Slovenia...
- Page 11 Features Specifications • • Independence from wire connectivity Power supply: 2xAA LR6 1.5V batteries • • Simple to use Temperature setting range: from 5°C to 30°C • • Connectivity between the transmitter and Temperature display: from 5°C to 30°C • the receiver via wireless radio frequency Accuracy: ±...
- Page 12 Description and thermostat installation Installation of the thermostat Remove the screw, located below the 2x AA bateriji thermostat. Carefully lift up the front part of the housing. Don’t try it with too much force as you may damage the housing or the thermostat itself. Also be careful not to lose the small nut from the screw, if you completely unscrew it.
- Page 13 Using the thermostat Display (See the picture on the right) The current room temperature (1) is always displayed on the screen. With that, a small house symbol is also displayed (2). When you turn the button to change the temperature, the small symbol (2) disappears and now you’re setting the temperature which is also blinking (1).
- Page 14 Possible errors on the thermostat If there is a problem with the thermostat, an error will appear on the display. Error display: E1 – Sensor in the thermostat is in short circuit. Thermostat will stop working. Error display: E2 – Sensor in the thermostat is defective. Thermostat will stop working. Temperature alarm If the room temperature goes above 30°C, the thermostat displays HI on the LCD screen.
- Page 15 The pairing process is now complete. If the process was unsuccessful, repeat it again from the beginning or seek help from our web page. Now put the button (knob) back on its original place. Use the picture bellow for help. Make sure that the arrows match.


Need help?
Do you have a question about the SAS816WHB-0-DF and is the answer not in the manual?
Questions and answers