Advertisement
Quick Links
Advertisement

Related Manuals for Artusi AFR650


Summary of Contents for Artusi AFR650
- Page 1 A PPLIANCES FO R LIV IN G AFR650 OPERATION MANUAL...
- Page 2 This instruction manual has been specially created to inform you of the features specified in this Manual may not be available on your appliance. full range of features your ARTUSI appliance has to offer and serves as an All our appliances are only for domestic use, not for commercial use. Products introduction to getting the very best out of your ARTUSI appliance.
-
Page 3: Information And Advice
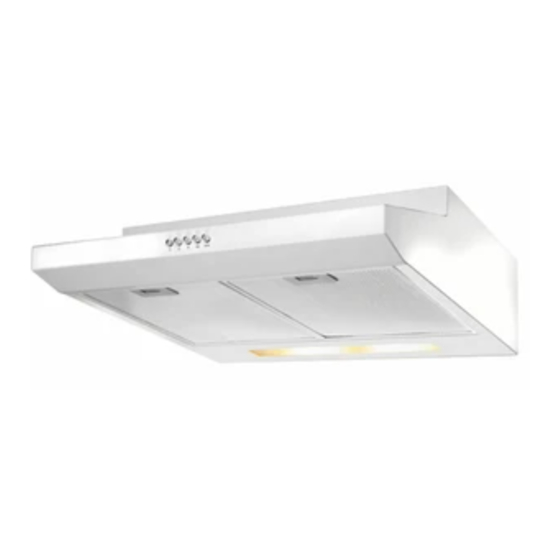
Information and advice CAUTION: Accessible parts may become hot when used with cooking appliances. In certain circumstances electrical appliance may be a danger hazard. A)There shall be adequate ventilation of the room when the cooker hood is used at the same time as appliances burning gas or other fuels. B)Do not check the status of the filters while the cooker hood is operating. - Page 4 Know your cooker hood Congratulations on the purchase of our cooker hood which is designed to include many superior features. Before installing and using the hood carefully read all the instructions.
- Page 5 Selection of the venting direction Fully convertible for vertical, horizontal or recirculating operation. Recirculating vertical The air must not be discharge discharged into a flue that is used for exhausting fumes from appliances burning gas or other fuels...
-
Page 6: Vertical Discharge
Vertical discharge Refer to diagram 2. Remove knockout A. Use a flat head screwdriver inserted under one end and gently lever it up. Cut the attachment points using tin snips and remove. Recirculating Re-circulating Refer to diagram 3. Leave knockout A in place. Note: The air is recirculated back into the kitchen. - Page 7 Ducted mode. Insert the big block into the position as per Fig. 5. Recirculation mode. Insert the small block into the position as per Fig. 6. Big mode selection block Small mode selection block...
- Page 8 Ensure the power is turned off before beginning this installation. Note: You will need two people to install this hood. Tools required; Drill Installation work Flat head screwdriver and electrical Phillips head screwdriver or cordless drill with a wiring must be Phillips head bit.
- Page 9 Refer to diagram 8. Caution: The hood should be power OFF 1. Hold the hood in position, and (with the help of someone) mark the location of the keyhole-shaped holes in the hood. Drive screws about halfway into the underside of the cabinet on those markings, and slip the Know where hood onto the screws.
- Page 10 The hood must not be installed and connected to flues where other appliances are installed. Refer to diagram 9 Should the hood be unable to be secured to the cabinet then fix it to the wall. 1. Hold the hood in position, and (with the help of someone) mark the location of the keyhole-shaped holes in the hood on the wall.
-
Page 11: Hood Operation
Hood Operation 1. Ensure the hood is OFF when first installed 2. Insert the power plug Clean the filters and Refer to diagram 11 ventilating fan Press light button for lights to turn ON. Press again to turn OFF. at least once every 3 months. -
Page 12: Cleaning Instructions
Cleaning instructions Caution: Turn off the hood before cleaning. 1. Clean the surface of the hood frequently using mild soap or detergent at least once every 3 months. Never let water enter the motor 2. Avoid the use of harsh cleaning agents as it may spoil the hood’s or electrical appearance. - Page 13 The manufacturer shall decline all responsibility when the recommendations and instructions regarding installation, maintenance and use are not observed.
- Page 14 Appliances Privacy Policy is available at 2. What is not Covered by the Warranty. of the artusi in respect of an artusi product www.artusi.com.au. Worldwide Appliances will The Warranty does not apply if an artusi product purchased as a “factory second”...
- Page 15 Last Name: First Name: Address: State: Postcode: Email: Home Phone: Mobile: Purchase Date: (Please attach proof of purchase to validate warranty) SERIAL NUMBER MODEL NUMBER (if you cannot locate the serial number please call ARTUSI on 1300 694 583) 01032014...
- Page 17 DISCLAIMER Worldwide Appliances PTY LTD, trading as ARTUSI, is continually seeking ways to improve the design specifications, aesthetics and production techniques of its products. As a result alterations to our products and designs take place continually. Whilst every effort is made to produce information and literature that is up to date, this brochure should not be regarded as an infallible guide to the current specifications, nor does it constitute an offer for the sale of any particular product.
Need help?
Do you have a question about the AFR650 and is the answer not in the manual?
Questions and answers