Table of Contents
Advertisement
Quick Links
24739476
NOTE: If door does not have a cutout for
!
cabling inside lock stile, door must be
routed. Refer to 33/3550AWDC wood
door template #24731408.
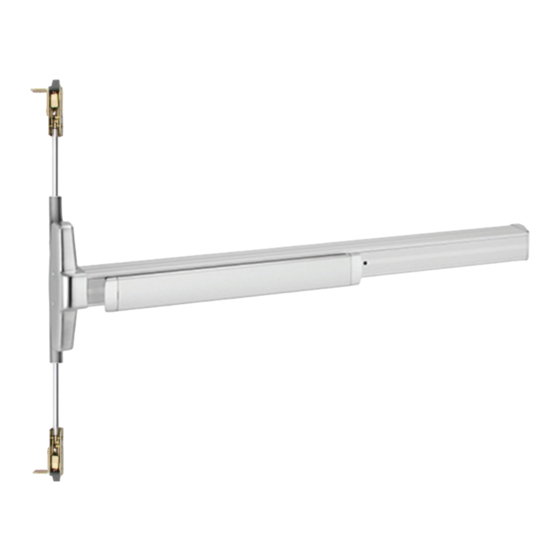
33/3550AWDC
1-Point
Latch
(LBL)
2-Point
Latch
includes these
additional
parts
Installation Instructions
Fire-Rated
Devices
include these
additional
components
Metal Edge
Wrap required
for 60 and
90-minute
applications
Advertisement
Table of Contents

Related Manuals for Von Duprin 3550AWDC


Summary of Contents for Von Duprin 3550AWDC
- Page 1 (LBL) Metal Edge Wrap required for 60 and 90-minute applications 2-Point Latch includes these additional parts NOTE: If door does not have a cutout for cabling inside lock stile, door must be routed. Refer to 33/3550AWDC wood door template #24731408.
-
Page 2: Table Of Contents
8-9 If you have any questions or comments please visit the resources below or give us a call so we can help get you on your way. Thank you for your continued support of Von Duprin. ADJUSTMENT Technical Support hot line: 877-671-7011... - Page 3 (continued) For 60 and 90-minute applications, install metal edge If necessary, prepare center case mounting holes. wrap. Device Sex bolts Ø ¹³⁄₃₂" thru (Pre-prepped at factory) Trim Ø ¹⁄₂" thru (Enlarge existing holes) (2 places) 3¹⁄₈" Device 3¹⁄₈" 1¹⁄₂" Backset RHR shown (LHR opposite) With door laying fl...
-
Page 4: Fire Barrier
FIRE BARRIER Fire application only Remove appropriate knockouts for device and trim. Fire components must be installed to maintain fi re rating of opening. Peel adhesive backing from intumescent and apply to trim side of fi re barrier. Intumescent must be properly aligned before exposed adhesive contacts fi... - Page 5 (continued) With fi re barrier in correct orientation, slide barrier into Secure fi re barrier to inside of pocket with 4 screws. door pocket. RHR shown Trim Side FIRE BARRIER KNOCKOUT TABLE Trim Trim Right Hand Reverse (RHR) Left Hand Reverse (LHR) Model Function Remove the knockouts listed below...
-
Page 6: Latch Installation
LATCH INSTALLATION Confi rm top latch is marked for EXIT DEVICES ONLY, Secure latch(es). then remove label. Bottom Push Side For 2-Point Latch Only of Door ATTENTION: FOR USE WITH Push Side EXIT DEVICES ONLY of Door RHR shown Connect cable end fi tting(s) to latch(es). #10 x 1¹⁄₂"... -
Page 7: Cable Installation
CABLE INSTALLATION Insert cable end fi tting(s) into center slide. Secure center slide. Be sure to attach top cable to top end of center slide (marked “Top”) Pull top cable thru mortise opening (a-1). Rotate spool using hex wrench to reveal cable hole in spool (a-2), if it is not visible or only partially visible. -
Page 8: Device Installation
DEVICE INSTALLATION If necessary, cut device. Install lift fi nger(s) and retainer clip(s). Using tube of grease provided, apply grease to interior of rod connector sleeve in locations shown (b-1). With device center case hanging over edge Door of table, slide rod connector sleeve over top end of center case in orientation shown (b-2), then insert mounting screw thru hole in center case 1¹⁄₂"... - Page 9 (continued) Attach center case to door. Mark and prepare 2 holes. Do not overtighten center case to door (door edge cover plate won’t fit). Surface Mount Block may need to be pushed up to access screw. Sex Bolts Thru-bolting Trim Sex Bolts Install end cap bracket and end cap.
-
Page 10: Device Adjustment
DEVICE ADJUSTMENT ADJUSTMENT COMPONENTS Center Case Center Slide Reverse Angle Top lift finger screw: Adjusts release point of latches Top spool screw: Sizes cable to door height Top locking screw: Locks lift finger screw adjustment Top lift finger: Transfers motion from exit device spool inputs Top spool input: Transfers motion from lift finger to... - Page 11 (continued) Adjust device for top latch retraction position. Adjust device for bottom latch retraction positon. For 2-Point Latch Only Steps marked with a symbol are different if using 360L / 360T trim. Depress and HOLD Maintain upward pressure on screwdriver and Put top latch in Depress and HOLD push pad (or dog device) push pad (or dog...
-
Page 12: Strikes And Fire Pin
STRIKES AND FIRE PIN Prepare door frame for top strike. Install 2 top strike screws using the slot features on the strike. If using a door seal or gasket, install first. From push side of door, with door nearly closed, use straight edge to transfer location of inside edges of top latch housing to underside of stop (a-1). - Page 13 (continued) Prepare fl oor for bottom strike. Install bottom strike. For 2-Point Latch Only For 2-Point Latch Only Clear holes of debris, then Secure the anchors using a Pull Side drop in anchors (slotted end hammer and punch first) Latch Chisel out pocket ¹⁄₂"...
-
Page 14: Bottom Latchbolt Clearance
BOTTOM LATCHBOLT CLEARANCE Remove tape holding bottom bolt in place from bottom Perform bottom latch functional test. of door. For 2-Point Latch Only For 2-Point Latch Only c-1. Confi rm bottom latchbolt does not drag against fl oor when door is opened. c-2. -
Page 15: Top Strike And Covers
TOP STRIKE AND COVERS Adjust top strike as necessary, then install the third Install cover plate to door edge, then completely strike screw to fi x the strike position. tighten down center case screws. For non-fire devices, first Metal prepare door edge ¹⁄₈"... -
Page 16: Troubleshooting
If bottom spool input does not move during Steps 6b-2 / b-3: Loosen bottom spool screw 10 turns. If the 33/3550AWDC center case cover is difficult to install: Loosen bottom screw installed in Step 5c and lift rod connector sleeve until it will go no higher, then retighten screw.
Need help?
Do you have a question about the 3550AWDC and is the answer not in the manual?
Questions and answers