
Subscribe to Our Youtube Channel
Related Manuals for LUCCI AIRFUSION RESORT


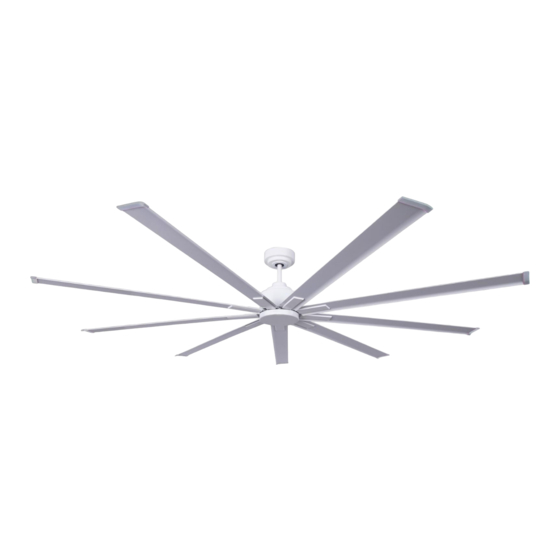
Summary of Contents for LUCCI AIRFUSION RESORT
- Page 1 LUCCI AIRFUSION RESORT DC CEILING FAN INSTALLATION OPERATION MAINTENANCE WARRANTY INFORMATION CAUTION READ INSTRUCTIONS CAREFULLY FOR SAFE INSTALLATION AND FAN OPERATION. V 2 . 0 p u b l i c a t i o n o n 0 4 . 2 0 1 6...
-
Page 2: Congratulations On Your Purchase
Airfusion Resort Installation Instructions CONGRATULATIONS ON YOUR PURCHASE Congratulations on purchasing the latest in energy saving ceiling fans. This fan runs on DC (direct current) power which gives it the benefit of being super energy efficient whilst still maintaining high volume air-movement and silent operation. - Page 3 Airfusion Resort Installation Instructions the wiring rules. Example: If a fan is connected to a circuit that can be isolated via an all-pole safety switch at the switchboard, then this is considered to be an all-pole disconnection to the ceiling fan electrical circuit, meeting the requirements of clause 7.12.2 of AS/NZS 60335.1.
-
Page 4: Parts List
Airfusion Resort Installation Instructions PARTS LIST Unpack your fan and check contents. You should have the following: Fig. 1 Mounting bracket x 1 Extra motor screws x 1 (not shown) Fan assembly with hanger cover, down rod, Blade screws x 28 (not shown) -
Page 5: Installing The Fan
Airfusion Resort Installation Instructions INSTALLING THE FAN TOOLS REQUIRED: Phillips / flat head screwdriver Pair of pliers Adjustable spanner Step ladder Wire cutter Wiring, supply cable as required by local provincial and national wiring codes and regulations. INSTALLING THE MOUNTING BRACKET The ceiling fan must be installed in a location so that the blades are 300mm spacing from the tip of the blade to the nearest objects or walls. - Page 6 Airfusion Resort Installation Instructions HANGING THE FAN MOTOR ASSEMBLY • Lift the fan assembly onto mounting bracket. Fig. 4 • Ensure the notch of the ball joint (1) is positioned on the stopper of the mounting bracket (2) to prevent the fan from rotating when in operation.
- Page 7 Airfusion Resort Installation Instructions INSTALL THE CANOPY COVER • Loosen 2 screws (1) from the bottom of the mounting bracket. Fig. 7 • Slide the canopy up to the mounting bracket and place the key hole on the canopy (2) over the screw on the mounting bracket.
-
Page 8: Using Your Ceiling Fan
Airfusion Resort Installation Instructions Fig. 11 Fig. 10 USING YOUR CEILING FAN Pairing Transmitter and Receiver – when 2 or more DC ceiling fans are installed in one location When two or more ceiling fans are located near each other, you may desire to have the receiver/transmitter for each fan set to a different code so that the operation of one fan does not affect the operation of the other fan/s. - Page 9 Airfusion Resort Installation Instructions The fan operates at highest speed in REVERSE mode automatically for approximately 2 minutes and then operates in FORWARD mode for approximately 2 minutes. During the paring process, DO NOT TOUCH THE REMOTE FOR 4-5 MINUTES.
- Page 10 Airfusion Resort Installation Instructions Remote Control Buttons ○ 1 - FAN SPEED CONTROL BUTTON: Fig. 13 ○ There are 6 available speeds. button is for the lowest ○ speed, and VI button is for the fastest speed. NOTE: when you turn on the fan for the first time or switch the main power to the controller, you need to start the fan on hight ○...
- Page 11 Airfusion Resort Installation Instructions communication pairing of the remote and receiver. Please follow the steps below: Remove the battery cover of the remote, check the 434 MHz sticker area, make sure the battery is installed correctly and the red LED light indicator will be flashing, it means the remote function is okay.
- Page 12 Airfusion Resort Installation Instructions Re-configure the factory default DIP switches setting in the remote so that the receiver and remote (transmitter) communication is on a different channel. The four DIP switches can be set in any (up or down) resting position with an aid of a pen tip or small screw driver as shown below.
- Page 13 Airfusion Resort Installation Instructions When it is quiet (especially at night) you may hear occasional small noises. Slight power fluctuations and frequency signals superimposed in the electricity for off-peak hot water control, may cause a change in fan motor noise. This is normal. Please allow a 24-hour “breaking-in” period, most noises associated with a new fan disappear during this time.
Need help?
Do you have a question about the AIRFUSION RESORT and is the answer not in the manual?
Questions and answers