Table of Contents
Advertisement
Quick Links
NEXSAN
US316 Storage Expansion
Quick Start Guide
This document provides installation steps to rack, cable, and power on a US316 Storage Expansion.
For additional documentation please visit
Taking delivery
Check to ensure that no damage has been sustained
to the packaging in transit. If any of the US316
Storage Expansion components appear damaged,
please contact your reseller immediately.
Item
Name
1
LAN port
2
Status LED
3
Unit ID status LED
4
BMC Reset button
5
SAS IN ports
6
SAS OUT ports
7
SAS link status LEDs (2 IN, 2x OUT)
Prepare for installation
Carefully read the safety notices on
A
Ensure ahead of time that you have a suitable
B
rack; see
page
4.
Ensure that you have a Phillips screwdriver.
C
http://helper.nexsansupport.com/unt_support.html
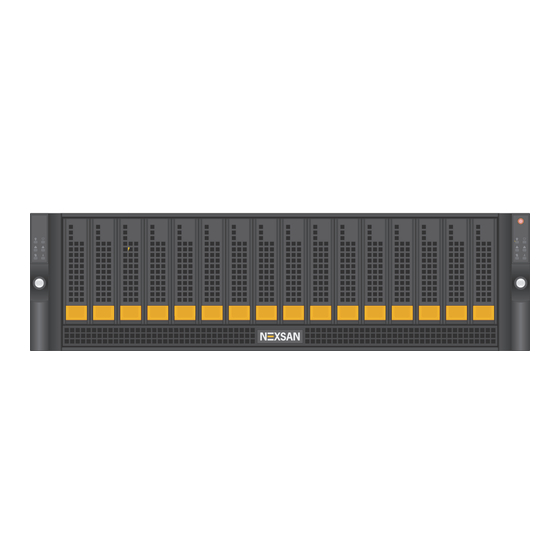
Front view (bezel removed)
Rear view controller I/O components.
page
4.
on
Storage
1 — US316
Expansion Quick Start Guide
Hardware overview
Here are some of the key components of the US316
Expansion:
Description
Not used with Unity Storage Expansions
Green: Initialization successful
Red: Initialization failure
On/Off
Resets the base management controller
Serial Attached SCSI IN ports from the Unity
Storage System
SAS OUT ports to another storage unit
Green: All four physical layers (PHY) of each
port connected with consistent link speed (12 G
or 6 G)
Red: Single PHY degraded link speed or
disconnected
Arrange for someone to assist you during
D
installation.
CAUTION:
Acclimate new disk drives to
room temperature for two hours before you
install them.
Firmware Version 6.0
Advertisement
Table of Contents

Related Manuals for Nexsan US316


Summary of Contents for Nexsan US316
- Page 1 NEXSAN US316 Storage Expansion Quick Start Guide Firmware Version 6.0 This document provides installation steps to rack, cable, and power on a US316 Storage Expansion. For additional documentation please visit http://helper.nexsansupport.com/unt_support.html Taking delivery Hardware overview Check to ensure that no damage has been sustained Here are some of the key components of the US316 to the packaging in transit.
- Page 2 Reach under the chassis to pull it free from the assembly as far as possible, then depress the foam insert. Do NOT lift out the US316 chassis locking tab to pull it completely out. from its packaging using the controller handles or Place the inner rail on the side of the chassis, attached rails.
- Page 3 All drive carrier activity LEDs Plug the power cords into their respective power should be illuminated in green. supplies on the rear of the US316 Expansion. If a drive carrier activity LED does not light up, Plug the power cords connected to the power...
-
Page 4: Safety Notices
Copyright © 2010-2019 Nexsan Technologies, Inc. All Rights Reserved. Nexsan®, UNITY2200™, UNITY4400™, UNITY6900™, UNITY2200X™, US224™, US316™, US424™, US460,™, FASTier™, and the Nexsan logo are trademarks or registered trademarks of Nexsan . All other trademarks and registered trademarks are the property of their respective owners.
Need help?
Do you have a question about the US316 and is the answer not in the manual?
Questions and answers