Table of Contents
Advertisement
Available languages
Available languages
Quick Links
Advertisement
Table of Contents

Subscribe to Our Youtube Channel
Related Manuals for Light4Me PAR 6x4W RGBW


Summary of Contents for Light4Me PAR 6x4W RGBW
- Page 1 PAR 6x4W RGBW User Manual Instrukcja obsługi...
-
Page 2: Safety Specifications
ENGLISH I Preface This Manual includes the important information of installation and operation. Please install and operate the light according to the instructions strictly. And it must be power off when open the light or before repair. A: Please read the complete contents of this manual (please keep this manual attach with the light for any preview) B: In order to make sure the correct and safety installation, operation and maintenance, well know and follow to the instructions of Manual is necessary. -
Page 3: Technology Parameter
Please never use the power cable which was damaged the insulation cover, meanwhile, never put the power cable on any other wire. Please pull out the power cable by handle the plug when light is stop working or cleaning, never pull out it roughly or handle the wire directly. The light doesn’t include any spare parts for repair, please check if all the parts are well installed and screws are drove tightly before operating. -
Page 4: Installation
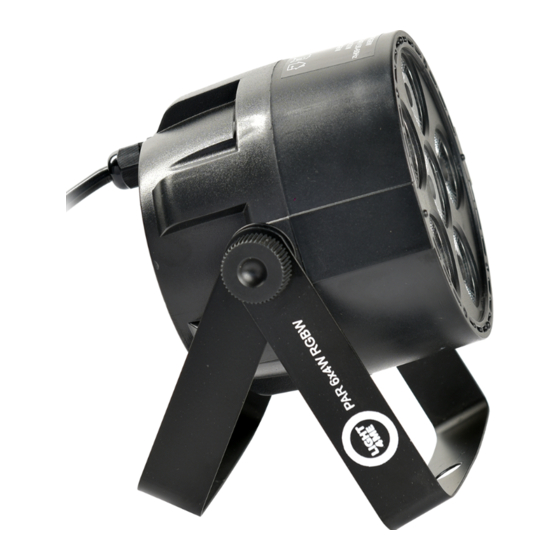
IV Features, Size and Overview There are 4 buttons and 4 bit LED displays on the operation panel for choosing different working modes. Choosing certain working mode via pressing these buttons, and it shows up on the LED displays. V Installation The PAR 6x3 may be mounted in any position;... -
Page 5: Operation
VI Operation MENU STRUCTURE Note: While connecting in Master-Slave chain first connect the units with DMX cables. Then set one unit in one of auto/sound modes it will work as master unit, the rest set to DMX mode A001, they will repeat the steps of a master. -
Page 6: Dmx Chart
VII DMX Chart 7 Channel mode Channel Function Value Setting Master dimmer 0-255 0-100% 0-255 0-100% Green 0-255 0-100% Blue 0-255 0-100% White 0-255 0-100% Strobe No function 10-255 Strobe Speed No function 0-50 First 6 channels active Jump Mode 51-99 Pulse Mode 150-200... -
Page 7: Instrukcje Bezpieczeństwa
POLSKI I Wstęp Instrukcja ta zawiera ważne informacje na temat użytkowania, instalacji i konserwacji urządzenia. Prosimy o użytkowanie zgodnie z zaleceniami zawartymi w tej instrukcji. Przed naprawą odłącz urządzenie z zasilania. A: Zapoznaj się z informacjami zawartymi w instrukcji przed pierwszym użyciem (instrukcję zachowaj dla przyszłych potrzeb). -
Page 8: Parametry Techniczne
• Jeśli produkt został narażony na znaczne zmiany temperatury, na przykład podczas transportu, przed podłączeniem do zasilania pozwól aż urządzenie osiągnie temperaturę otoczenia. Zgromadzona w produkcie wilgoć mogłaby doprowadzić do uszkodzenia. • Naprawy, konserwacja i czyszczenie powinny być dokonywane przez wykwalifikowany personel. - Page 9 IV Cechy, Wygląd i Wymiary Urządzenia Pod wyświetlaczem znajdują się 4 przyciski, za pomocą których możesz wybrać różne tryby pracy. Wybrany tryb/funkcja pojawią się na wyświetlaczu. V Instalacja PAR 6x3 RGBW może być montowany w dowolnej pozycji, jednakże upewnij się, że otwory wentylacyjne nie są...
- Page 10 VI Użytkowanie STRUKTURA MENU Tryb Kroki programowania Opis A001-A512 Wybór adresu DMX Kolory Statyczne Au1-Au15 Wybór koloru Pulsacyjne zmiany EE01-EE99 Regulacja szybkości zmian Skokowe zmiany FF01-FF99 Regulacja szybkości zmian Programy Auto AUTO Programy odtwarzane automatycznie Przechodzenie kolorów CC01-CC99 Wybór kombinacji kolorów CC01-CC99 Szybkość...
-
Page 11: Rozwiązywanie Problemów
Biały 0-255 0-100% Stroboskop Brak funkcji 10-255 Regulacja częstotliwości Brak funkcji 0-50 Pierwsze 6 kanałów aktywne Skokowe zmiany 51-99 Pulsacyjne zmiany 150-200 Tryb Auto 201-250 Tryb Sound 251-255 Tryby zmieniają się w rytm muzyki VIII Rozwiązywanie problemów Usterka Potencjalne rozwiązanie Wyświetlacz nie działa 1.
Need help?
Do you have a question about the PAR 6x4W RGBW and is the answer not in the manual?
Questions and answers