Table of Contents
Advertisement
Advertisement
Table of Contents

Subscribe to Our Youtube Channel
Related Manuals for Bush RL60SPH


Summary of Contents for Bush RL60SPH
- Page 1 Instruction manual Built-in Solid Plate Hob RL60SPH...
- Page 2 We’re here to help you get the most from your Built-in Hob. Should you require any guidance, a simple solution can often be found online at: www.bush-support.com If you still require further assistance, call one of our experts on 01759 487838.
-
Page 3: Table Of Contents
Declaration of conformance to Installing your Hob product standards Disposal Installation requirements Guarantee Installation guide Electrical connections Using your Hob Operation Advice Utensils or online at www.bush-support.com If you still require further assistance, call one of our experts on 01759 487838... - Page 5 Safety information...
-
Page 6: Safety Information
If you think there is a hazards involved. Children shall not play with the defect, do not use the appliance and contact BUSH appliance. Cleaning and user maintenance shall not Product Support on 01759 487838. Packaging be made by children without supervision. -
Page 7: Your Hob
Installation and repair work that is carried out by unauthorised technicians is dangerous and could invalidate your guarantee. or online at www.bush-support.com If you still require further assistance, call one of our experts on 01759 487838 Safety information... -
Page 9: Getting To Know Your Hob
Getting to know your Built-in Hob... - Page 10 Getting to know your Built-in Hob You’ll be up and running in no time Ready? Let’s begin... Please read these instructions carefully. They contain important information which will help you get the best from your Built-in Hob and ensure safe and correct installation and operation.
-
Page 11: Overview
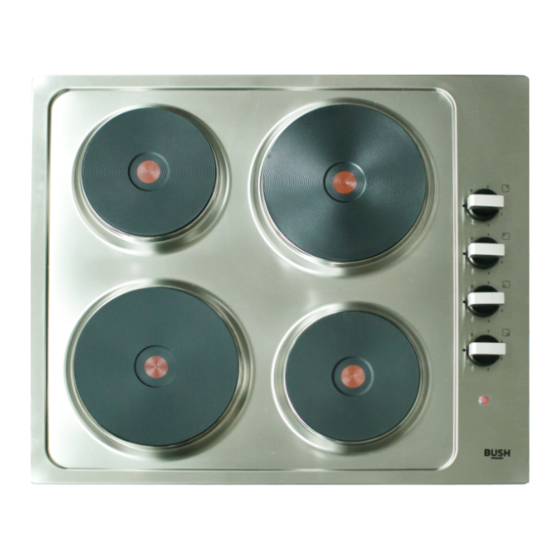
1 =Rapid heating plate 2000W 2 =Rapid heating plate 1500W 3 =Heating plate control knobs 4 =signal lamp or online at www.bush-support.com If you still require further assistance, call one of our experts on 01759 487838 Getting to know your Built-in Hob... -
Page 12: Accessories
Getting to know your Built-in Hob You’ll be up and running in no time 1. Bracket*4 2. Screw*4 3. Seal*1 If you require any technical guidance or find t at your product is not operating as intended, a simple solution can often be found in the Troubleshooting section of these instructions, Getting to know your Built-in Hob... -
Page 13: Installing Your Hob
Installing your Built-in Hob... -
Page 14: Installation Requirements
RISK OF ELECTRIC SHOCK DO NOT OPEN CAUTION: TO REDUCE THE RISK OF ELECTRIC SHOCK, DO NOT REMOVE COVER (OR BACK). NO USER-SERVICEABLE PARTS INSIDE. REFER SERVICING TO QUALIFIED SERVICE PERSONNEL. Installing your Built-in Hob Bringing it all together CAUTION WARNING: This appli ance must be installed by an... -
Page 15: Installation Guide
If the surface that the hob is to be fitted to is tiled or is not reasonably smooth, additional sealing with a waterproof silicone sealant may be required. or online at www.bush-support.com If you still require further assistance, call one of our experts on 01759 487838 Getting to know your Built-in Hob... - Page 16 Installing your Built-in Hob Bringing it all together Fig. 1 Rear Screw Mains Connector Rear Screw Seal no gaps in corners Front Screw Front Screw Fig. 2 Worktop 30 mm Sleeve Bracket Retaining screw Worktop 40 mm Retaining Bracket screw Figures for reference only If you require any technical guidance or find t at your product is not operating as intended, a simple solution can often be found in the Troubleshooting section of these instructions, Installing your Built-in Hob...
-
Page 17: Electrical Connections
• Green and yellow: Earth • Blue: Neutral • Brown: Live Earth Live Neutral or online at www.bush-support.com If you still require further assistance, call one of our experts on 01759 487838 Getting to know your Built-in Hob... -
Page 19: Using Your Hob
Using your Built-in Hob... -
Page 20: Operation
Using your Built-in Hob Getting the most from your appliance Operation of the top with the electric plates The electric tops can either be of the standard type, or of the rapid type. These last feature a red mark at their centre. According to your needs, the tops can be adjusted by turning the knobs either clockwise or anti-clockwise on 6 position besides the 0 position (off). -
Page 21: Utensils
Good (recessed (convex base) (undersize) (oversize) (moisture on (no utensil) base) hotplate) or online at www.bush-support.com If you still require further assistance, call one of our experts on 01759 487838 Getting to know your Built-in Hob... -
Page 23: Care And Maintenance
Care and maintenance... -
Page 24: Cleaning
Care and maintenance Looking after your appliance Cleaning WARNING! Isolate the power supply to the built-in Stainless Steel: Hob and make sure that the built-in hob is cool. Stainless steel parts must be cleaned frequently with mildly warm soapy water and a soft sponge and then dried with a soft cloth. -
Page 25: Technical Specifications
We apologise for any inconvenience caused by minor inconstancies within these instructions that may occur due to product improvements and development All images and drawings are for illustration purposes only. or online at www.bush-support.com If you still require further assistance, call one of our experts on 01759 487838 Care and maintenance... -
Page 27: Product Support
Product support... -
Page 28: Troubleshooting
1. If no electrical functions appear to work, check 3. DO NOT ATTEMPT TO REPAIR THIS the isolation switch has not been turned off also APPLIANCE YOURSELF. CALL BUSH check the fuse in the switch and the circuit PRODUCT SUPPORT ON 01759 487838 OR... -
Page 29: Help And Assistance
Lines open 8am-7pm Monday to Saturday and 10am-4pm Sunday. *Calls to BUSH enquiry lines may attract a charge and set up fee from residential lines depending on your call plan/tariff. Mobile and other providers costs may vary, see www.bt.com/pricing for details. -
Page 30: Declaration Of Conformance To Product Standards
Product support Help is always at hand Declaration of conformance to Disposal product standards This appliance/fitting is marked according to the European directive This appliance conforms to all relavant standards 2012/19/EU on Waste Electrical applicable to domestic appliances sold in the UK and Electronic Equipment (WEEE). -
Page 31: Guarantee
Guarantor: Argos Limited - 489 - 499 Avebury Blvd. - Milton Keynes - MK9 2NW or online at www.bush-support.com If you still require further assistance, call one of our experts on 01759 487838 Product support... - Page 34 Contact: www.bush-support.com Helpline: 01759 487838...
Need help?
Do you have a question about the RL60SPH and is the answer not in the manual?
Questions and answers