
Subscribe to Our Youtube Channel
Related Manuals for Grundig GCH-K0305B


Summary of Contents for Grundig GCH-K0305B
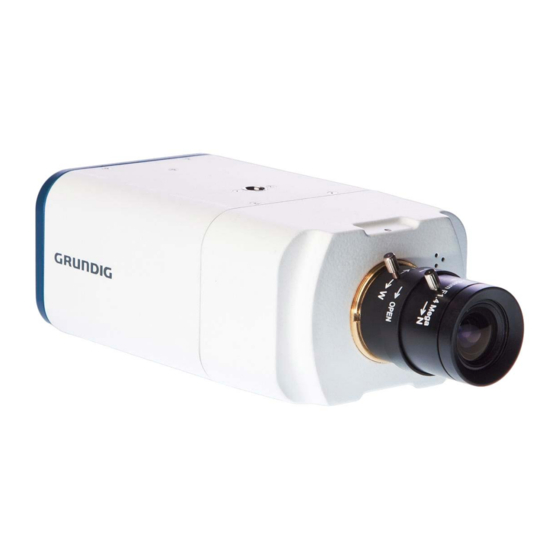
- Page 1 Owner's Manual HD-SDI Cameras & Domes GCH-K0305B 2 Megapixel Full HD CMOS Box HD-SDI Camera ICR WDR GCH-K0305B.43.1.14.03.2012 © ASP AG...
-
Page 3: Table Of Contents
HD-SDI products are easy to handle, easy to install and produce amazing high quality pictures. With its innovative WDR function and digital noise reduction technology, the HD-SDI Box Cameras from GRUNDIG can offer close-up images with exceptional details even at night time. The camera can stream HD-SDI signals up to 50/60fps which will give you crystal clear pictures of moving objects. -
Page 4: Package Contents
3. Package Contents These parts are included: 4. Installation 4.1. Installation Remarks Do not install the product in a location subject to high temperature (over 50°C), low temperature (below -10°C), or high humidity. Doing so may cause fire or electric shock. Keep out of direct sunlight and heat radiation sources. - Page 5 100-120m when using a RG59 cable. If you want to use HD-SDI for further distances, please use either a higher quality cable (RG6 approx. 300m) or the Grundig HD-SDI repeater GTH-K0011E that will extend the transmitting distance to 200-240m.
-
Page 6: Camera Overview
4.2. Camera Overview 4.3. TV System/Resolution/Frame Rate Please refer to the illustrations below to set up the Camera TV system, resolution and frame rate. NOTE: To activate the analogue video output, please set the DIP Switch PIN 6 on the Camera Rear Plate (Item F in the picture in 4.2. -
Page 7: Lens Mounting
4.4. Lens Mounting Lens Mounting for C/CS Mount Lens Model: It is possible to attach all CS-Mount lenses with manual or DC controlled iris on the camera. Please remove the camera’s plastic covering first and then attach the CS-Mount lens onto the camera. If you would like to use a C- Mount lens, you need a 5 mm C/CS Mount Adapter between the camera and the C-Mount lens, as shown in the illustration below. - Page 8 Step 6: Focus on the object with the back focus ring. Check now whether it is possible to adjust the focus with the back focus ring also in the wide angle range. Step 7: Repeat steps 3 ~ 6 until the focus can be adjusted throughout the zoom range. When using a zoom lens and changing the focal length, the focus does not need to be adjusted again once the back focus adjustment has been completed.
-
Page 9: Operation And Configuration
5. Operation and Configuration 5.1. OSD Menu Tree The OSD setup menu structure is listed in the following section. The star symbol indicates the factory default. For detailed function description, please refer to 5.3. Configuration Menu. English... -
Page 10: Entering The Osd Menu
5.2. Entering the OSD Menu The detailed functions and parameter settings of your Camera can be set through the OSD (On Screen Display) menu with the rear panel control buttons of the Camera. The items in the OSD menu are described in the following sections. - Page 11 5.3.4. AE FUNCTION Exposure is the amount of light received by the image sensor and is determined by how wide you open the lens diaphragm (iris adjustment), by how long you keep the sensor exposed (shutter speed), and by other exposure parameters.
- Page 12 AUTO: In this mode, white balance works within its colour temperature range. This mode computes the white balance value output using the colour information from the entire screen. It outputs the proper value using the colour temperature radiating from a black subject based on a range of values from 3000K to 7500K. INDOOR: 3200 K Base mode.
- Page 13 - OFF: Deactivate the WDR function. 5.3.11. VERSION INFO Press ↓ on <MAIN PAGE 1> to get to the next page, the currently installed software version of the Camera is on top of <MAIN PAGE 2> as <VERSION INFO>. Press <Enter> to enter the menu, the <FIRMWARE VER.> will be shown on the screen for users’...
- Page 14 - MASK ON/OFF: Users can enable or disable the Privacy Mask function through this item. Set this item to <ON> before configuring the mask zones. - TRANSPARENCY: The colour of a privacy mask can be set as transparent. Select <ON> to display transparent masks. - COLOR: The colour of a privacy mask can be set through this item.
- Page 15 5.3.14. ALARM IN/OUT The Camera provides one alarm input and one alarm output (N.O. and N.C) to connect alarm devices. With this function, the Camera will cooperate with alarm systems to catch the event images. For wiring, please refer to 4.2.
- Page 16 Specifications GCH-K0305B Image Sensor 1/2.8" Progressive Scan CMOS, 3 Megapixels Pixels - Total 2144(H) x 1588(V), 3.40M pixels Pixels - Effective 2080(H) x 1553(V), 3.23M pixels Scanning System Progressive Image Size 1920x1080, 1280x720 Frame Rate 30/60, 25/50 fps at 1080p; 30/60, 25/50 fps at 720p Sensitivity 0.227 lux at F1.2, 30 IRE (25fps)
- Page 17 EC Declaration of Conformity GCH-K0305B 2 Megapixel Full HD CMOS Box HD-SDI Camera ICR WDR It is hereby certified that the products meet the standards in the following relevant provisions: EC EMC Directive 2004/108/EC Low Voltage Directive 2006/95/EC Applied harmonised standards and technical specifications:...
Need help?
Do you have a question about the GCH-K0305B and is the answer not in the manual?
Questions and answers