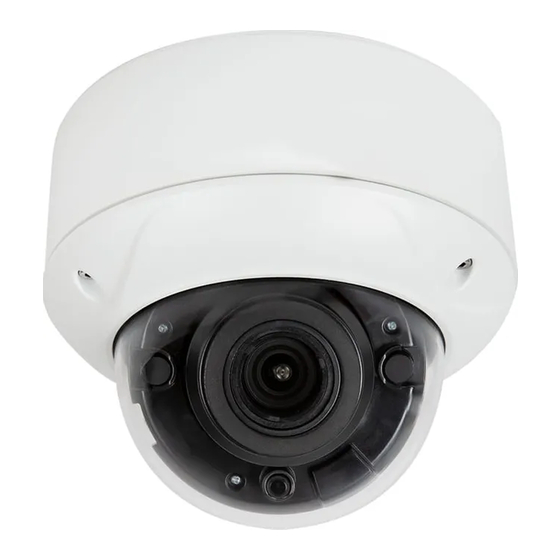
Luma Surveillance 710 Series Installation & Operation Manual
Bullet hd analog surveillance camera
Hide thumbs
Also See for 710 Series:
- Quick start manual (16 pages) ,
- Quick start manual (9 pages) ,
- Quick start manual (9 pages)
Summary of Contents for Luma Surveillance 710 Series
- Page 1 710 Series Bullet 510 Series Bullet 310 Series Bullet HD Analog Surveillance Camera Installation & Operation Manual...
-
Page 2: Box Contents
Luma 310/510/710 Series Bullet Camera Box Contents Camera Self-adhesive mounting template 4 x wall anchors with screws 3mm hex wrench CC tester cable Required Equipment Aside from the contents of this box, you will need to provide Phillips screwdriver Power source: either 12V DC or 24V AC... - Page 3 Luma 310/510/710 Series Bullet Camera Inspection Ensure that the device is in good condition and all the assembly parts are included. We recommend installing with RG-59 or RG-6 cabling with two-wire power (either regular or siamese). This provides better performance over distance than using traditional category cable with baluns.
- Page 4 Luma 310/510/710 Series Bullet Camera Overview Before installing, familiarize yourself with the parts of your camera. Sunscreen Adjustment Screw Sunscreen Mounting Anchors Lens (square on the 710) Access Panel IR Emitters...
-
Page 5: Prepare For Installation
Luma 310/510/710 Series Bullet Camera Prepare for Installation 1. Drill a cable hole and pilot holes for your screws in the ceiling, using the supplied template. 2. If you are installing this camera in an older system that does not support HD-TVI, unscrew the access panel cap on the bottom of the camera, and flip the camera’s... -
Page 6: Install The Camera
Luma 310/510/710 Series Bullet Camera Install the Camera 1. Route the cables through the cable hole. 2. Attach the base of the camera to the ceiling and secure it with screws. 3. This camera has an elbow joint flanked by two rotational joints for perfect pan and tilt control. -
Page 7: Adjust The Camera
Luma 310/510/710 Series Bullet Camera Adjust the Camera 1. Optional: If this is an HD installation and you want to use the camera’s on-screen display through your DVR or the web interface, go into the DVR’s menu and set the camera protocol to HIK-C (Coaxitron). - Page 8 5-Year Limited Warranty This Luma Surveillance™ product has a 5-Year Limited Warranty. This warranty includes parts and labor repairs on all components found to be defective in material or workmanship under normal conditions of use. This warranty shall not apply to products that have been abused, modified or disassembled.


Need help?
Do you have a question about the 710 Series and is the answer not in the manual?
Questions and answers