
Related Manuals for Sony RM-LJ302


Summary of Contents for Sony RM-LJ302
- Page 1 3-866-295-12(1) Remote Commander Operating Instructions RM-LJ302 1999 by Sony Corporation...
-
Page 2: About This Manual
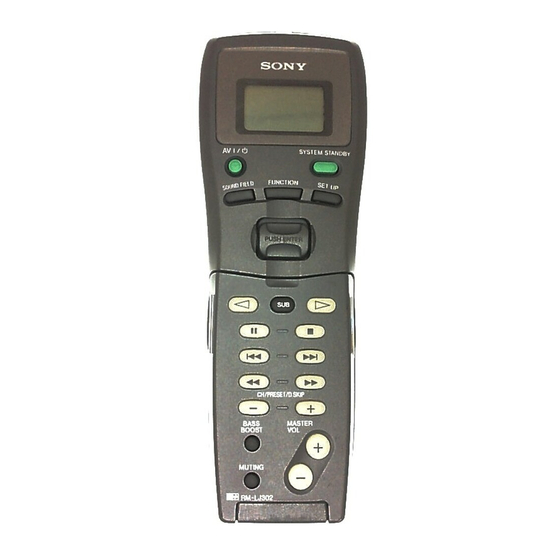
If you have any question or problem concerning your receiver, please consult your nearest Sony dealer. About This Manual The instructions in this manual are for model RM-LJ302. Check your model number by looking at the lower left corner of the front side. -
Page 3: Table Of Contents
Understanding the 2 way remote system This remote operates under a 2 way remote system. With the two way remote system, the component responds to signals sent from the remote by sending additional signals (information about the status of the component, text data, etc.) back to the remote. -
Page 4: Location Of Parts And Basic Remote Operations
Location of Parts and Basic Remote Operations This chapter provides information on the location of buttons and how to use them to perform basic operations. Parts Description AV 1/u SYSTEM STANDBY FUNCTION PUSH ENTER ª · CH/PRESET/D.SKIP – BASS MASTER BOOST MUTING –... - Page 5 3 SYSTEM STANDBY switch Press to turn off the receiver and other Sony audio/ video components at the same time. If you want to change the function of the SYSTEM STANDBY switch so that it turns on or off the receiver only, see page 16.
- Page 6 Parts Description AV 1/u SYSTEM STANDBY FUNCTION PUSH ENTER ª · CH/PRESET/D.SKIP – BASS MASTER BOOST MUTING – Open up the cover. MENU GUIDE LEVEL CENTER REAR @™ – – TEST TONE EQ/TONE CURSOR SHIFT D.TUNING MODE SLEEP @¡ > - / - - ENTER @º...
- Page 7 !§ EQ/TONE button Press to turn the equalizer or tone effect on or off. The TONE indicator on the receiver lights up when the effect is turned on. Note that if you have adjusted the equalization or tone using the CURSOR MODE button and cursor buttons, the adjusted equalization or tone will be produced whenever you turn on the equalizer or tone effect.
- Page 8 Parts Description AV 1/u SYSTEM STANDBY FUNCTION PUSH ENTER ª · CH/PRESET/D.SKIP – BASS MASTER BOOST @¢ MUTING – MENU GUIDE LEVEL REAR CENTER – – TEST TONE EQ/TONE CURSOR SHIFT D.TUNING MODE SLEEP > - / - - ENTER EXIT/RETURN EXECUTE @£...
- Page 9 Table of buttons used to control each component When you program the remote to control the following Sony or non-Sony components, you can use the buttons on the remote that are marked with circles. Note, however, that some buttons may not operate your component.
- Page 10 Parts Description Table of operations that appear when you press the SUB button Press the SUB button to display a list of operations that the corresponding buttons are not found on the remote. The contents of the lists will vary according to the currently selected component. The following table shows the items in each list and the function of each item.
- Page 11 2) item in the IR SET list (see page 16) and selected USER 1 (or 2) (see page 14). c) Only with Sony TVs with the picrure-in-picture function. d) Only with Sony TVs that supports the wide-picture mode. e) Only with the Sony CD changer. Note...
-
Page 12: Using The Lists
Using the Lists This chapter describes how to display and use various lists. It also includes a chart showing all of the various lists. AV 1/u SYSTEM STANDBY FUNCTION SOUND FIELD PUSH ENTER Easy scroll ª · CH/PRESET/D.SKIP – BASS MASTER BOOST MUTING... -
Page 13: Chart Of Lists
Chart of Lists See the treelike chart below for the list hierarchy. Details on how to access each list is given from page 14. Some items have sub-lists that appear when you press the SUB button (see pages 10 and 11). The configuration of the lists will vary depending on the receiver. -
Page 14: Selecting A Component
The current deck operation ((, P or p) or MD deck to the right of the component indication If you selected a Sony CD changer Move the easy scroll key. The DISC MEMO list appears. Move the easy scroll key to select a disc, then press the key to enter the selection. -
Page 15: Selecting A Sound Field
Move the easy scroll key to display the information about deck A or B. Note When the remote is programmed to control a non-Sony tape deck, the following may occur: — The information about deck B is not displayed and you cannot switch between tape deck A and B. -
Page 16: Programming The Remote
You can customize the remote to match the components connected to your receiver. You can even program the remote to control non-Sony components and also Sony components that the remote is normally unable to control. The procedure below uses as an example a case in which a Kenwood LD player is connected to the VIDEO 2 jacks on the receiver. -
Page 17: Performing Several Commands In Sequence Automatically (Macro Play)
(“VTR” for example) then press the key to enter the selection. The MAKER list appears. MAKER? Sony VTR1 Sony VTR2 Move the easy scroll key to select the maker, then press the key to enter the selection. The FUNCTION list appears. -
Page 18: Downloading Data From The Receiver
CD in each slot of a CD changer from the receiver. Appears only when you have selected a Sony CD changer (5, 50, 200, or 300 discs) connected to the receiver using the CONTROL A1 cable. - Page 19 CD memos from the receiver or play the newly inserted disc(s) before you select a disc from the changer. • You can download the data only from the Sony CD changer (5, 50, 200, or 300 discs) connected to the receiver using the CONTROL A1 cable.
-
Page 20: Other Operations
Move the easy scroll key to select “ON” or “OFF,” then press the key to enter the selection. Note Switching to VIDEO 1 input may not be automatic on all Sony TVs. This is because some TVs cannot receive remote control codes immediately after being turned on. -
Page 22: Additional Information
/ Make sure you select the correct function on the remote. / When you operate a programmed non-Sony component, the remote may not function properly depending on the model and the make of the component. -
Page 23: Specifications
When the CD player, tape deck, or MD deck is connected to the receiver via CONTROL A1/A1 jacks, Auto Function does not work properly. / Reprogram the remote (see page 16). “5.1CH” cannot be selected from the function list even though the receiver has 5.1CH (/DVD) INPUT jacks.