Table of Contents
Advertisement
Quick Links
Advertisement
Table of Contents

Related Manuals for Rifton K610 mini


Summary of Contents for Rifton K610 mini
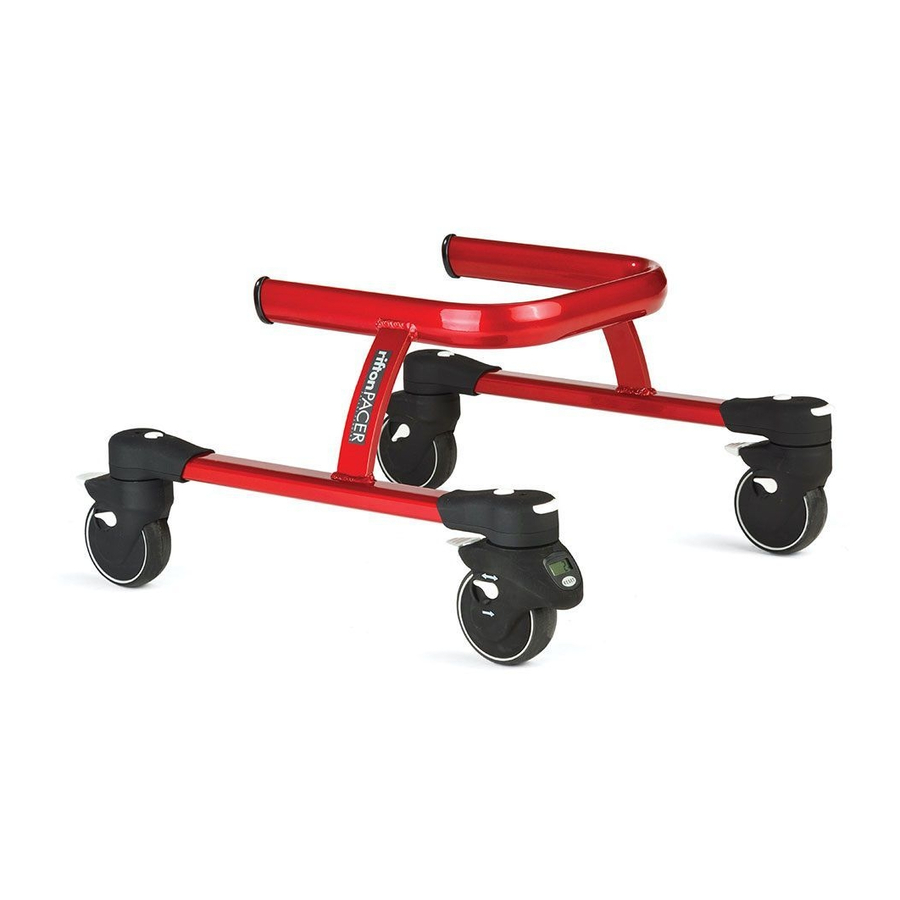
- Page 1 Mini Pacer Gait Trainer K610 Product Manual...
-
Page 2: Table Of Contents
Basic components Frame Casters Accessories Odometer Clamps Hand loops Arm prompts Chest prompt Hip positioner Hip positioner pad 17-18 Pelvic support Ankle prompts Tray Guide bar Operation 22-25 Maintenance, cleaning and warranty Materials and user modifi cations © 2019 Rifton Equipment... -
Page 3: Important Information
Use this key to determine which sections of this product manual apply to you. Technical Users For professionals who order and set up Rifton products Home Users For care-givers who use Rifton products on a regular basis Maintenance Personnel For anyone who is responsible for service or re-ordering of Rifton products and parts IMPORTANT Please save this product manual for future reference. - Page 4 ○ Immediately remove this product from use when any condition develops that might make operation unsafe. ○ Do not use Rifton components or products for any purpose other than their intended use. • Adequately supervise use of the Pacer to prevent: ○...
-
Page 5: Recommended Use And Item Dimensions
The mini Pacer is recommended for children with elbow height of 15½"–20½" (39–52 cm). The maximum working load for the mini Pacer is 50 lbs (23 kgs). User and item dimensions User Dimensions - inches (cm ) K610 mini Elbow height 15½-20½ (39-52) Key user dimension: elbow height Measure the vertical distance from the bent elbow to the fl... -
Page 6: Check Your Order
Check your order The Pacer frame and accessories you specifi ed in your order are shipped together in a single carton (except for the guide bar). Use the diagrams in this manual to make sure your order is complete. If your shipment is incomplete or in any way damaged on arrival, please call Customer Service, 800.571.8198. -
Page 7: Casters
Casters Adjustments Figure 7a: prevents the caster from Swivel lock swiveling. press • To engage the swivel lock: button (A). , press button (B). • To disengage Locking all four casters will keep the child traveling in a straight line. Locking the rear casters (those behind the child) will help stabilize the child, while still allowing for turning. -
Page 8: Accessories
Accessories Odometer The odometer displays distance Figure 8a: traveled. To reset the display to 0, press button (A). To display total lifetime distance traveled, press and hold button (A) for one second. Lifetime distance will be displayed Figure 8a in kilometers or thousands of feet, depending on unit setting. - Page 9 For slimmer children, the clamps Figure 9a: for any accessory can be installed on the inside of the top bar. This way the prompts will be positioned closer to the child. Hand loop clamps can also be Figure 9b: attached on the outside of the top bar. Adjustments Figure 9a: Loosen knob (A) to:...
-
Page 10: Arm Prompts
Arm prompts Attaching To prevent tipping and WARNING resulting injury, do not position arm prompts on the front of the top bar (see Figure 10a). It is recommended Figures 10b and 10c: that arm prompts are attached just forward of the main frame uprights. This creates stable positioning and leaves room for Figure 10a other accessories. - Page 11 Adjustments Figures 11a and 11b: Loosen knob (A) to: • Slide arm pad toward or away from the child. • Rotate up or down. • Rotate in or out. • Move the arm pad backward or forward. To adjust the height of arm prompt: 1.
-
Page 12: Arm Prompts
Figure 12a: can be removed and Arm prompt posts repositioned to adjust the width between arm prompts. can be removed and Arm prompt clamps repositioned to further adjust the width between arm prompts. Step 1. Loosen knob (A) and remove arm prompt pad. -
Page 13: Chest Prompt
Chest prompt Attaching To prevent tipping, WARNING falls and resulting injury or death: • Position chest prompt so that the child’s center of gravity is centered between the casters. • Tighten all adjustment knobs on chest prompt prior to use. Attach chest prompt directly Figure 13a: behind the main frame uprights. -
Page 14: Hip Positioner
Hip positioner Attaching To prevent tipping and WARNING resulting injury, do not position prompts at the rear ends of the top bar (see Figure 14a). The hip positioner is designed Figure 14b: to encourage forward-leaning. Attach this accessory with its two clamps and handholds near the back of the top bar, Figure 14a and straps with buckles (A) in front of the... - Page 15 Adjustment Figure 15a: To adjust position of handholds on frame: • Loosen knob (A). • Slide handholds and clamps to desired position on frame. To adjust rear height of hip positioner: • Press button (B) and raise handholds to desired height. •...
-
Page 16: Hip Positioner Pad
Hip positioner pad Assembly Front Figures 16a and 16b: 1. Push the rear straps of the through the crossed over positioner straps and pull the into place. 2. Snap front and side fl aps of together around the . Make sure hip positioner Rear both snaps are securely fastened. -
Page 17: Pelvic Support
Pelvic support Attaching To prevent tipping and WARNING resulting injury, do not position prompts at the rear ends of the top bar (see Figure 17a). Figure 17b: The pelvic support provides weight-bearing assist. It is an alternative to the hip positioner. - Page 18 Adjustment Figure 18a: To adjust rear height of pelvic support: • Press buttons (B) and slide handholds to desired height. • Release buttons (B) and push down on handholds to engage them. To adjust position of handholds on frame: • Loosen knob (A). •...
-
Page 19: Ankle Prompts
Ankle prompts Attaching Figure 19a: • Insert the ankle prompt latches into slots at the bottom of pacer frame tubes. The white tooth should snap securely into Latch Latch the tube. • To remove press the white button on the Figure 19a latch and release the tooth from the slot. -
Page 20: Tray
Tray To prevent tipping and WARNING resulting injury: • Do not use the tray as a restraint or body support. • Directly supervise child’s use of the tray. • Do not place more than 10 lb. (4½ kg) on tray. Attaching For maximum stability Figure 20a:... -
Page 21: Guide Bar
Guide bar To prevent injury, WARNING adult supervision is required at all times. Always remove guide bar when not in use. Attaching For maximum stability Figure 21a: attach the guide bar centered at the front of the top bar. 2. Guide bar is attached by tightening knob (A) to clamp it on. -
Page 22: Operation
Operation Once the accessories are attached and adjusted approximately, the child can be placed in the Pacer in either an anterior or posterior position. Anterior positioning To prevent tipping and WARNING resulting injury: • Position prompts so that the child’s center of gravity is centered between the casters. - Page 23 4. Place the child in the Pacer • Fasten the rear buckles of the chest prompt. 5. Pull the hip positioner or pelvic support between the child’s legs and connect the rings to the handholds (or fasten buckles if preferred). 6.
- Page 24 3. Adjust arm prompts or hand loops: • To adjust the width, height and angle of the arm prompts (see pages 10-12). • To adjust hand loops (see pages 8 and 9). 4. Adjust ankle prompts: • Adjust straps and spring adjusters to guide the stride of the child (see page 19).
- Page 25 3. Reset swivel locks if needed (see page 7). 4. If any other prompts are required follow anterior positioning instructions in reverse (see Pages 22 – 24). 5. Release caster brakes. For more details on accessories, function and recommended uses, go to: www.rifton.com/pacer...
-
Page 26: Maintenance, Cleaning And Warranty
The straps with hook and loop closures may be laundered. Engage the closures before washing. Do not iron. Wash casters with water after outdoor use. Avoid mud and sand. Warranty Statement If a Rifton product breaks or fails in service during the fi rst year, we will replace it free of charge. -
Page 27: Materials And User Modifi Cations
All materials are latex, lead and phthalates free. User modifi cations To prevent serious injury or death, do not modify or alter Rifton WARNING products or components, or use Rifton products or components in conjunction with products from other manufacturers. Rifton does not accept responsibility for any modifi... - Page 28 Use only replacement parts supplied by Rifton Equipment. We are glad to supply replacement parts. Although Rifton makes every effort to supply correct parts and instructions for repairing or refurbishing your equipment, you are responsible to make sure that the repairs or modifi cations are correctly and safely completed.
Need help?
Do you have a question about the K610 mini and is the answer not in the manual?
Questions and answers