Table of Contents
Advertisement
Advertisement
Table of Contents

Related Manuals for Arrows Hobby 1100mm P-51


Summary of Contents for Arrows Hobby 1100mm P-51
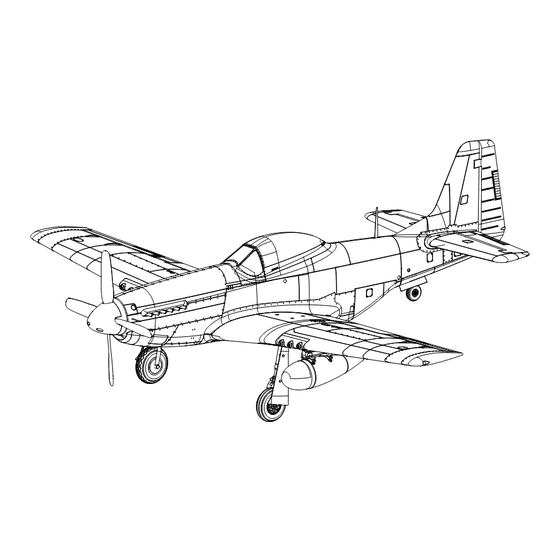
- Page 1 1100mm P-51 1100mm P-51 Operating Manual Operating Manual...
- Page 3 WARNING: This manual contains important information that will help you maintain and operate your model aircraft in a reliable and safe manner. Please read the instructions and warnings carefully prior to assembly, setup or use. As this model aircraft is a sophisticated hobby product, it must be flown with safety and common sense in mind, failure in doing so may result in injury or property damage.
-
Page 4: Table Of Contents
40A ESC, 3536-850KV power system gives the P-51 incredible performance. Ready for any scale maneuvers, the Arrows Hobby P51 is your key to becoming the ace at your field! Features: •... -
Page 5: Model Assembly
Model assembly Main wing and auxiliary fuel tanks installation 1.Slide the auxiliary fuel tanks into the rails as shown. 3.Secure the wing to the fuselage with included screws as shown. Do not over tighten the screws. 2.Using the three included Y-harnesses, connect the two retract leads, two aileron leads and two flap leads. -
Page 6: Battery Installation
Model assembly Pushrod installation 1. Connect the elevator servo to the elevator using the included pushrod. Propeller and spinner installation 1. Assemble the propeller and spinner as shown below. Note:The motor should rotate clockwise when viewing the plane from the rear. PM3.0*16mm Battery installation 1. -
Page 7: Receiver Diagram
Receiver diagram The cables from the servo connector board should be connected to your receiver in the order shown. Note that the LEDs can be powered by any spare channel on the receiver. Tuck the wire leads into the recessed cavity towards the rear of the battery hatch. -
Page 8: Clevis Installation
Preflight check transmitter and model setup After assembly and prior to your first flight, make sure all control surfaces respond correctly to your transmitter by referring to the diagram below. Control throws The suggested control throw setting for the P-51 are as follows (dual rate setting): Tips: The maiden flight should always be flown using low rates, fly the aircraft until you are famil- iar with its characteristics prior to trying high... -
Page 9: Control Horn And Servo Arm Settings
Control horn and servo arm settings More control throw Horns Arms 1. The table shows the factory settings for the control horns and servo arms. Fly the aircraft at the factory settings before making changes. Less control throw 2. After flying, you may choose to adjust the linkage positions for the desired control response. -
Page 10: Flying Course
Before flying the model Always turn your transmitter on first. Install a fully charged battery in the battery bay, then connect it to the ESC. In this process, make sure that the throttle cut functionality is on, and that the throttle stick is secured in its lowest position- other- wise, the propeller/fan will engage and possibly cause bodily harm. -
Page 11: Troubleshooting
Troubleshooting Problem Possible Cause Solution Lower throttle stick and throttle trim to lowest Aircraft will not respond to ESC is not armed. settings. the throttle but responds to Throttle channel is reversed. other controls. Reverse throttle channel on transmitter. Replace damaged parts. Damaged spinner, propeller, motor or motor mount.
Need help?
Do you have a question about the 1100mm P-51 and is the answer not in the manual?
Questions and answers