Table of Contents
Advertisement
Advertisement
Table of Contents

Related Manuals for Digi-Sense 20250-16


Summary of Contents for Digi-Sense 20250-16
- Page 1 99 Washington Street Melrose, MA 02176 Phone 781-665-1400 Toll Free 1-800-517-8431 User Manual Visit us at www.TestEquipmentDepot.com CFM/CMM Hot-Wire Thermoanemometer with NIST-Traceable Calibration Model 20250-16 Flow Temp THE STANDARD IN PRECISION MEASUREMENT...
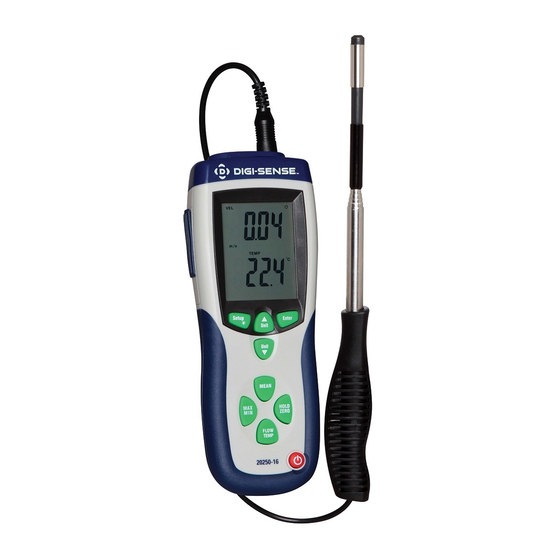
- Page 3 Introduction The Digi-Sense CFM/CMM Hot-Wire Thermoanemometer (Model 20250-16) provides precision air velocity, airflow, and temperature measurements. The large, easy-to-read backlit LCD includes primary and secondary readings plus numerous status indicators. The instrument is fully tested and calibrated to NIST-traceable standards. Careful use of this meter will provide years of reliable service.
- Page 4 Features • Thermal anemometer is capable of very low air velocity measurements • Slim, telescoping hot-wire probe is ideal for grilles and diffusers • Combination of hot wire and standard thermistor sensors delivers rapid and precise measurements • Records Max and Min readings with a recall function •...
-
Page 5: Display Elements
Display Elements 1. Low-battery indicator 10. The multiplier of secondary display value 2. Primary Display: air velocity, recording data, or time 11. Flow units 3. Air velocity units 12. Temperature units 4. Secondary display units 13. Flow area units 5. Secondary display data 14. -
Page 6: Setup Options
Setup Options Use the SETUP button to change area unit, flow area, and sleep mode settings. The meter will store the newer settings in its memory. Note: Setup mode is disabled in MIN, MAX, and Mean modes. Changing a Setup Option 1. -
Page 7: Software Installation
6. Press the MEAN button to change the station of flashing digit. Press UNIT or UNIT button to change that flashing digit from 0 to 9. 7. Continue until all four numbers have been changed. Then press ENTER button to store the new setting into memory. - Page 8 Setup and Operation (continued) Taking Single-Point Measurements 1. Press the On/Off button to turn the meter on and allow 5 seconds for the thermal sensor to warm up. 2. Setting the meter to zero: a. On the probe’s head, slide the sensor cover to the up position to Fig.
- Page 9 Taking an Averaged Measurement Over Multiple Points 1. Press MEAN button quickly and the •MEAN icon will appear at the bottom of screen. In this mode, the upper display shows the value of the most recent data point captured and the lower display shows the real-time probe measurement. 2.
- Page 10 Setup and Operation (continued) Viewing the MAX and MIN Readings 1. Press MAX/MIN button to enter the Max/Min mode. The REC MAX icon will appear at bottom of screen. 2. Press MAX/MIN button again to toggle between the maximum displayed val- ues (REC MAX icon) and the minimum displayed values (REC MIN icon).
-
Page 11: Specifications
Specifications Air velocity Range Resolution Accuracy m/s (meters per sec) 0.1 to 25.0 m/s 0.01 m/s ±(5% + 1 digit) reading or ft/min (feet per min.) 20 to 4925 ft/min 1 ft/min ±(1%+1 digit) km/h (kilometers per hour) 0.3 to 90.0 km/h 0.1 km/h full scale, MPH (miles per hour) - Page 12 3. Replace the 9 V battery. 4. Close the battery compartment cover. It is recommended that Digi-Sense products are calibrated annually to ensure proper function and accurate measurements; however, your quality system or regulatory body may require more frequent calibrations. To schedule your recalibration, please contact InnoCal, an ISO 17025 calibration laboratory accredited by A2LA.
Need help?
Do you have a question about the 20250-16 and is the answer not in the manual?
Questions and answers