Table of Contents
Advertisement
Quick Links
USER MANUAL
Safety Information...............................................................3
Specifications.....................................................................4
Photometrics.....................................................................5
Main Power Connection........................................................6
DMX-512 Connection...........................................................6
Main Control Menu..............................................................7
Rigging the Fixture..............................................................8
DMX Profile.....................................................................................9
Cleaning & Maintenance...............................................................10
Parts List.......................................................................................10
Advertisement
Table of Contents

Related Manuals for MegaLite Drama Profile VW2


Summary of Contents for MegaLite Drama Profile VW2
-
Page 1: Table Of Contents
USER MANUAL Table of Contents Safety Information……………………………………...………………3 Specifications………………………………………...…………………4 Photometrics……………………………………………………………5 Main Power Connection…………………………...…………………..6 DMX-512 Connection……………………………..…………………...6 Main Control Menu……………..…………………………………..….7 Rigging the Fixture……………………………….…………………….8 DMX Profile..................9 Cleaning & Maintenance...............10 Parts List..................10... -
Page 3: Table Of Contents Safety Information
Check that the unit has not been damaged during transport Protection Against Fire 1. Maintain a minimum of 1 foot distance from any type of flame. 3. Replace fuse only with the specified type and rating. 4. Do Not install the unit to close to a heat source. 5. -
Page 4: Specifications
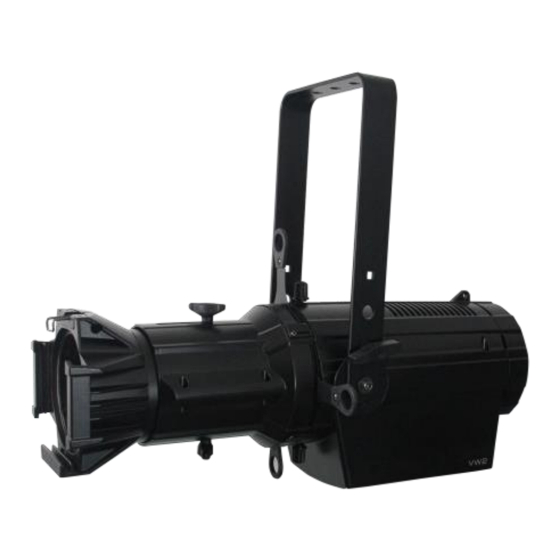
Specifications Part Numbers Fixture 7060VW2 - Drama Profile VW2 Mechanical Specifications 8.37” DMX Connectors: 5-pin XLR in/out connectors Power Connectors: Power Con Type in/out connectors Thermal: Maximum ambient temperature 110° F Maximum surface temperature 140° F 10.5” Fastening System: Mounting Yoke... -
Page 5: Photometrics
Photometrics All LED’s ON WW Only CW Only... -
Page 6: Main Power Connection
Main Power Connection Caution! Do not connect fixture to a dimmer system. This unit must be earthed. (electronically grounded) Replace fuse only with the specified type and rating. Power link maximum 6 units at 110V This device is equipped with a auto switching power supply that will allow you to work from The occupation of the connection-cable is as follows: Cable (USA) Cable (EU) -
Page 7: Main Control Menu
Display Control Main Control The control board on the fixture base is your interface to access and Menu control all the functions on the unit. It’s LCD display gives you a code view of the options and functions. The following will explain each func- tion and its options. -
Page 8: Rigging The Fixture
1 DMX Address Manual Control 2 Channel Mode 3 Demo Mode Press the Enter button to select Manual control Functions. Select the fixtures LED Color you would like to manually control . Press Enter to confirm the color setting 4 Manual Control (Note: The fixture will recall the set manual control attributes even after the fixture is turned off and on) Manual Mode Cool White... -
Page 9: Dmx Profile
DMX Profile Drama Profile VW2 Mode 3 CH DMX Channel Function Description Value Init Dimmer LED intensity 0-255 From 6487K to 2709K 0-255 No Function Strobe (slow to fast) 1-127 Strobe Pulse On (slow to fast) 128-159 Pulse Off (slow to fast) -
Page 10: Cleaning & Maintenance
Cleaning and maintenance Installation Maintenance: The operator has to make sure that the unit is operating safely and has the installations and electronics checked by an expert every 2 years. The following points have to be considered during the inspection: 1) All screws used for installing the device or part of the device have to be tightly connected and must not be corroded. - Page 11 Warranty Information Warranty Conditions -Unless otherwise stated in writing, your product is covered by a one year parts and labor limited warranty. -LEDs or Lamps are not guaranteed to match in color temperature or output. -It is the owner’s responsibility to furnish receipts or invoices for verification of purchase, date, and reseller or distributor. If purchase date cannot be provided, date of manufacture will be used to determine warranty period.
Need help?
Do you have a question about the Drama Profile VW2 and is the answer not in the manual?
Questions and answers