
Subscribe to Our Youtube Channel
Related Manuals for Harxon HX-DU8608D


Summary of Contents for Harxon HX-DU8608D
- Page 1 [HX-DU8608D User Manual] HX-DU8608D Wireless Data Transceiver User Manual Version:V1.0 1 / 10...
-
Page 2: Table Of Contents
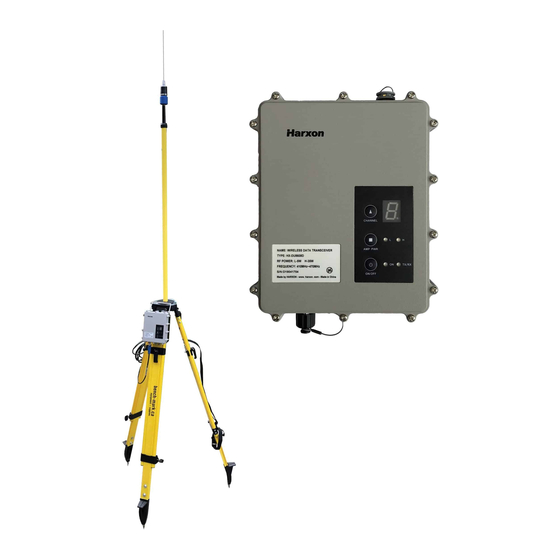
[HX-DU8608D User Manual] CONTENTS 1、SUMMARY .......................... 4 2、INTERFACE .........................4 2.1 S ......................4 ERIAL DATA LINE INTERFACE 2.2 RF ........................... 4 INTERFACE 3、FUNCTION AND OPERATING INSTRUCTION ..............5 3.1 B ............................5 OOTING 3.2 H ......................5 POWER SWITCHING 3.3 T ....................5 RANSMITTING CHANNEL SWITCHING 3.4 C... - Page 3 IP67、Durable structure,which can apply to all outdoor weather conditions. HX-DU8608D has 4 pieces of LED、1 piece of nixie tube and 3 pieces of push-button, for user’s convenience of booting、channel switching、power rating、 low voltage alarming and indicating the current operation channel.
-
Page 4: Serial Data Line Interface
[HX-DU8608D User Manual] 1、 Interface 2.1 Serial data line interface Interface type: asynchronous serial communication standard of RS232 Pin definitions: Pin 1------Power,9-16V DC; Pin 2------power grounding,Power GND; Pin 3------serial data receiver,RXD; Pin 4------serial signal grounding; Pin 5------serial data transmission,TXD 2.2 RF interface HX-DU8602T RF interface is TNC female connector of 50Ω... -
Page 5: High/Low Rf Power Switching
[HX-DU8608D User Manual] 3.2 High/Low RF power switching Pressing the button of PWR for switching RF power level between high and low. If you choose high power, LED indicator of PWR will turn red; if you choose low power, LED indicator of PWR will turn green. -
Page 6: 4、 Radiosetting
[HX-DU8608D User Manual] 4、Radio setting 4.1 Open ports Open the configured software, choose the corresponding port, baud rate defaulted as 38400, port defaulted as COM1. 4.2 Entry the configuration mode Connecting the power line and serial port line, which confirmed to be connected correctly, repower, press the button of “ON/OFF”... -
Page 7: Configuring The Parameter Radio Modem
[HX-DU8608D User Manual] 4.3 Configuring the parameter radio modem 4.3.1 Configuring the customed frequency, default frequency setting are as follows: There are two groups of default frequency value, the TX frequency and the RX frequency can be configured. Note: Only local dealer and manufacturer have the right to edit the channel list based on your radio license and loaded into your radio before delivery. -
Page 8: 6、Technical Specifications
[HX-DU8608D User Manual] two buttons of “Channel” and “PWR” simultaneously before power on, and then pressing the button of “ON/OFF” to turn on the machine, LED indicator of “ON” show green. Checking and confirming digital tube show “b”, entering the upgrading mode. - Page 9 [HX-DU8608D User Manual] Operation voltage High power level ≤110W @ DC 12V (35W) High power level ≤100W @ DC 12V (30W) High power level ≤75W @ DC 12V Power (20W) dissipation(Typical) ≤60W @ DC 12V Low power level (15W) ≤45W @ DC 12V...
- Page 10 [HX-DU8608D User Manual] Modem Item Specification Data Link rate 9600bps、19200bps Modulation type GMSK FCC statements: This device complies with part 15 of the FCC rules. Operation is subject to the following two conditions: (1) this device may not cause harmful interference, and (2) this device must accept any interference received, including interference that may cause undesired operation.
Need help?
Do you have a question about the HX-DU8608D and is the answer not in the manual?
Questions and answers