Table of Contents
Advertisement
Quick Links
Poly Shelters
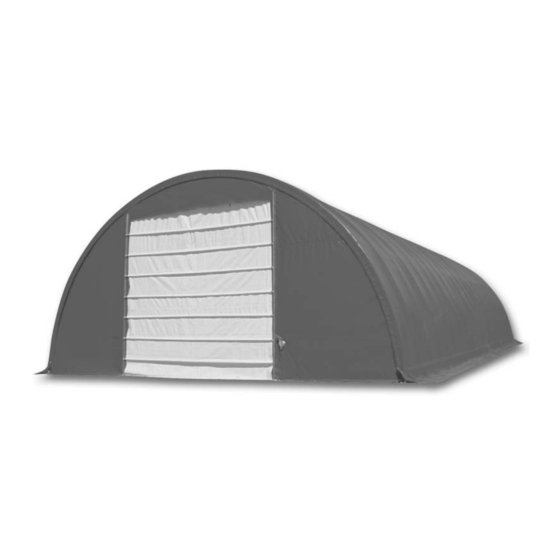
Note: Photo may be of a different but similar model
Instruction Manual
for Storage Master Solarguard (Round "Hut" Style)
SKU #PB00100R4N & #PB00100R3N 30' Wide x 15' High x 48' Long
TM
© 2004 ClearSpan
All rights reserved. Reproduction prohibited without written permission.
Rev: 22 June 04
Advertisement
Table of Contents

Subscribe to Our Youtube Channel
Related Manuals for ClearSpan Storage Master Solarguard


Summary of Contents for ClearSpan Storage Master Solarguard
- Page 1 Poly Shelters Note: Photo may be of a different but similar model Instruction Manual for Storage Master Solarguard (Round “Hut” Style) SKU #PB00100R4N & #PB00100R3N 30' Wide x 15' High x 48' Long © 2004 ClearSpan All rights reserved. Reproduction prohibited without written permission.
-
Page 2: A Word About Safety
Introduction Thank you for purchasing the ClearSpan Poly Shelter. We appreciate your patronage. We hope you enjoy building and utilizing your shelter. Please read this entire instruction manual before starting to assemble your shelter. If you require assistance during the construction process you may call us at 1-888-603-4445. -
Page 3: Selecting A Location
IMPORTANT - Read Anchoring Instructions You must read the anchoring instructions packed with your kit prior to shelter assembly! Selecting a Location It is important to select a proper location for your poly shelter. While the location may have been predetermined before you even ordered your shelter, you may want to “improve”... -
Page 4: Parts Identification
Parts Identification Driver Bit Tek Screw Carriage Bolt & Hex Nut Pipe Strap Rafter Top Section Rafter Bottom Section Purlin Cross Clamp End Coupler Foot Center Coupler Purlin/Cover Conduit (swaged shown) Note: Illustrations are not to scale. Page 4... - Page 5 Fabric Clip Band Clamp Plain End Strap Strap Ratchet Cover Note: Illustrations are not to scale. Page 5...
-
Page 6: Assembly Diagrams
Assembly Diagrams Your assembled shelter will be similar to the illustration below: First you will assemble the frame: Note: All rafters are not shown in this illustration - Just the first 4 at the right end Page 6... -
Page 7: Section B - Rafter Assembly
Section B - Rafter Assembly Step 1: Select four pipes to build your first rafter. The two lower pieces have one smooth and one notched end. The two upper pieces are notched at both ends. You will also need (3) 3-way couplers and (2) base feet.The pipes are joined together using couplers to form an arch. - Page 8 Step 3: Assemble the notched ends of the pipe to the 3-way couplers. The notched pipe has pre-drilled screw holes. Couplings have no holes. Step 4: Install the supplied hex driver bit into the chuck of your drill/driver. Step 5: Fasten the rafter sections to the coupling using 3/4" Tek screws. Go through the guide holes in the rafter pipes into the coupling.
-
Page 9: Section C - Connect Purlins
Step 6: Assemble the second and subsequent rafters by repeating the previous steps. Note: Use (3) 4-way couplings instead of 3-way couplings. Donʼt put the cross clamps on the rafters now as they will be easily added later. Step 7: Assemble the last rafter exactly like the first one using 3-way couplings and cross clamps. Section C - Connect Purlins Step 1: Stand up your first rafter (one of those with the 3-way couplings). - Page 10 Step 2: With the second assembled rafter laying flat as shown, connect (3) 1" purlins onto the ends of the 3-way couplers. Important: Position the holes in the purlins so they face toward the inside of the arch. Step 3: Secure these pipes with Tek screws through the predrilled holes into the couplers. Step 4: Stand up the second rafter and connect the purlins to the couplers on the first rafter as shown below.
- Page 11 Step 5: Using a Tek screw from the bottom, fasten the top “ridge” purlin to the 3-way coupler at the top of the first rafter as shown below. Important: Purlins should be fastened to couplers on the underside or inside. Screw heads should not be in position to come into contact with cover fabric.
-
Page 12: Section D - Adding Extra Purlins
Section D - Adding Extra Purlins Install six rows of extra 1.315" purlins midway between the existing 1" purlins and just above the feet the using rows of conduit secured in place using cross clamps. Extra Purlins (only one side shown) Step 1: For the first extra 1.315"... -
Page 13: Section E - Square Corners And Finish Sharp Edges
Step 3: Add cross clamps at the other rafters, and continue to add sections of 1.315" pipe to reach the other end. Tighten the cross clamp on the last rafter at the other end of the shelter. Step 4: Add the next 1.315" purlin just above the feet, and add the last midway between the purlin just installed and the 1"... -
Page 14: Section F - Installing Struts
Section F - Installing Struts After the frame is square and secure, and the rafters are plumb, install the diagonal struts. The struts keep the frame stabilized by preventing it from rocking forward and backward. You will use conduit pipe to construct the struts. Step 1: Assemble four 14' struts using (2) 6' pieces of swaged conduit and a 2' plain piece each. -
Page 15: Section G - Install End Panels And Door Kit
Step 5: Tighten the screws on the strap at the lower end (the ones you left loose). Step 6: Finish each connection by securing all the straps to the pipe with a third Tek screw through the center of each strap into to pipe as shown below. Section G - Install End Panels and Door Kit You must now refer to the separate instructions that came with your end panel kit SKU #103956 to install the end panels and door. -
Page 16: Section H - Install Main Cover
Section H - Install Main Cover Step 1: Using a Tek screw, fasten a ratchet to the front of the end conduit about 10" in from the end of the rafter. Fasten ratchets to the remaining 3 corners. Step 2: On the side of the shelter, identify the rafters where you will install side ratchets. These locations are at the second, the next to the last, and every other rafter in between. - Page 17 Warning: DO NOT INSTALL COVER ON A WINDY DAY AS DAMAGE TO IT MAY RESULT! Step 5: Unpack the main cover and unfold it completely with the inside surface facing up. Step 6: Locate the ends with strapping and line them up with the front and back of the shelter. Step 7: Slide cover conduits into hem openings as shown in the next illustration.
- Page 18 Step 10: Remove the ropes and position the cover evenly on all four sides. Warning: Do not leave the cover unattended until it has been secured in all four corners. Step 11: In the front and rear hems, locate the black straps. Feed the strap through the center slot in the ratchets and tighten down all four corners slightly.
-
Page 19: Section I - Shelter Maintenance
• Check connections and fasteners for tightness; replace and/or repair missing or damaged parts. • Contact ClearSpan for assistance in identifying needed parts; call us toll-free at 1-888-603-4445. • If shelter is moved after construction, inspect shelter thoroughly before reuse.
Need help?
Do you have a question about the Storage Master Solarguard and is the answer not in the manual?
Questions and answers