Advertisement
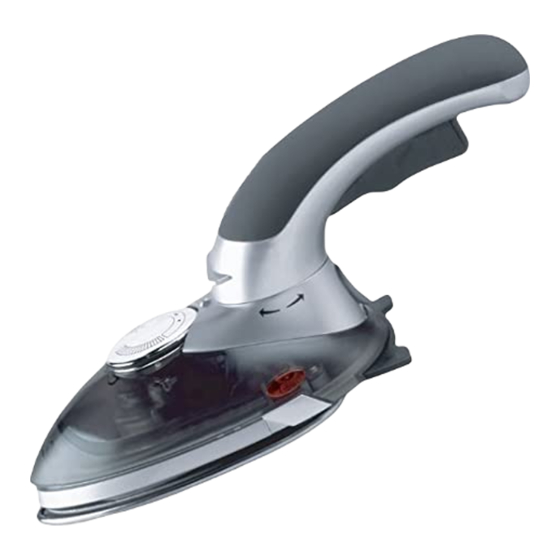
Garment Steamer/Iron
Model GI460
115/120V., 60 Hz., 230/240 V., 50 Hz.
800 Watts/870 Watts
Use and Care Instructions
Congratulations!
You are the owner of the Shark Garment
Steamer/Iron. To fully enjoy the advantages of your appliance, please
take a few minutes to read all the "Use & Care Instructions" and
keep the instructions handy for easy reference. Please review the
product warranty and mail the owner registration form.
For information or assistance:
EURO-PRO Operating LLC
21 Lawrence Paquette Industrial Drive
Champlain, NY 12919
Tel.: 1-866-98SHARK
Tel.: 1-800-798-7398
www.sharkvac.com
Advertisement
Table of Contents

Subscribe to Our Youtube Channel
Summary of Contents for Shark GI460
- Page 1 800 Watts/870 Watts Use and Care Instructions Congratulations! You are the owner of the Shark Garment Steamer/Iron. To fully enjoy the advantages of your appliance, please take a few minutes to read all the “Use & Care Instructions” and keep the instructions handy for easy reference. Please review the product warranty and mail the owner registration form.
-
Page 2: Important Safeguards
IMPORTANT SAFEGUARDS IMPORTANT: Be sure that dual voltage selector is in the correct position before operating the garment steamer/iron. Before plugging in, read the information about dual voltage operation in the instruction manual. This appliance was set at the factory to operate at 115/120 V., 60 Hz. -
Page 3: Troubleshooting
Some odor or small • This is normal. particles come out of Follow instructions for first use and allow iron to steam steam vents of new through 2-3 fillings & press the steam trigger iron occasionally to eliminate small white particles. - Page 4 • The pilot light will go off to indicate that the garment steamer/iron has reached the selected temperature. • Keep the iron in a horizontal position and allow it to steam until the water runs out. • Press the steam trigger to eliminate white residue particles.
-
Page 5: Dry Ironing
All marked settings on the temperature dial can be used for dry ironing. Plug the cord into a household electrical outlet (see page 3 for voltage settings). The pilot light light will go “On”, indicating that the iron is heating up. Set Temperature Control Dial to desired temperature setting. -
Page 6: Filling With Water
(on a stable, protected surface) while the iron is warming to desired temperature. The pilot light will come on. When the iron has reached the desired temperature, the pilot light will go “Off”. SETTING THE IRON TEMPERATURE Set the temperature dial according to the type of fabric .


Need help?
Do you have a question about the GI460 and is the answer not in the manual?
Questions and answers