Advertisement
Quick Links
Advertisement

Subscribe to Our Youtube Channel
Summary of Contents for Outcome Health EXAM ROOM TABLET
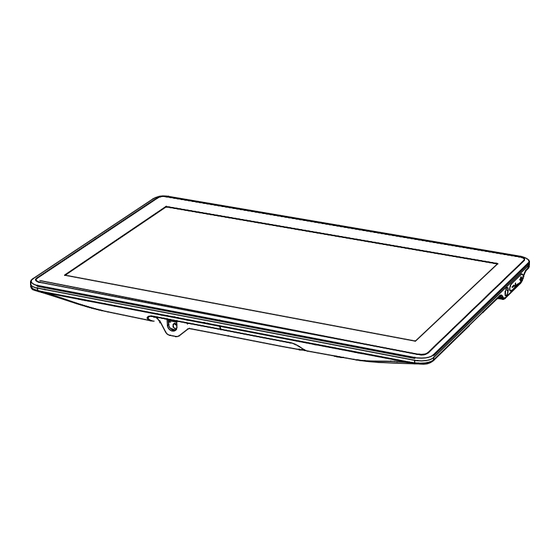
- Page 1 I N S T R U C T I O N M A N U A L EXAM ROOM TABLET...
- Page 3 CHECKLIST Exam Room Tablet Box Tablet Power Cable Outlet Lock 3 Outlet Adapter Accessory Box Allen Wrench Tool Bag Screw Driver M4x6 Exam Room Tablet...
-
Page 4: Wall Mount
CHECKLIST Tablet Stand Box wall mount M7x35 M5x30 M8x12 M4x10 M2.5... - Page 5 Contact the office manager to verify the best placement Page 9 - 17 Page 18 - 24 for either wall mount or stand installation of the Exam Room Tablet. Stand Wall Mount It should always be in an exam room, close to a power outlet, and be easily accessible by patients.
- Page 6 Assemble stand or install the wall mount. Stand Please note, there are two types of stands. The following instructions work for both.
- Page 7 Feed the power cable through the stand. Using the provided tools, attach the base to the stand arm.
- Page 8 Place allen wrenches in the bottom pole Unscrew the back of the tablet port cover. on magnet for storage. Screw Driver...
- Page 9 Connect the power cable. Reattach the cover.
- Page 10 Adjust the power cable for tension. Use four screws that come with the tablet to attach it to the stand. Allen M4x6 Wrench Screws...
- Page 11 Remove the VESA plate from the stand. Wall Mount...
- Page 12 Verify the type of mounting surface and follow the CONCRETE/ instructions. CINDER BLOCK WALL concrete surface cinder block Drill holes and insert anchors. Place wall plate of swivel over anchors and secure with bolts. impact drill Tighten all fasteners. wall plate concrete 1/4 inch Masonry bit...
- Page 13 DRYWALL WITH WOOD STUDS 5/32 inch wood/steel bit Depth of 1 inch STUD FINDER (Recommended)
- Page 14 Attatch the tablet to the VESA plate. Tape the faceplate to the wall, then remove the screw on the faceplate. Allen M4x6 Wrench Screws *Do not use doct tape.
- Page 15 Put Outlet Lock on the plug. Plug the power cable. Use the top outlet for the Tablet Outlet Lock.
- Page 16 all the outlets are occupied ... Secure Outlet Lock and faceplate with included screw, then remove tape. Then 3 Outlet Adapter (provided) to connect the additional exam room equipment. Step 1 Step 2...
- Page 17 Power up the Exam Room Tablet Tap “Begin”.
- Page 18 ALWAYS Tap “Network Settings”. select Exam Room Tablet icon and tap Next.
- Page 19 Connect to SSID (network name) based on Once WiFi is connected, tap the “Back” button. the instructions in your Ocome Health scope of work.
- Page 20 On the Network Setup Screen, Tap “Next” when software update check is complete. tap “Test” to test the network connection and then select “Next” to continue. If it fails, please see the trouble shooting guide.
- Page 21 IMPORTANT: Please use the room name listed on the door. Tap “Register Now”. If no room number is listed, ask a member of the office staff for the room name. Type in the location of the Exam Room Tablet and tap “Save”.
- Page 22 Once registration is complete, the tablet will reboot. When all exam room products are installed, verify with SDS, Tech Support, or CSS. SDS / Tech support / CSS...
- Page 23 The installation is COMPLETE...
- Page 24 330 N Wabash Ave #2500 Chicago IL 60611 (312) 257-3128 www.outcomehealth.com...


Need help?
Do you have a question about the EXAM ROOM TABLET and is the answer not in the manual?
Questions and answers