Vent-a-Hood K250 Installation Instructions
Wall mount liner insert with air recovery system
Hide thumbs
Also See for K250:
- Owner and maintenance manual (13 pages) ,
- Installation instructions manual (6 pages) ,
- Installation instructions (5 pages)
Advertisement
Read and Save These Instructions
All Hoods Must Be Installed By A Qualified Installer
INSTALLATION INSTRUCTIONS
WALL MOUNT LINER INSERT
WITH AIR RECOVERY SYSTEM
Read All Instructions Thoroughly Before Beginning Installation
WARNING - TO REDUCE THE RISK OF FIRE, ELECTRIC SHOCK,
OR INJURY TO PERSONS, OBSERVE THE FOLLOWING:
A. Installation work and electrical wiring must be done by qualified
person(s) in accordance with all applicable codes and standards,
including fire-rated construction. Switch power off at service panel
and lock the service disconnecting means to prevent power from
being switched on accidentally during installation.
B. When cutting or drilling into wall or ceiling, do not damage electrical
wiring and other hidden utilities.
C. Sufficient air is needed for proper combustion and exhausting
of gases through the flue (chimney) of fuel burning equipment to
prevent back drafting. Follow the heating equipment manufacturer's
guideline and safety standards such as those published by the
National Fire Protection Association (NFPA), and the American
Society for Heating, Refrigeration and Air Conditioning Engineers
(ASHRAE), and local code authorities.
L159 0318B
Page 1
U L
C
US
R
Advertisement
Table of Contents

Subscribe to Our Youtube Channel
Related Manuals for Vent-a-Hood K250


Summary of Contents for Vent-a-Hood K250
- Page 1 Read and Save These Instructions All Hoods Must Be Installed By A Qualified Installer INSTALLATION INSTRUCTIONS WALL MOUNT LINER INSERT WITH AIR RECOVERY SYSTEM Read All Instructions Thoroughly Before Beginning Installation WARNING - TO REDUCE THE RISK OF FIRE, ELECTRIC SHOCK, OR INJURY TO PERSONS, OBSERVE THE FOLLOWING: A.
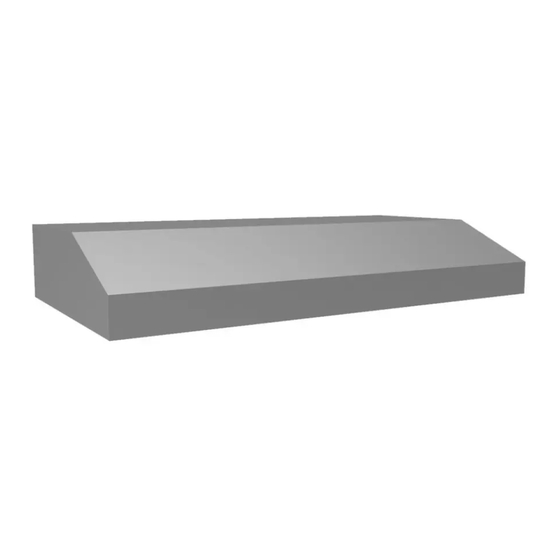
- Page 2 Shown with Air Recovery System (sold separately). KAHSLD Remove the liner from the packaging and place it underneath the enclosure (previously installed). Electrical Diagram for KAHSLD Electrical Electrical Electrical/Mechanical Specifications For Blower Units Model Volts Amps K250 L159 0318B Page 2...
- Page 3 Installation Details Continued Warning: Make sure power is off and locked at the service disconnecting means on the service panel during installation. 4) Remove the electrical enclosure cover (1 screw) and the top electrical knockout from the liner. Install an appropriate 1/2”...
Need help?
Do you have a question about the K250 and is the answer not in the manual?
Questions and answers