Table of Contents
Advertisement
Quick Links
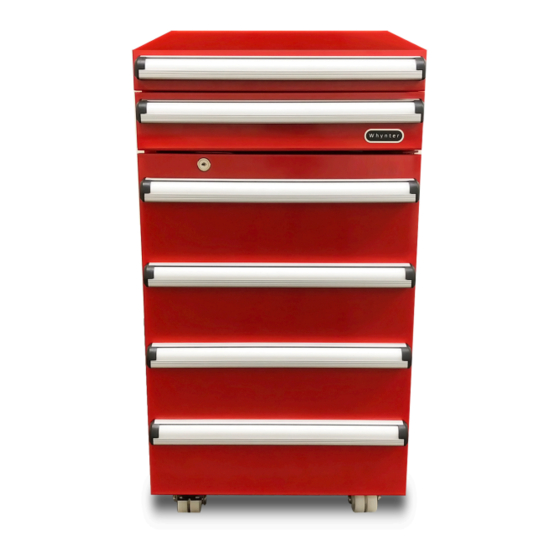
Whynter Portable 1.8 cu.ft. Tool Box Refrigerator with 2 Drawers and Lock
Model # : TBR-185SR
INSTRUCTION MANUAL
Congratulations on your new Whynter product. To ensure proper operation, please read this Instruction Manual carefully before
using this product. Keep this manual in a safe place for future reference.
V 2018.5.6-1434
Advertisement
Table of Contents
Troubleshooting

Related Manuals for Whynter TBR-185SR


Summary of Contents for Whynter TBR-185SR
- Page 1 Whynter Portable 1.8 cu.ft. Tool Box Refrigerator with 2 Drawers and Lock Model # : TBR-185SR INSTRUCTION MANUAL Congratulations on your new Whynter product. To ensure proper operation, please read this Instruction Manual carefully before using this product. Keep this manual in a safe place for future reference. V 2018.5.6-1434...
-
Page 2: Table Of Contents
Safety Precautions PAGE Safety Precautions 3 - 4 Parts and Accessories Product Features / Technical Data Installation 7 - 8 Installation / Operation and Controls 9 - 10 Cleaning and Maintenance 11 - 12 Troubleshooting 13 - 14 Warranty Information... -
Page 3: Safety Precautions
Safety Precautions TO REDUCE THE RISK OF FIRE, ELECTRICAL SHOCK, OR INJURY WHEN WARNING USING YOUR TOOL BOX REFRIGERATOR, FOLLOW THESE BASIC PRECAUTIONS: • Read all instructions before using the appliance. • Never clean appliance parts with flammable fluids. The fumes can create a fire hazard. Do not use an exces- sively wet cloth, industrial solvents, and oil-based products to clean this appliance. - Page 4 Safety Precautions WARNING: • Transport the appliance in an upright position only. • Always place the appliance on even and hard and level surface. • Close the tool box refrigerator door immediately after putting in any items to maintain the internal temperature of the unit.
- Page 5 Safety Precautions Caution: Risk of fire / Flammable materials • The main plug of the unit must feature an earthing contact. Do not introduce plug into a socket without effective earthing (if in doubt, please consult a certified technician). • Do not remove any protective features. •...
-
Page 6: Parts And Accessories
Parts and Accessories BOTTOM REAR SECTION 9. Refrigerator Handle 12. Compressor (Rear) 1. Small Drawer 5. Slide-Out Refrigerator Bars (4) Wire Shelf (1) 6. Wheel casters with lock 2. Large Drawer 10. Wheel casters (2) 13. Door Keys 3. Door Lock Latch 7. -
Page 7: Product Features / Technical Data
Product Features / Technical Data Ideal for any small space where cold storage is needed, the Whynter Portable 1.8 cu.ft. Tool Box Refrigerator with 2 Drawers and Lock can also be used in the kitchen, offices, garages or basements. This space-saving Tool Box Refrigerator is designed with a flush back, allowing it to fit cleanly against the wall or into corners. -
Page 8: Installation
Installation Excessive Weight Hazard Two or more people should move and install tool box refrigerator. Failure to do so can result in back or other injury. REMOVE PACKAGING MATERIALS IMPORTANT: Do not remove any permanent instruction labels or the data label on your tool box refrigerator REMOVE TAPE AND GLUE FROM YOUR TOOL BOX REFRIGERATOR BEFORE USING ... -
Page 9: Installation
Installation A standard electrical supply (115 VAC only, 60 Hz, 10A), properly grounded in accordance with National Electrical Code and local codes and ordinances is required. IMPORTANT: Do not kink or pinch the power supply cord between the tool box refrigerator and wall or com- partment. -
Page 10: Installation / Operation And Controls
Operation and Controls TEMPERATURE CONTROL BOX To obtain the best possible results for your tool box refrigerator, it is important that you operate it properly. Your tool box refrigerator uses a mechanical thermostat control knob which can be located at the back side of the refrigerator. - Page 11 Operation and Controls DEFROSTING Under most ambient conditions, the appliance does not need to be defrosted. In cold ambient temperatures and/or high humidity, some frost may build up. To defrost the appliance, set the thermostat dial to “OFF”, re- move frozen or perishable items and defrosting should occur in a few hours. After defrosting, return the ther- mostat dial to the desired position.
-
Page 12: Cleaning And Maintenance
Cleaning and Maintenance CLEANING Outside/Exterior Wipe with a clean cloth lightly dampened with appliance polish wax or mild liquid dishwashing detergent. Dry and polish with a clean, soft cloth. Do not wipe the tool box refrigerator with a soiled dishwashing cloth or wet towel. Do not use scouring pads, powdered cleaners, bleach, or cleaners containing bleach. - Page 13 Cleaning and Maintenance ENERGY SAVING TIPS The appliance should be located in the coolest area of the room, away from heat-producing appliances or heating ducts, and out of any direct sunlight. Ensure that the appliance is adequately ventilated. Never obstruct the air vents. ...
-
Page 14: Troubleshooting
The system is blocked Contact Whynter Service Department via email at service@whynter.com Tool box refrigerator door being Refrain from opening the tool box refrigerator... -
Page 15: Troubleshooting
Troubleshooting Many common tool box refrigerator problems are easily resolved. Try the troubleshooting suggestions be- low to see if the problems can be resolved before having to contact the service department. Problem Possible Causes Solutions Tool box refrigerator This is normal while the compressor works to trans- ... -
Page 16: Warranty Information
ONE YEAR LIMITED WARRANTY This Whynter Tool Box Refrigerator is warranted, to the original owner within the 48 continental states, for one year from the date of purchase against defects in material and workmanship under normal use and service. When making a warranty claim, please have the original bill or invoice of purchase with purchase date available.
Need help?
Do you have a question about the TBR-185SR and is the answer not in the manual?
Questions and answers